
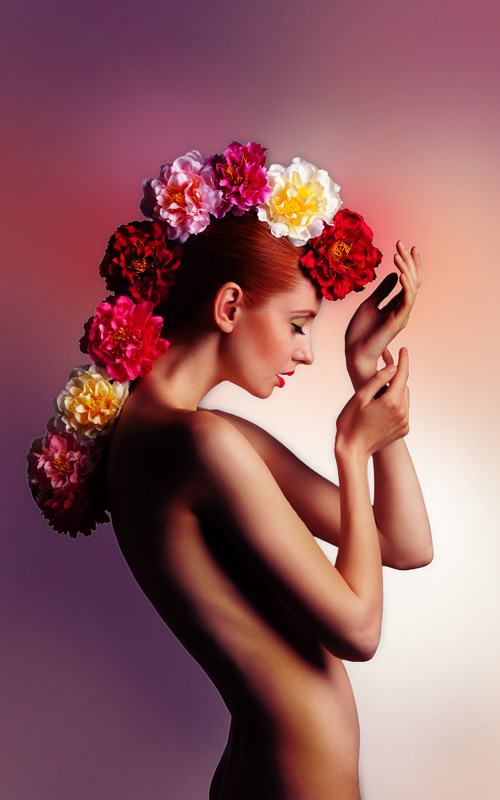
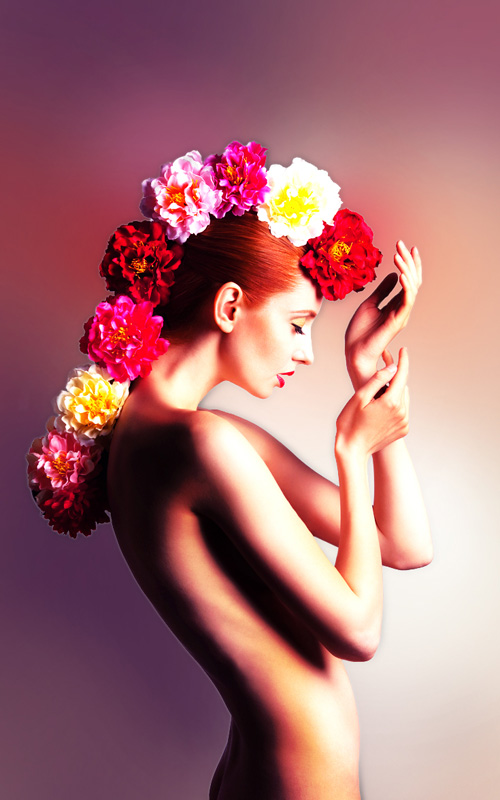
Adding a Fashion Lighting Effect for a Woman Image in Adobe Photoshop CS5
Hold down Alt (Windows) or Option (Mac OS) and click between the model’s layer and the new painted layer in the Layers panel to create a clipping mask.
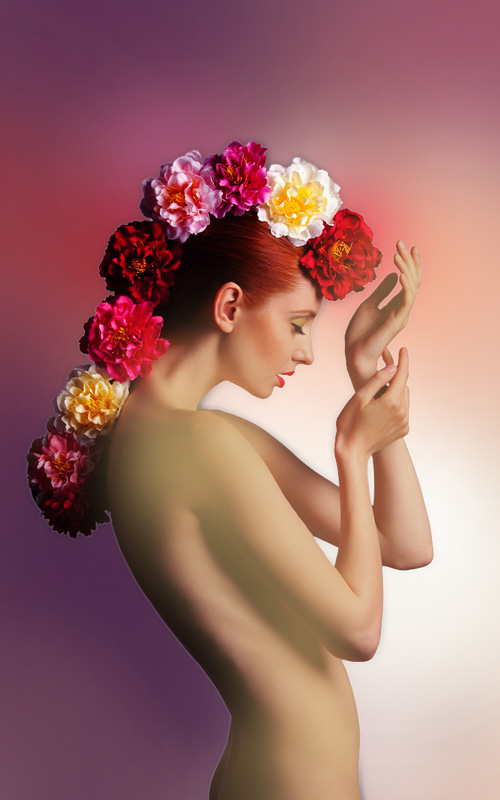
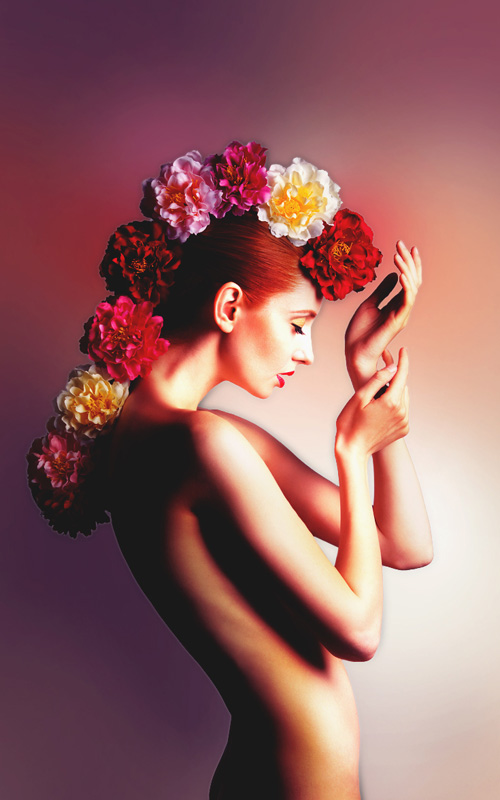
We’ve got the next result:
Set the Blending mode for this layer to Soft Light.

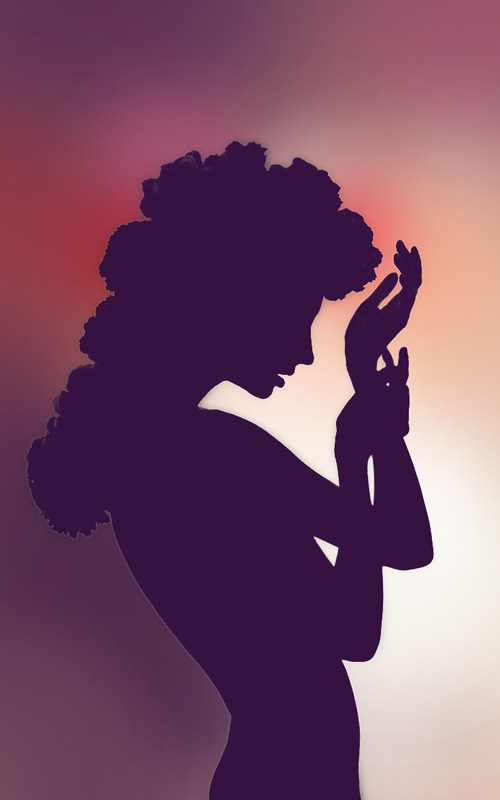
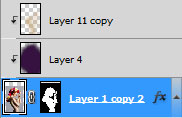
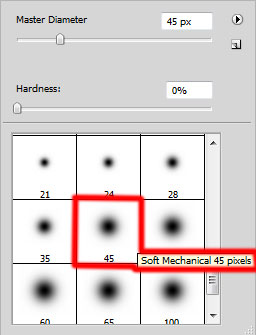
Create a new layer and use on it the Soft Mechanical brush from Brush Tool (B).

Use this brush to paint several zones on the woman with the color #FED187 (set brush Opacity to 20% in Options bar)
Hold down Alt (Windows) or Option (Mac OS) and click between layers in the Layers panel to create a clipping mask as shown.
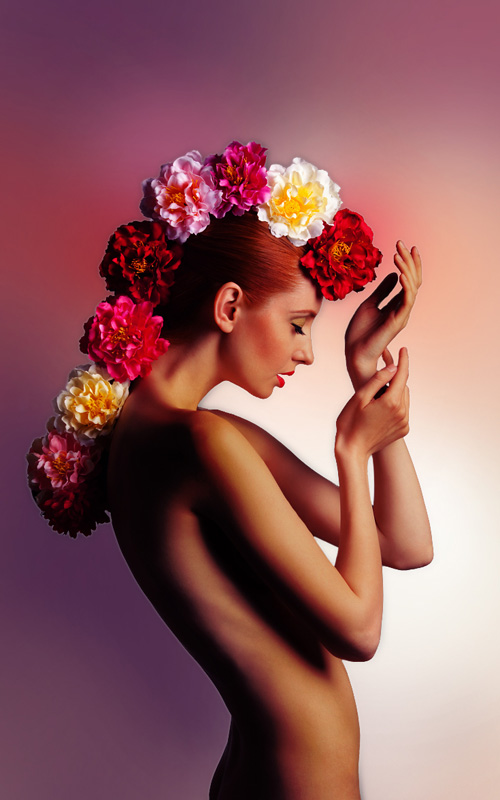
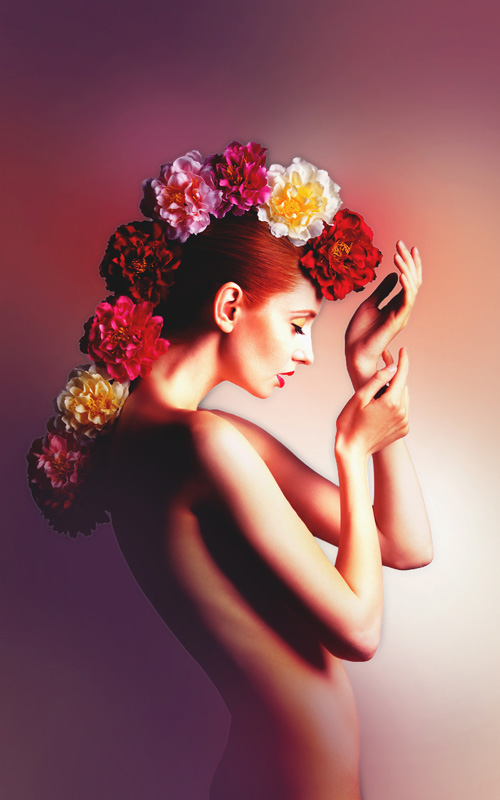
We’ve got the next result:
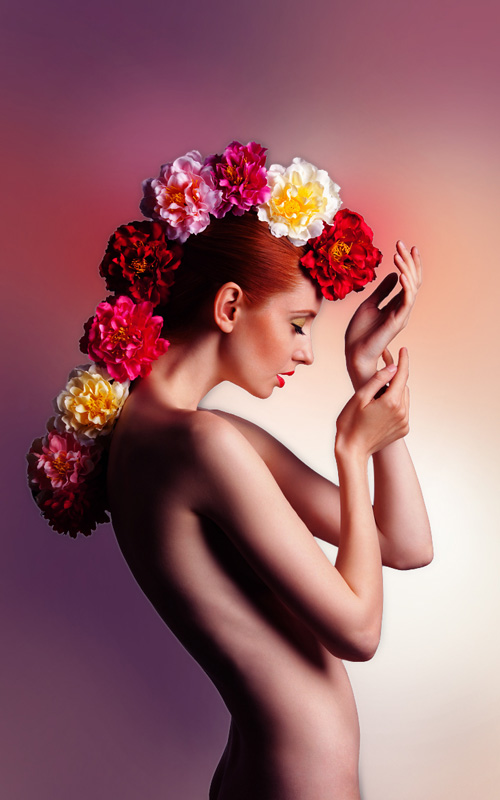
Set the Blending mode for this layer to Linear Burn.
Insert the mask on the last made layer by choosing Add layer mask on the bottom part of the Layers panel and choose the Soft Mechanical brush of black color.
Paint in the mask using this brush to hide smoothly the bright zones on the woman’s body.
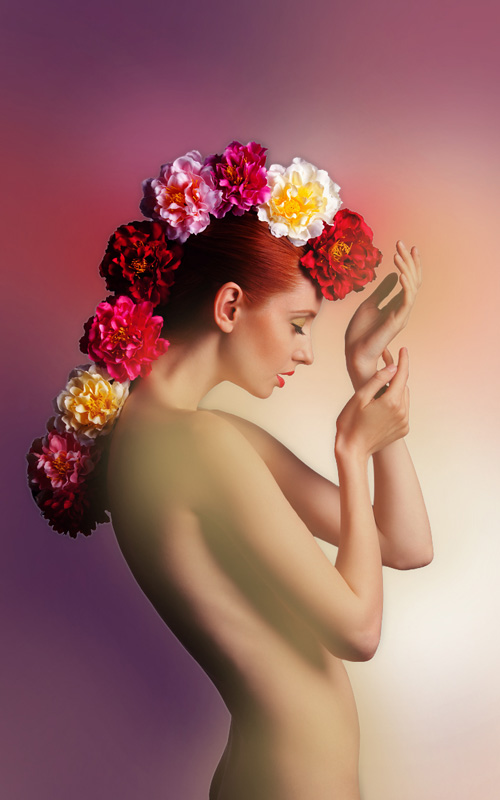
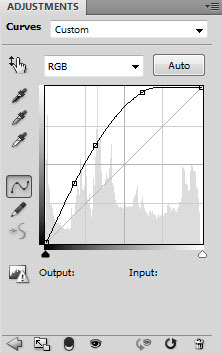
Click Create new fill or adjustment layer from bottom part of the Layers panel and click to Curves to adjust the curve shape as shown to make a little color corrections.
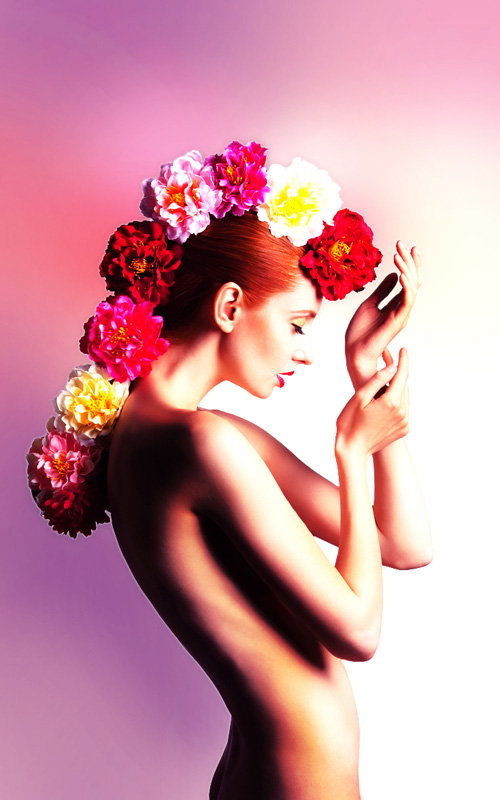
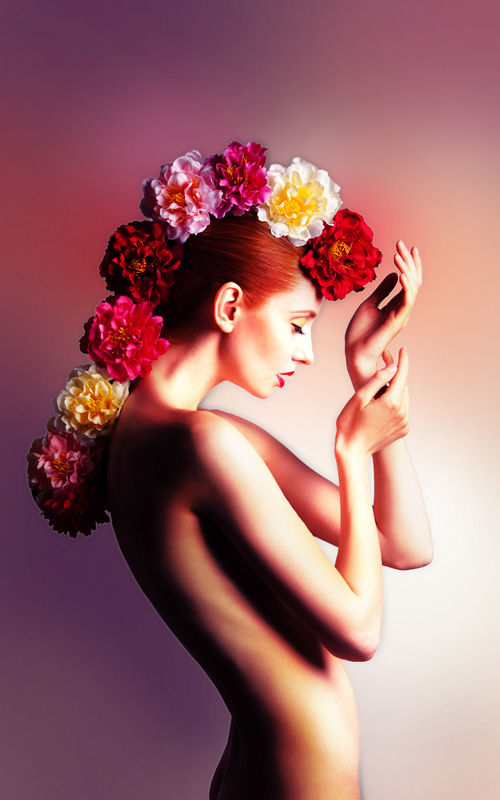
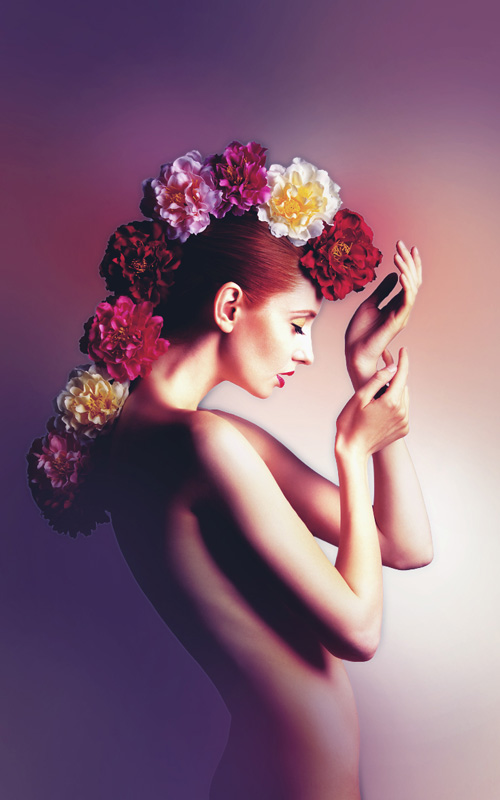
We’ve got the next result:
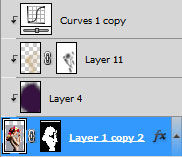
Hold down Alt (Windows) or Option (Mac OS) and click between the woman’s layer and Curves adjustment layer in the Layers panel to create a clipping mask.
We’ve got the next result:
Insert the mask on the Curves adjustment layer by choosing Add layer mask on the bottom part of the Layers panel and choose the Soft Round brush of black color.
Paint in the mask using this brush to hide the color correction on that zone containing the flowers on the woman’s head and waist.
Click Create new fill or adjustment layer from bottom part of the Layers panel and click to Levels to adjust tonal range.
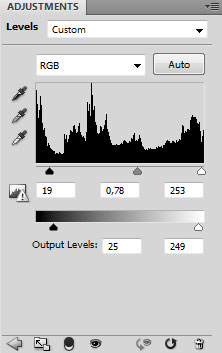
Adjusting black and white points with Levels Input sliders. Input slider must be in the next position (19 and 253).
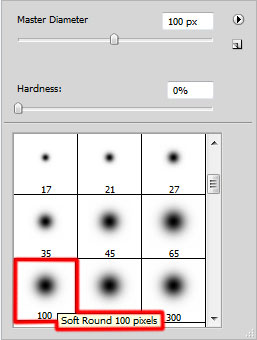
Create a new layer and select the Soft Round brush from Brush Tool.

Use this brush to paint the waist zone on the woman with the color #4D002A (brush’s Opacity – 15%).
As a final touch, create a new layer and use the Paint Bucket Tool (G) to fill the new layer with blue color.

Set Fill to 17% for this layer and change the Blending mode to Color.
We’re done!
View full size here.
Download free Layered PSD file.
Page: 1 2
Comments