
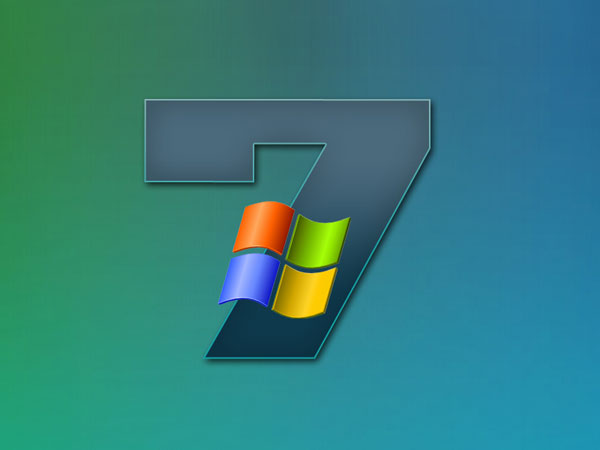
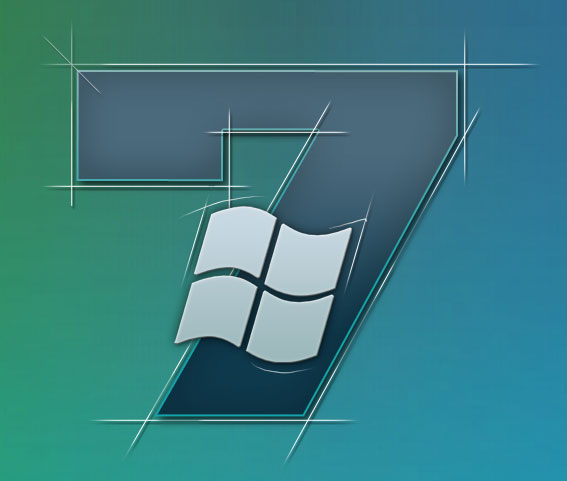
Abstract Windows 7 wallpaper
Add the Stroke
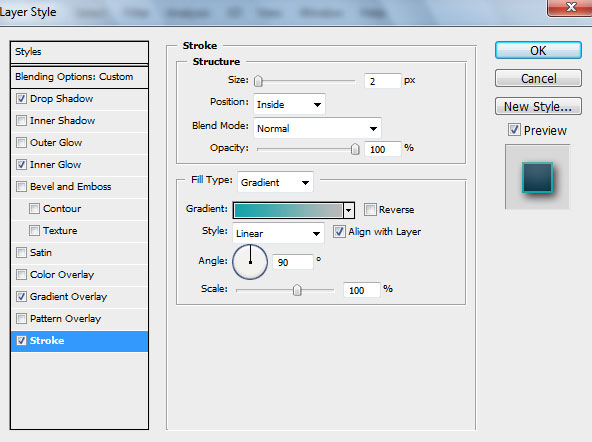
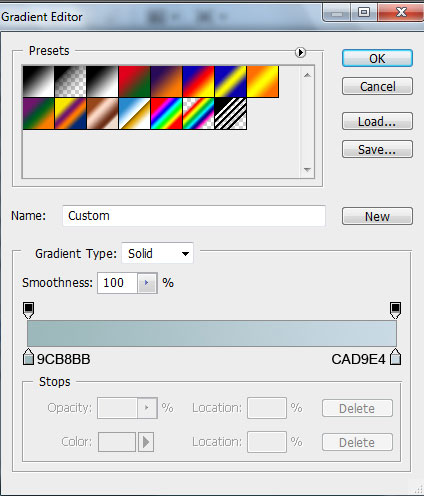
Gradient Editor:

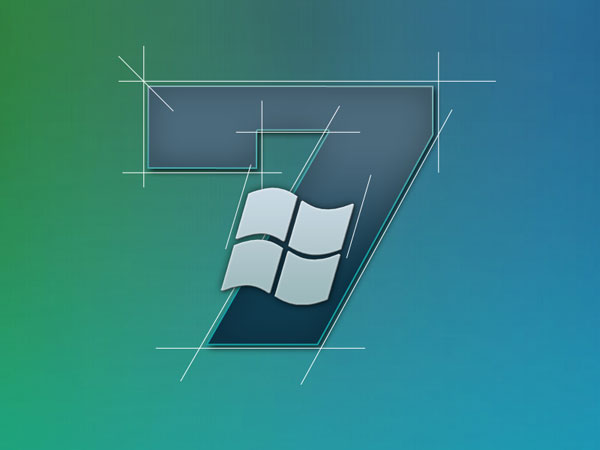
Next we need to insert in a new layer the Windows Flag icon. I used this icon from deviantart. I would like to thank the author of this icon. The sizes may be changed, applying Free Transform option:
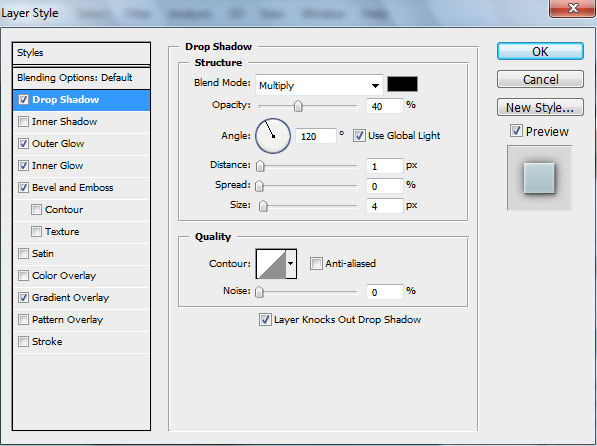
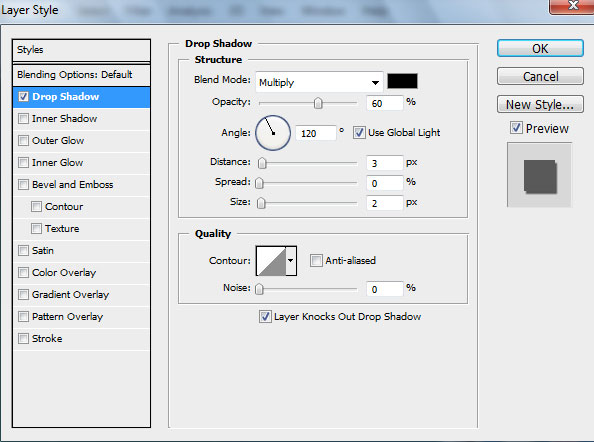
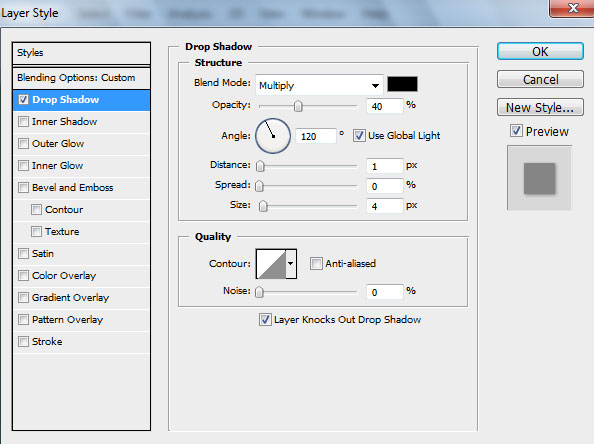
Go to Layer Style and add Drop Shadow for the layer containing the Windows icon:

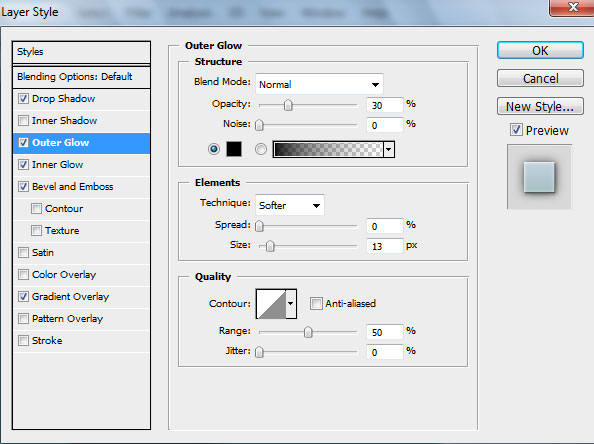
Set the Outer Glow
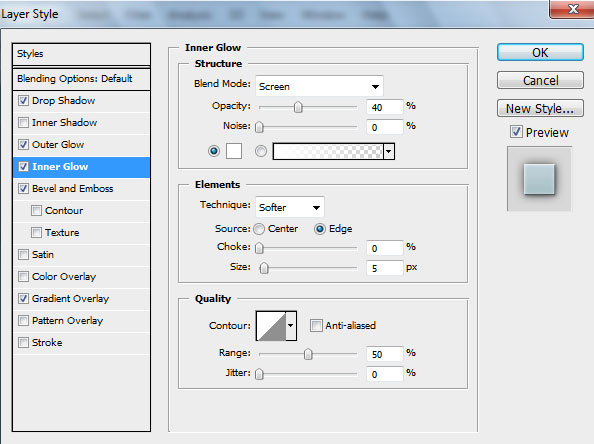
Add the Inner Glow
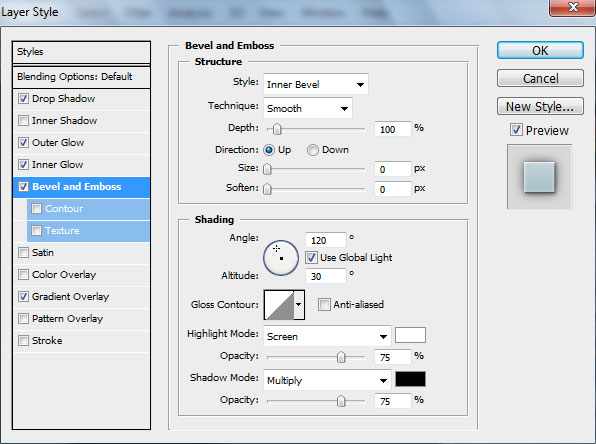
Set the Bevel and Emboss
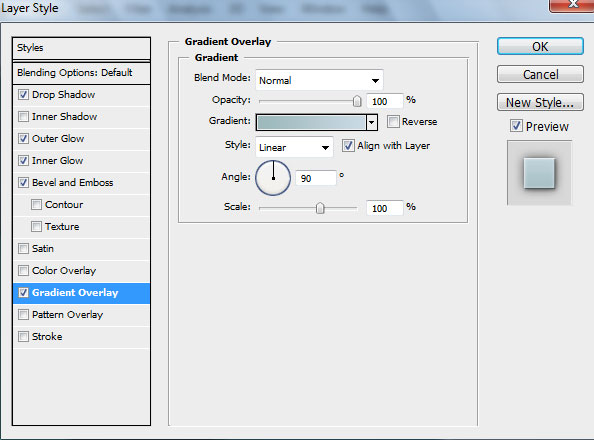
Add the Gradient Overlay
Gradient Editor:

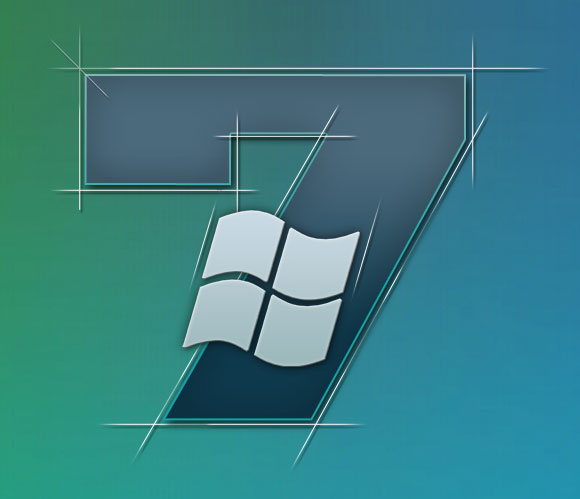
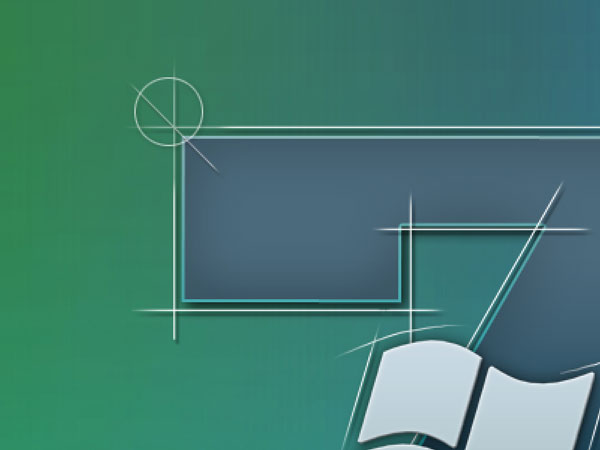
Create a new layer and use here the Line Tool (U) (weight 1 px) to represent several lines around the figure 7 and around Windows icon:
Put together the lines’ layers. Hold CTRL button, select the layers and press finally CTRL+E to Merge Down. Go to Layer Style and add the Drop Shadow
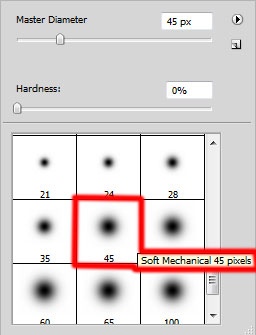
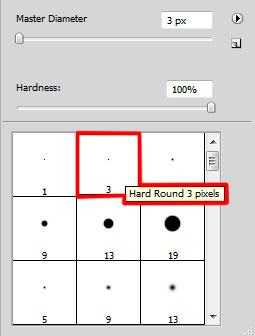
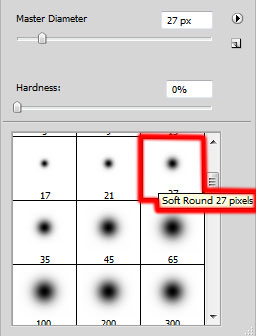
Click on the same layer on the bottom part of the layers’ panel on Add a Mask option and choose a brush of black color (Opacity 20%) to erase the lines’ edges:
Create a new layer, applying here a brush of white color to represent the lines on the top part and on the bottom part of the Windows icon.
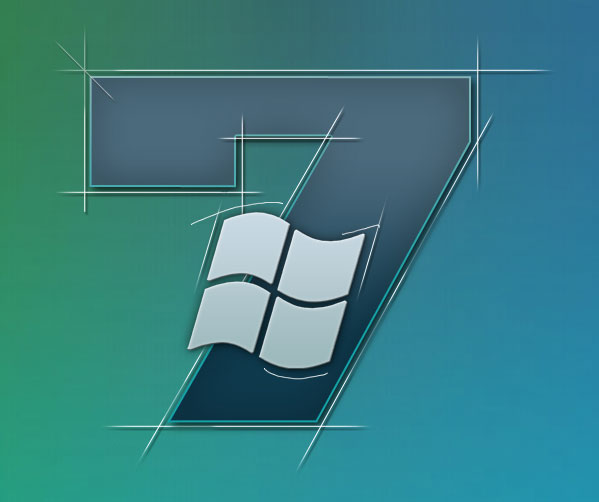
Click on the same layer on the bottom part of the layers’ panel on Add a Mask option and choose a brush of black color (Opacity 20%) to erase the lines’ edges:

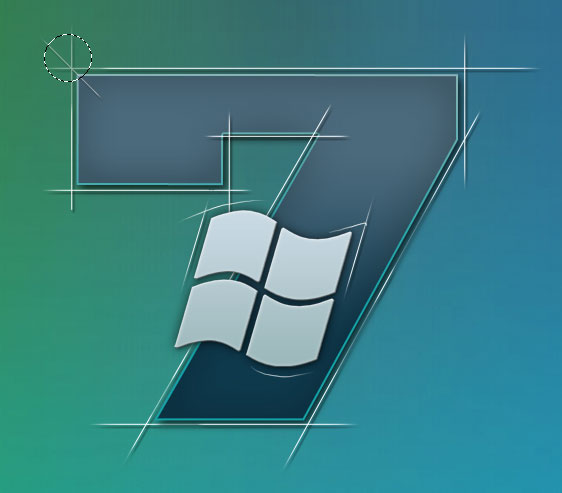
Create a new layer and use on it the Elliptical Marquee Tool (M) to represent a round marking zone the same way demonstrated below:
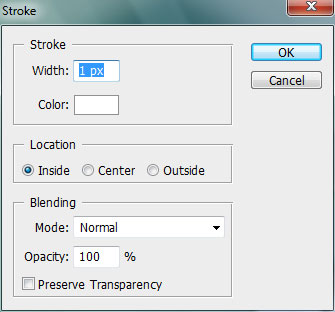
Click on the right mouse button inside the marked zone and select Stroke.
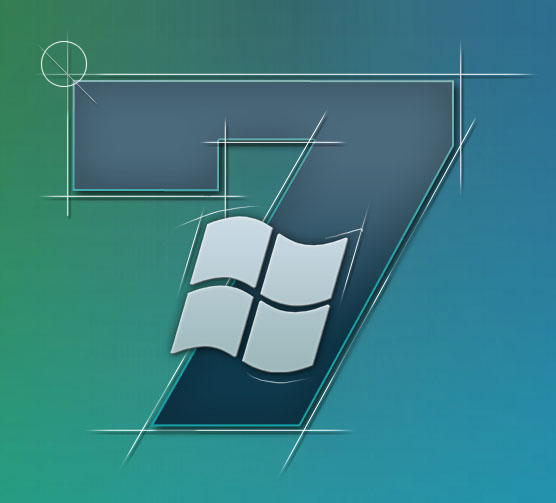
Set Fill to 65%. Go to Layer Style and add Drop Shadow
Make two copies of the last made layer and apply Free Transform option to change the copies’ sizes, placing them the same way demonstrated below:

Click on each layer containing the circles on the bottom part of the layers’ panel on Add a Mask option and select a brush of black color (Opacity 20%) to clean out the circles the same way demonstrated below:
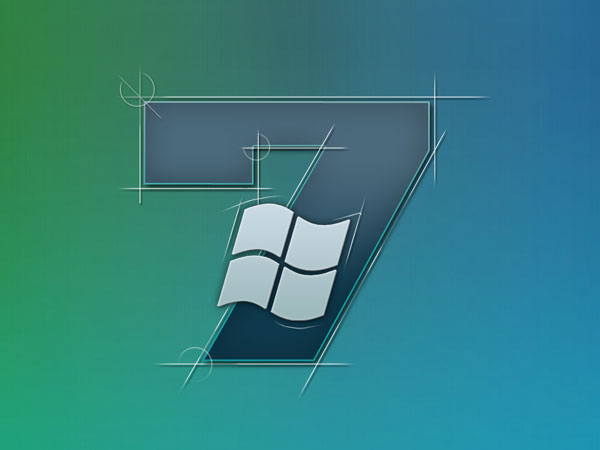
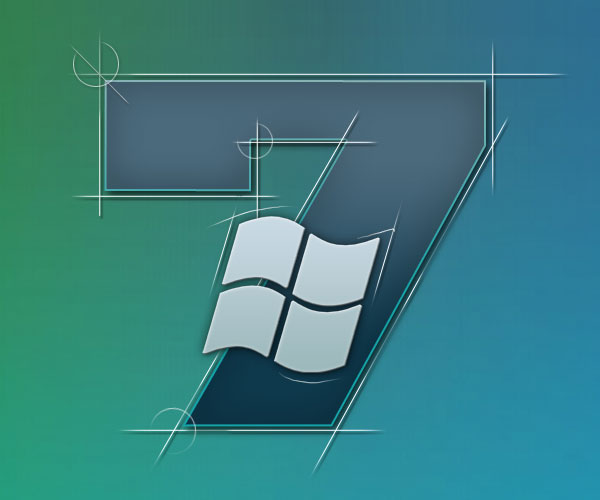
The final result!
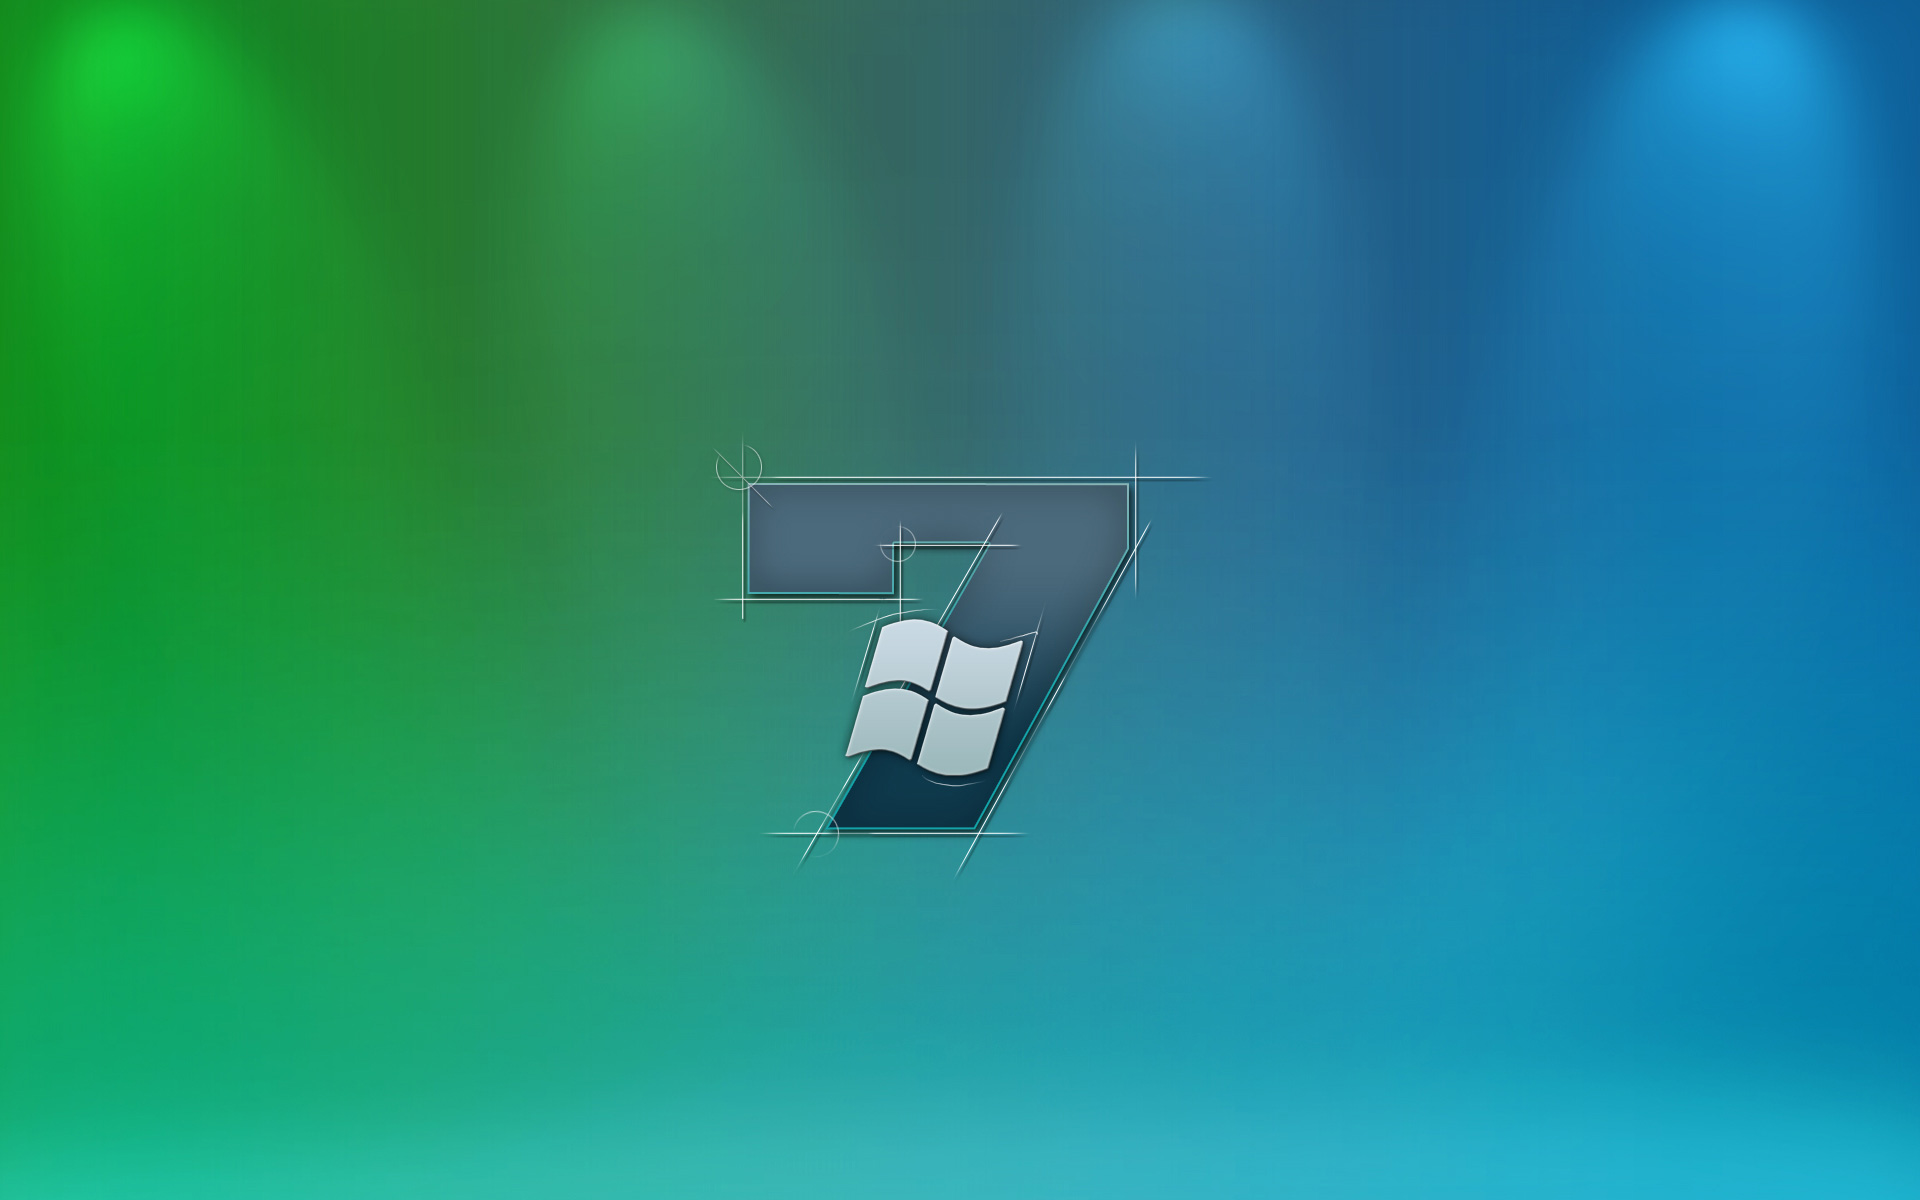
View full size here.
Page: 1 2
Comments