
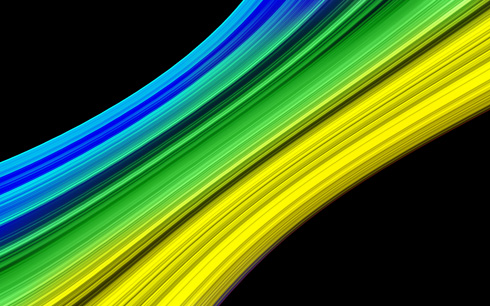
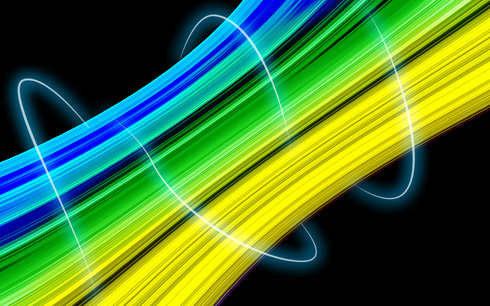
Abstract lighting effects
Select next layer’s parameters: Blending mode-Color
On the next new layer (Create new layer) we’ll apply the brush for drawing the line of blue color:
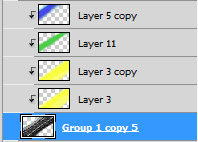
Press Alt button while making a mouse click between the layers on the layers’ palette:

The layer’s parameters: Blending mode-Lighten 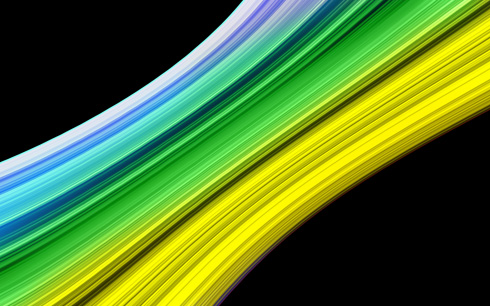
Make a copy of the last made layer and keep pressed Alt button when making a mouse click between the previous layer and the copy’s layer:
These are the parameters for the last made layer: Blending mode-Color Burn
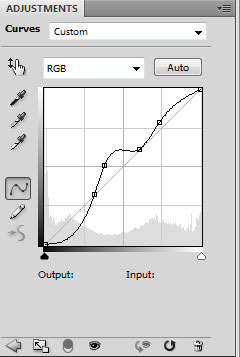
Next click on the bottom part of the layers’ palette on the selection Create new fill or adjustment layer>Curves

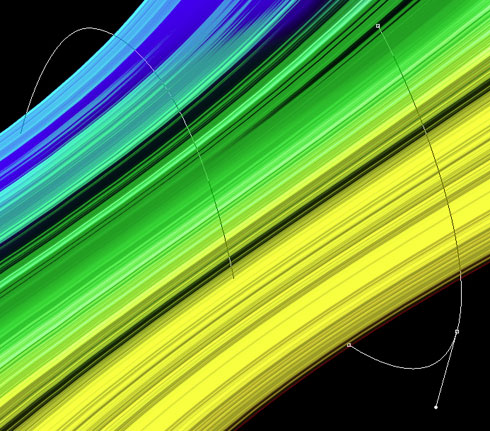
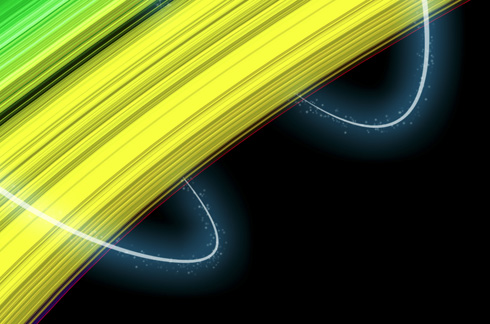
Next we’ll represent some paths composing an ornament by outlining for the beginning their directions. In this case we’ll apply the Pen Tool (P) (Path mode), press ESC button after each path to begin to draw another path

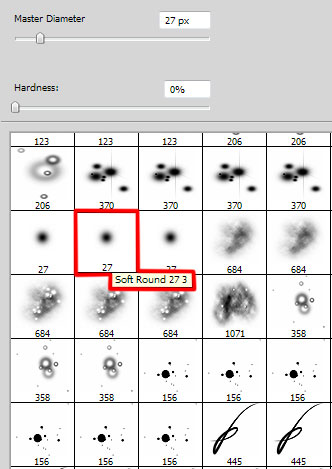
Now we’ll represent a new layer and select for it a standard brush of #498BA5 color (Diameter 9, Hardness 100%). Click on the Paths Palette use the Direct Selection Tool (A) to select one of the created paths and then change the tool on the Pen Tool (P) and make a right click on the selected path to use Stroke Subpath with Brush and Simulate Pressure options:

This way we have to represent two more lines composing the ornaments:

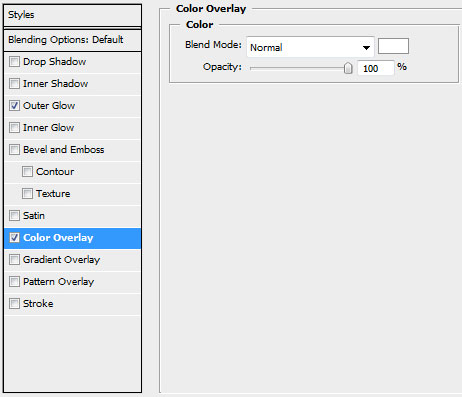
Select for the lines’ layers the same parameters shown below: Blending Options>Outer Glow
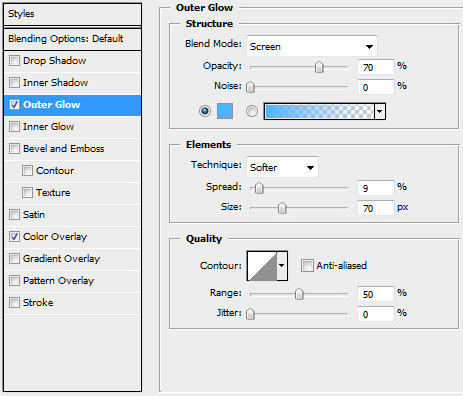
Blending Options>Color Overlay
Download out a set of ready to use brushes for Adobe Photoshop, named 61Particlesandstars. Then we’ll create a new layer and choose for it the brush out of the downloaded set. This time the brush has white color:
Let’s represent now several sparks around the illuminating ornament’s lines:

Finished!
View full size here.
Page: 1 2
Comments