
Abstract Glowing Background
Create a new layer and apply here a brush to paint the ornament’s branches. Choose the color #F0A7D3 (Opacity 10%)

Use the same brush on a new layer (Create new layer) to represent the spots and paint the ornament with the color #A8D196
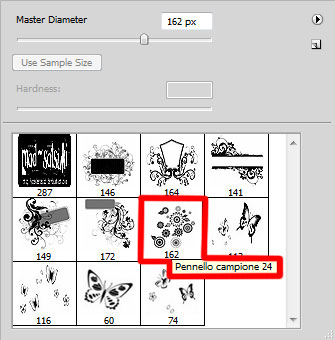
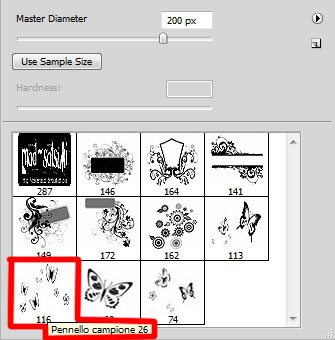
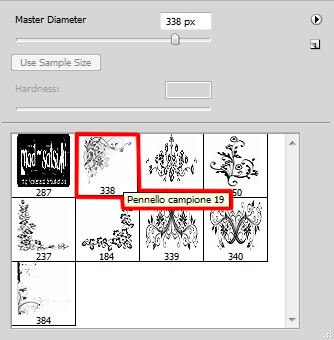
Next we’ll download a set of ready to use brushes for Adobe Photoshop named: fmask, Floral_vector_2_by_madsatsuki.
Create a new layer and apply here a brush out of the set fmask of white color.


Set the Fill to 65% for this layer and change Blend mode to Overlay.

Create a new layer and use a brush out of the same fmask set to represent several butterflies of white color.

On the next new layer we’ll apply the brushes from Floral_vector_2_by_madsatsuki set of white color.

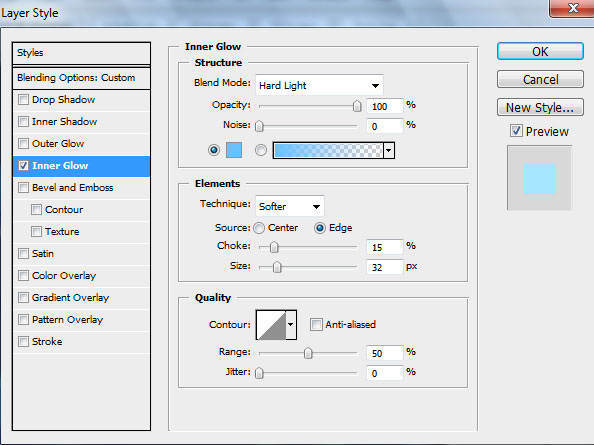
Set for this layer Blend mode to Overlay and go to Layer Style > Inner Glow by clicking on this layer in Layers panel:

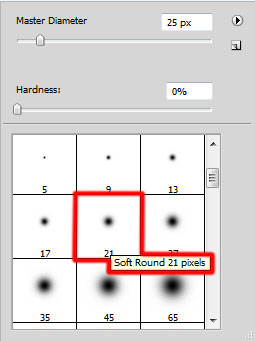
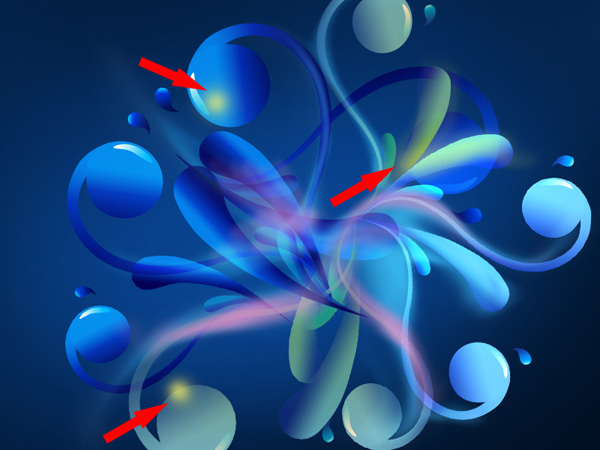
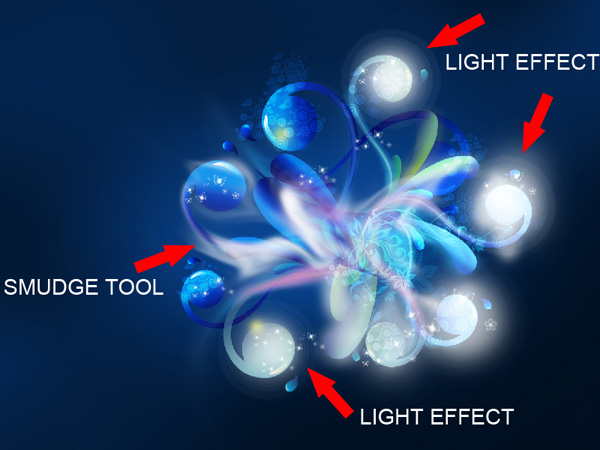
Create another new layer, use here a brush to represent several spots of white color and smudge the spots with Smudge Tool (R). Then apply the brush from the smaller diameter to the bigger one on the ornament’s ends (indicated below) to represent the effect of luminescence of white color (Opacity 10%).


Set the Blend mode to Soft Light for this layer

Make a copy of the layer containing the Floral_vector_2_by_madsatsuki brushes and choose Free Transform option to turn over the copy, placing it, like on the picture below:

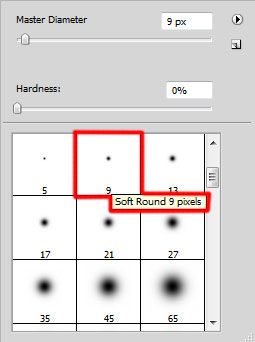
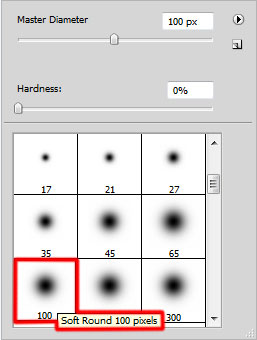
Create a new layer again and select for it a brush of white color to represent many dots of different diameters:

Click on the same layer on the bottom part of the layers’ panel on Add a Mask selection and choose a brush of black color (Opacity 20%) to clean out a little the white dots.

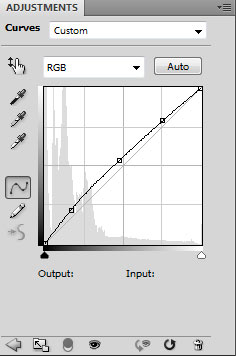
Click on the bottom part of the layers’ panel on Create new fill or adjustment layer>Curves to add some color correction.

The final result!
View full size here.
Comments