
Abstract Glowing Background
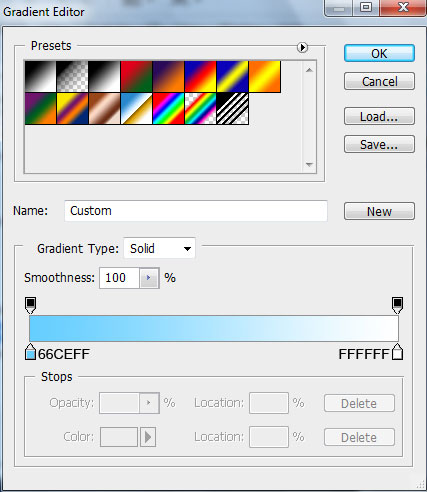
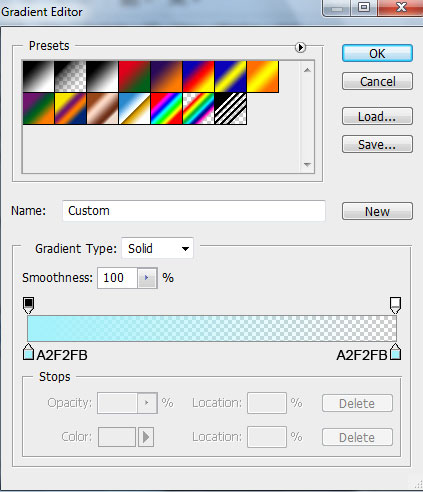
Gradient Editor settings:

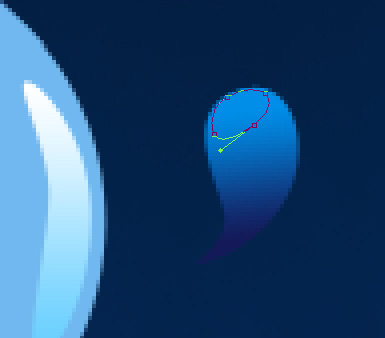
Take the Pen Tool (P) and the Convert Point Tool to represent one more shape:

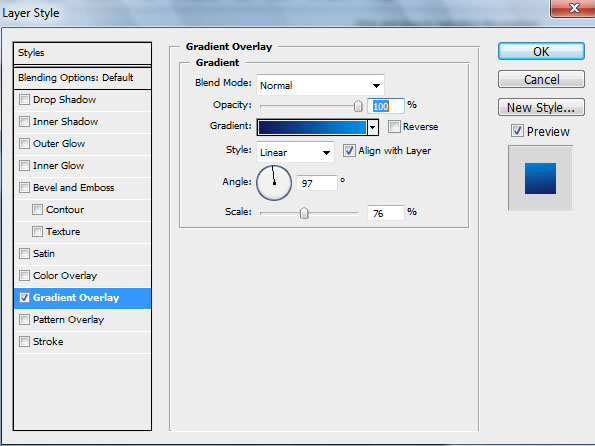
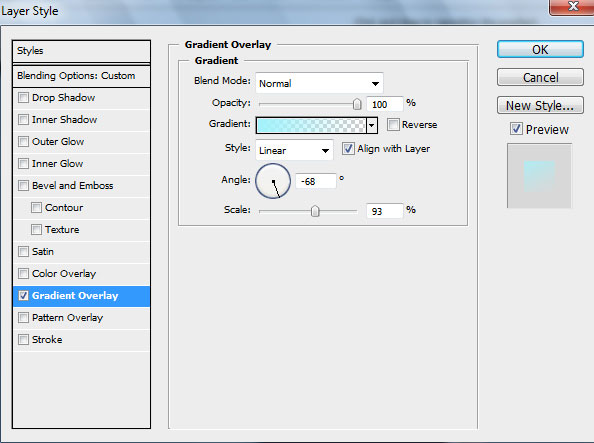
Go to Layer Style and add Gradient Overlay by clicking on this layer in Layers panel:
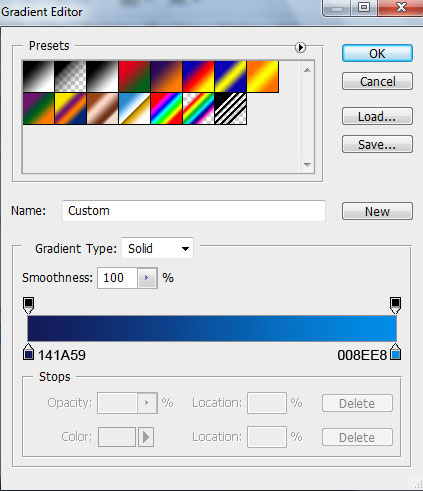
Gradient Editor settings:


On the top part of the shape we’ll insert a highlight, using the Ellipse Tool (U) and the Convert Point Tool.
Set Fill to 0% for this layer and go to Layer Style > Gradient Overlay by clicking on this layer in Layers panel:
Gradient Editor settings:

Combine in a group all the layers composing the ornament (hold in this case CTRL button to select the corresponding layers and then drag the selected layers on Create a new group icon on bottom part of the Layers panel).
Merge Down the group by selecting the group in Layers panel and pressing CTRL+E.
Choose after that the Free Transform (Ctrl+T) to make the rasterized layer smaller, to look the way it is demonstrated below:

Set for this layer Blend Mode to Exclusion:

Make a copy of the last made layer and choose the Free Transform option to incline the copy, changing its sizes too. Set for this layer Blend Mode to Overlay

Make a copy of the very first ornament and select Free Transform option to turn over the copy, placing it the same way indicated on the next picture:

Turn around the recently made copy, using the Free Transform option and set for this layer Blend Mode to Linear Dodge

Make one more copy of the ornament’s layer and choose Free Transform option to turn around the copy, enlarging it and placing it the same way from next image. Set for this layer Blend Mode to Hard Light

Make a copy of the last made layer and select again the Free Transform option to make the copy smaller, situating it on the picture the same way demonstrated below:

Make copies of the earlier made layers also and select after that the Free Transform option to change the copies’ sizes and their placement. Represent finally the same ornament composition, demonstrated on the next picture:

Create a new layer and choose for it a brush of the color #41A8DC, to represent a spot on the central part of the ornament.
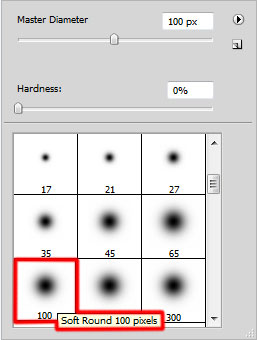

Then apply the Smudge Tool (R) to smudge out the spot on the ornament’s branch, the same way indicated below:

Set Fill to 0% for this layer and change the Blend mode to Linear Dodge.

Comments