
Japanese Sword – How to make a Samurai Sword
In this tutorial we are going to make a quite challenging tutorial. It’s challenging because of 2 things for me: first thing
is that I’m not using a tablet for this one, and the second thing is that the result must be real like. So the theme of this
tutorial is Japan and Japan war culture, and I have an idea: I want to make a samurai sword – the symbol of Japan war
culture. So let’s start.
Create a document and etc. I recommend you to create wide format document.
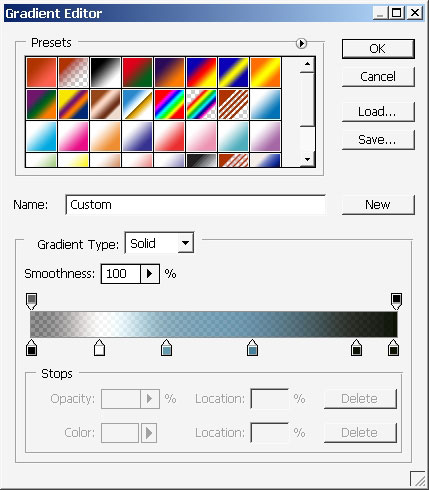
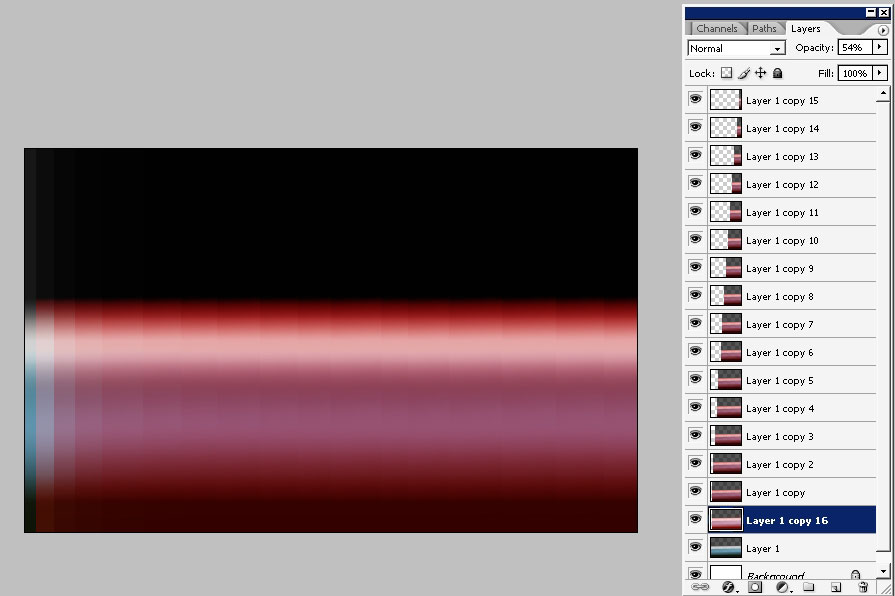
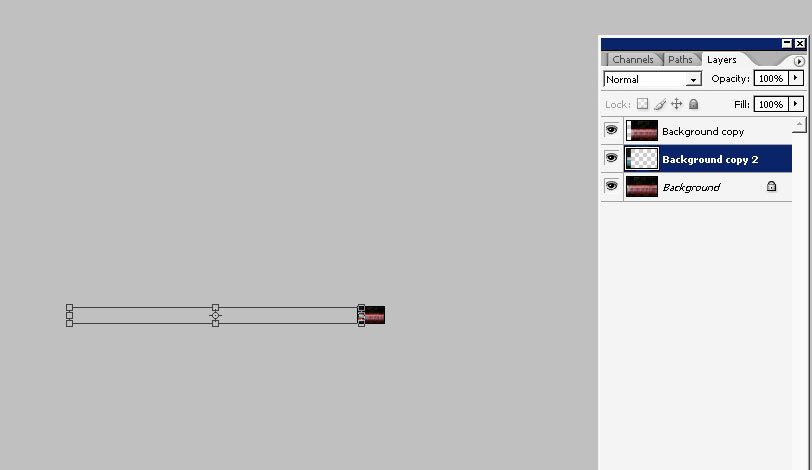
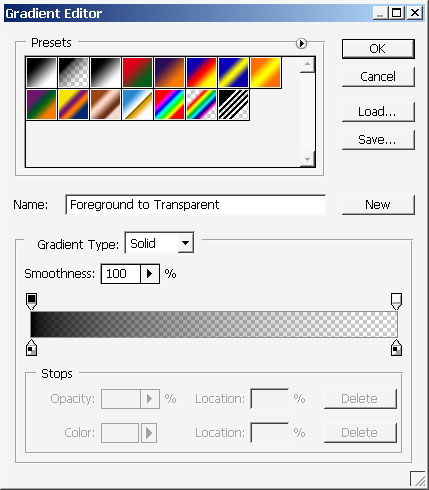
I will start from creation of the gradient as my basic form builder. So here is my gradient:

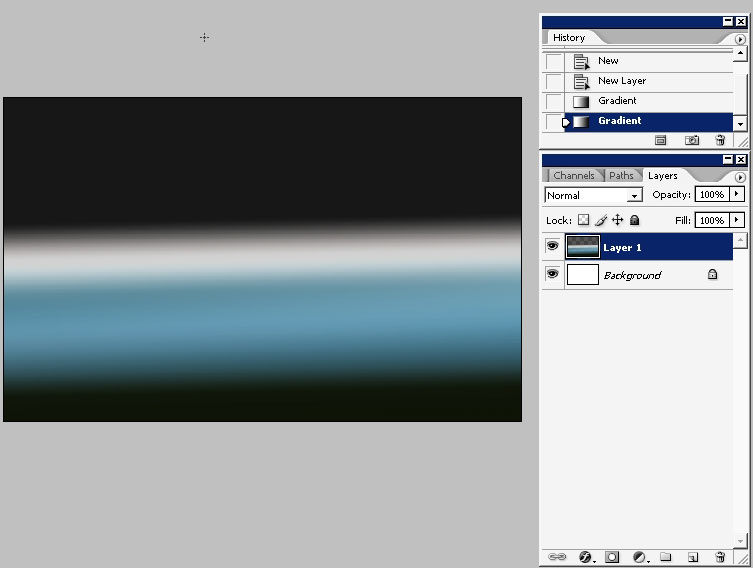
And here is the way I’ve used it. It’s just helped me to create some kind of form and lighting.
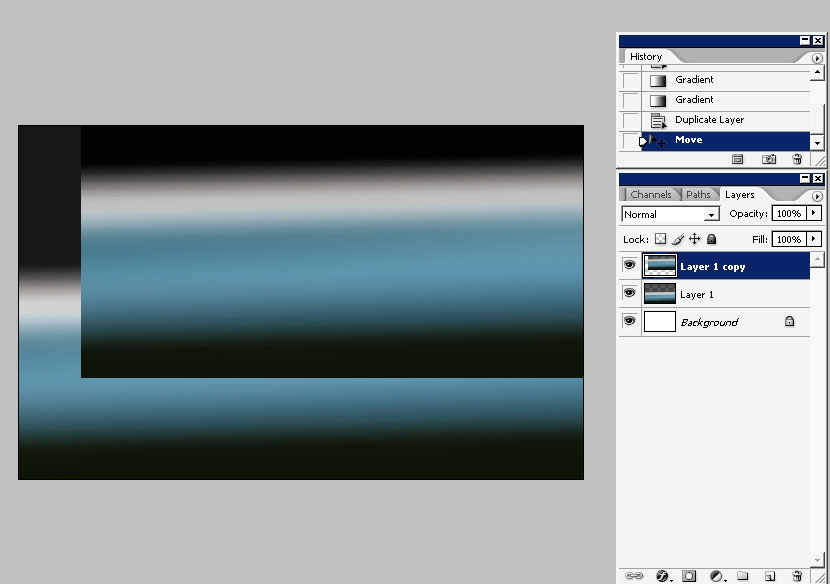
Create a copy of the gradient layer.
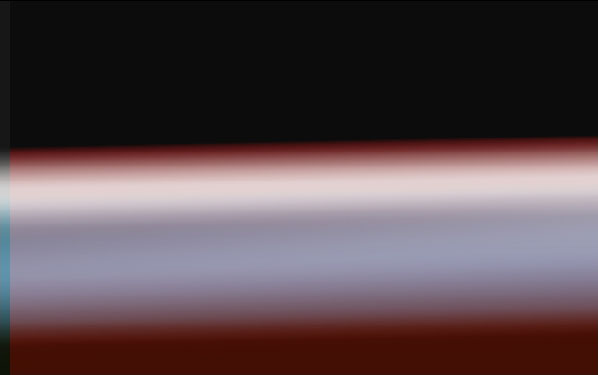
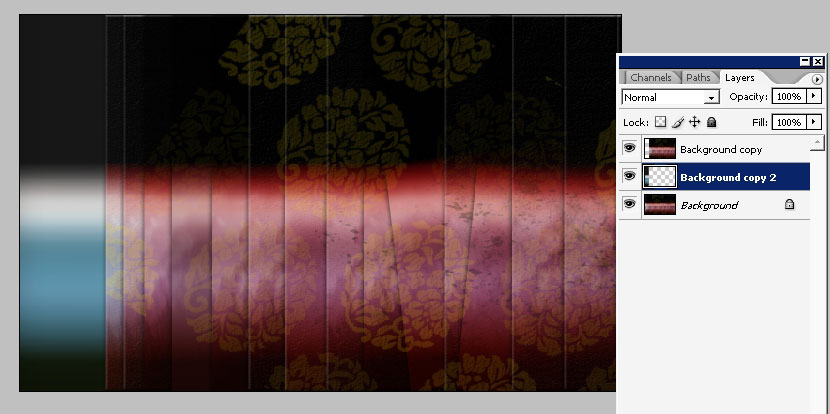
Adjust the tone of the layer copy using any adjustment you want: you can probably get another tone that differs from mine.
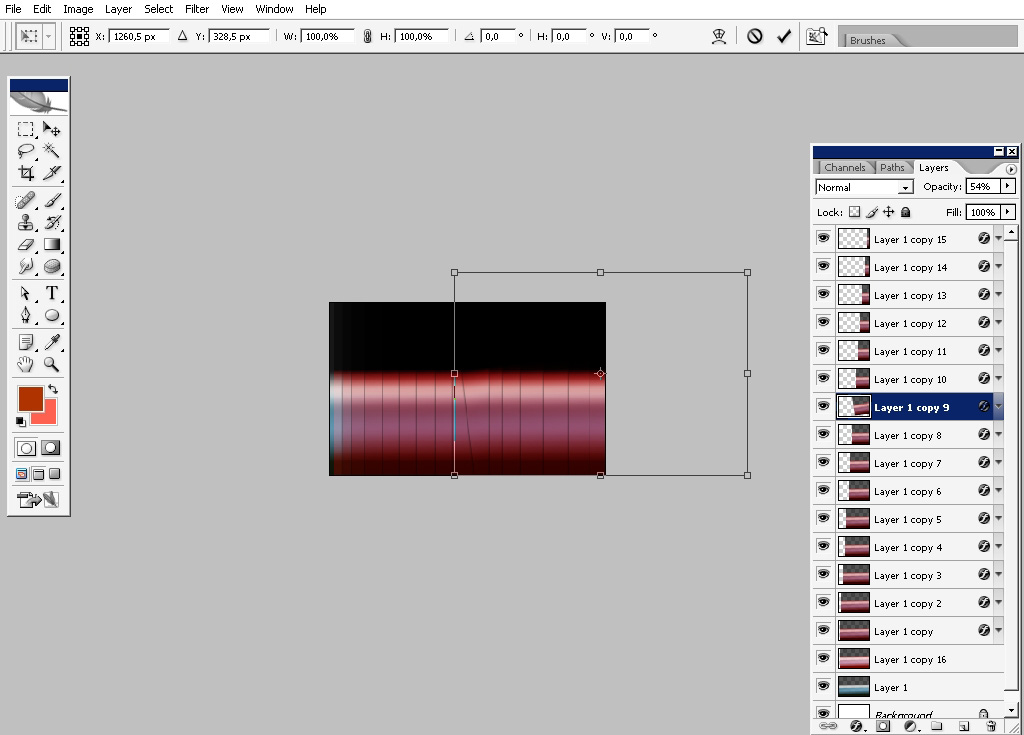
Now a quite easy to do but hard to imagine method. I didn’t thought it was so effective after all. Hold the Shift key (PC)
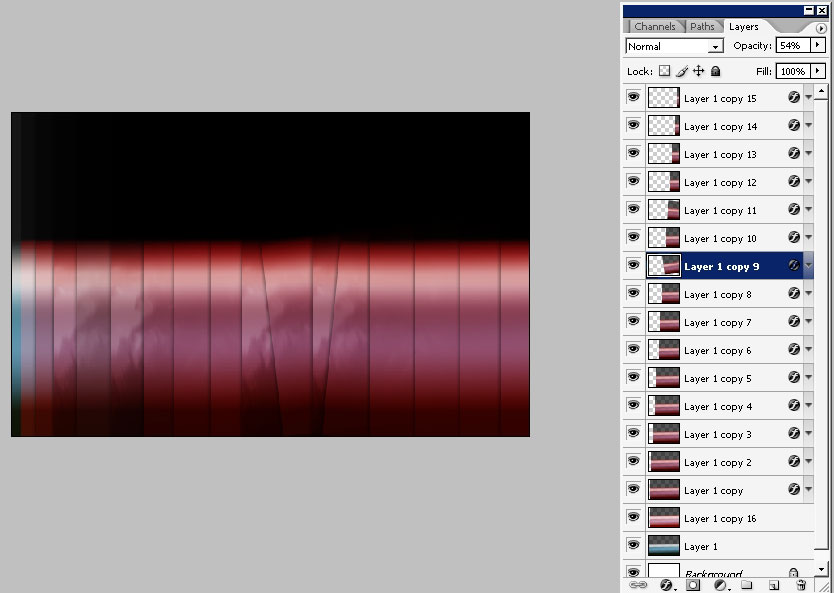
and make copies of the (red tone) layer dragging it a little bit to the side making something like plaiting.
So see the plates batter and more real like add a drop shadow effect on each of this layer. Here is my drop shadow
definition:
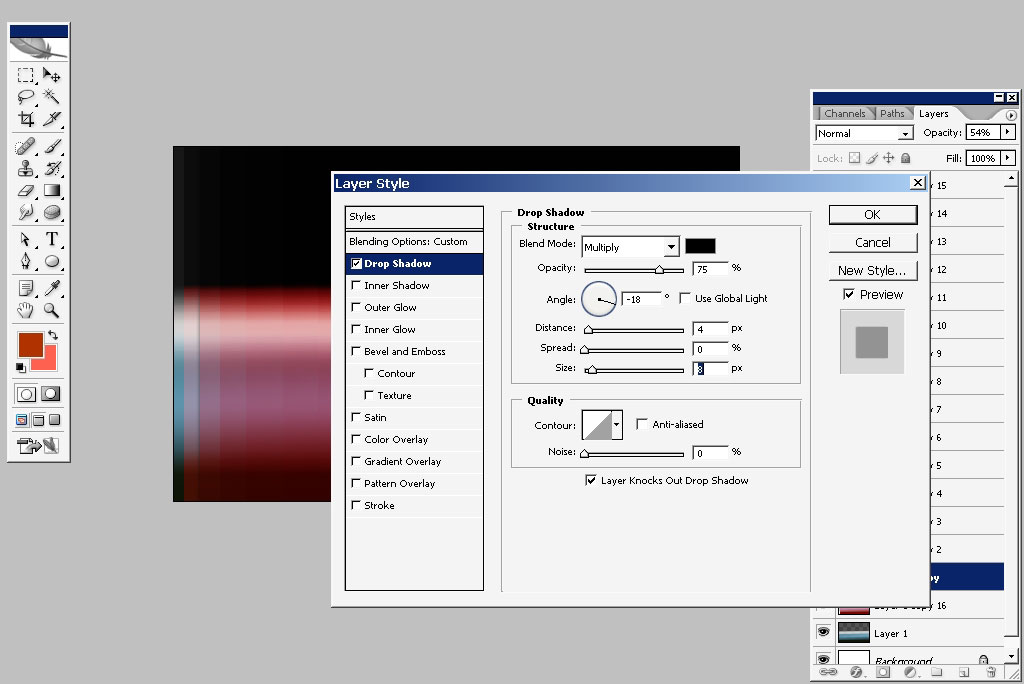
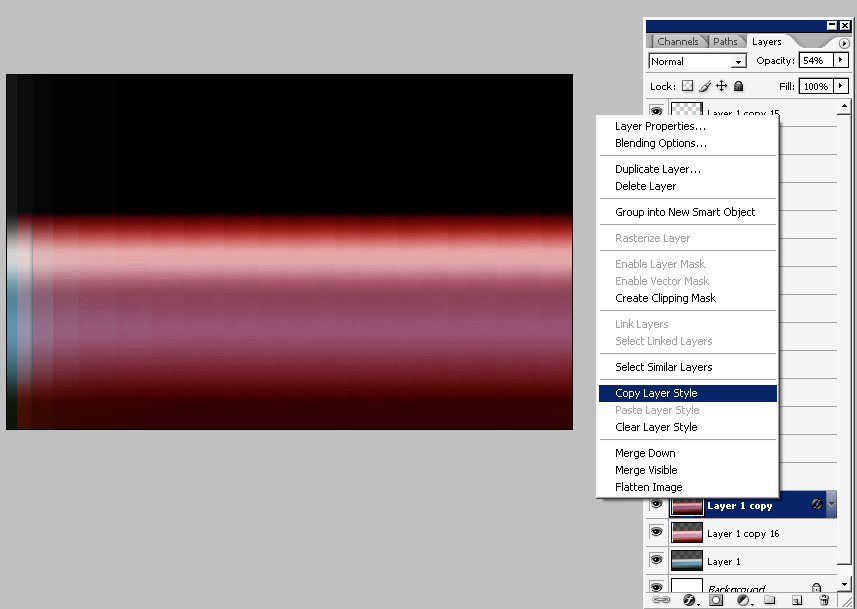
To make it easier you can just copy layer style from one layer to another.
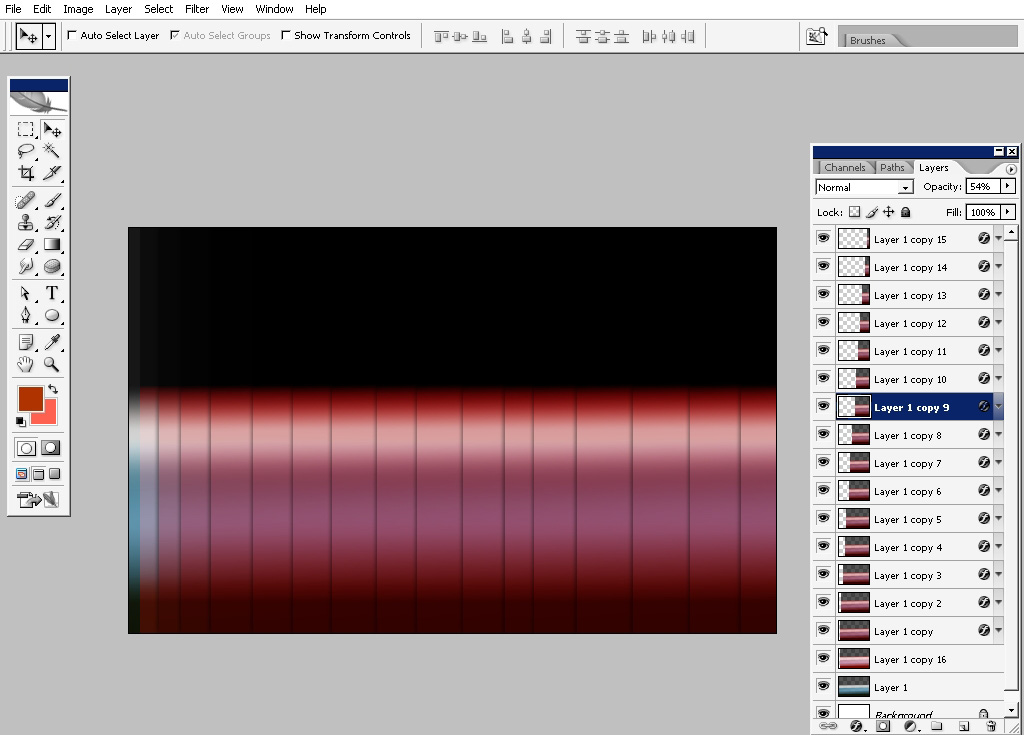
The step towards realism will be the transforming of some plates.
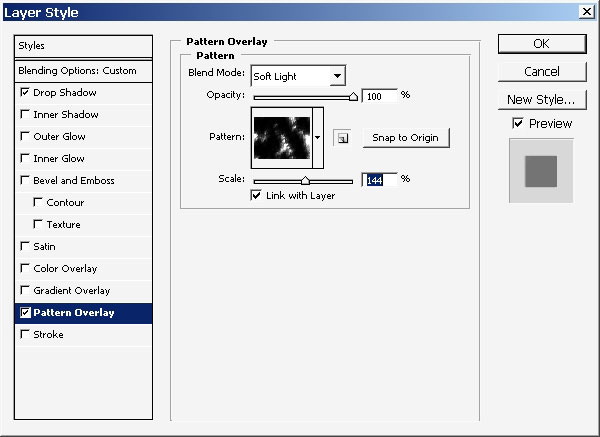
Another step towards realistic look will be giving the plates some texture and pattern. So i will just use pattern overlay in
layer styles box.
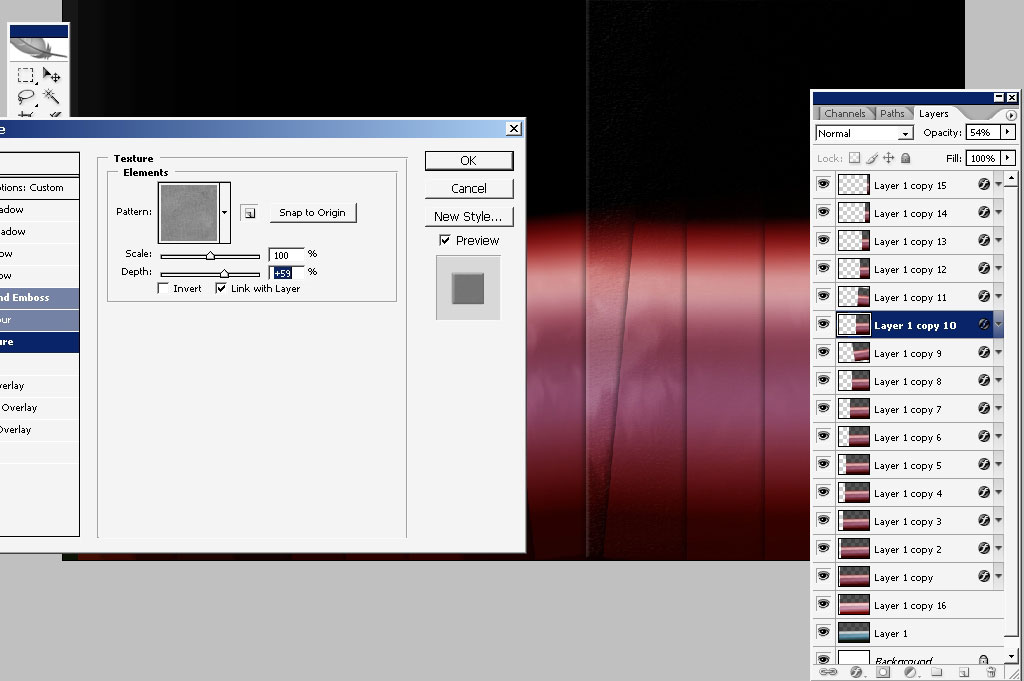
Use bevel and emboss to create a little bit of texture.
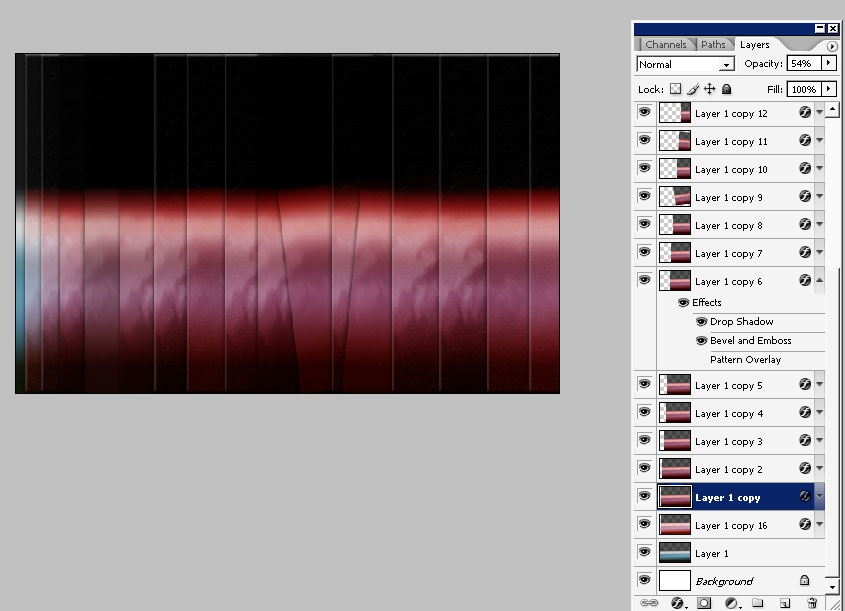
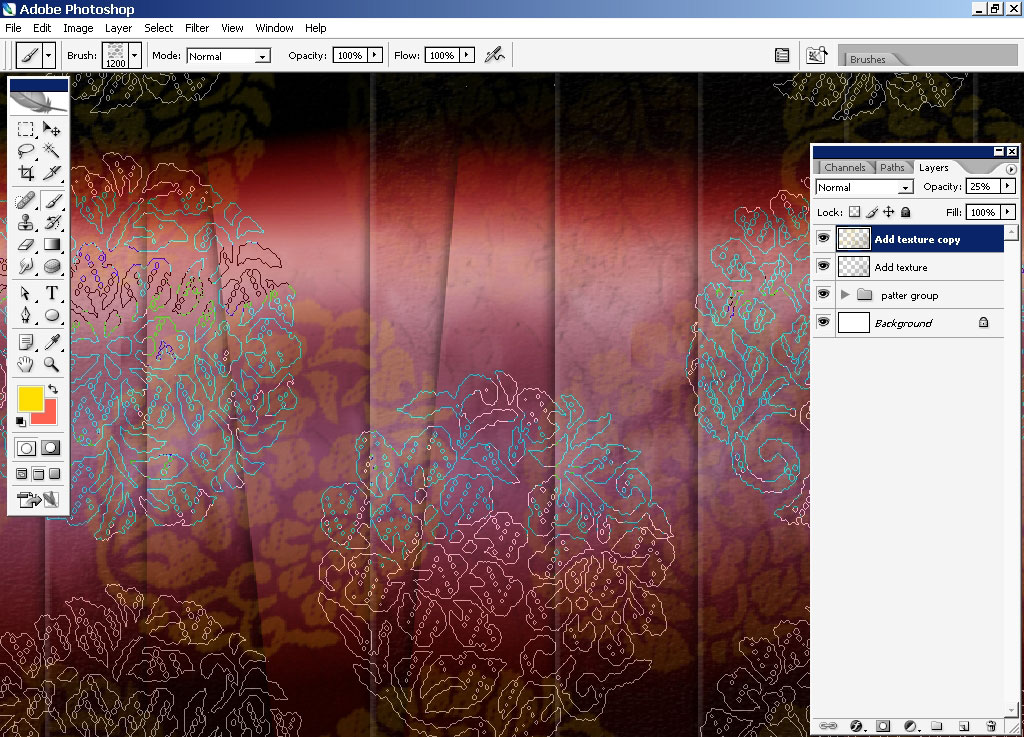
A little bit of Chinese flower pattern will be a great decision.
Layer overall opacity must be set to about 25% – 30%.

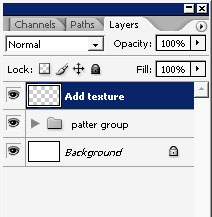
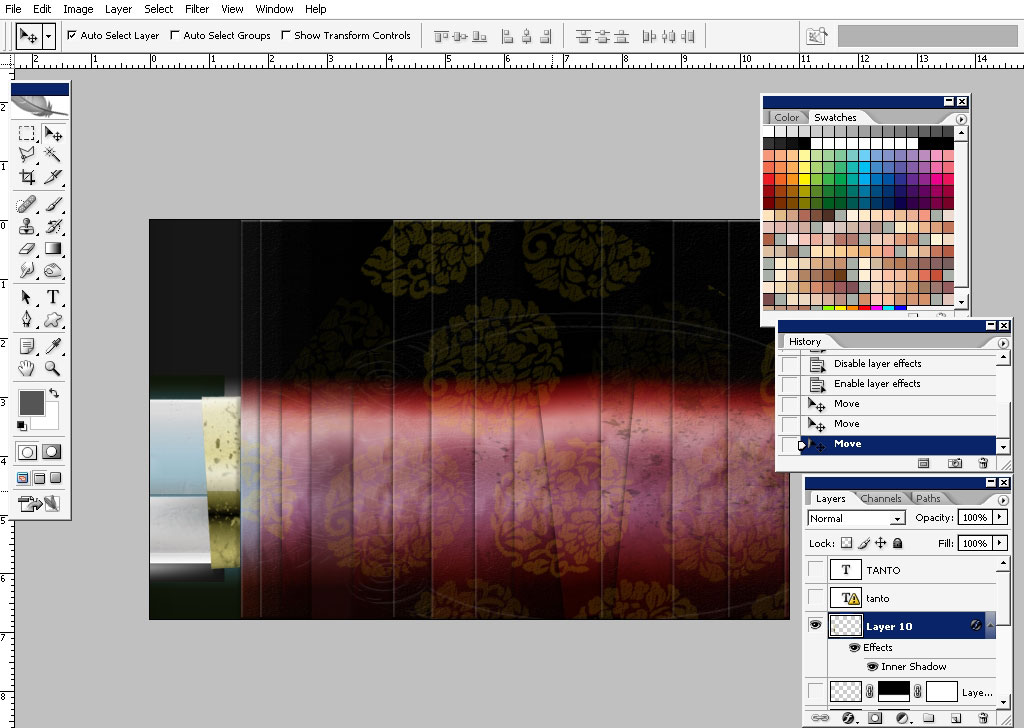
Next step will be the making of the blade. I want to flip a trick here. I’ve flattened all the layers made a copy of my
background layer and cut the one of the layers in 2 pieces. Make a cut just where that blade should begin. So if you got me
right you should have only 3 layers now. Here is some a screen shot of my layer box.
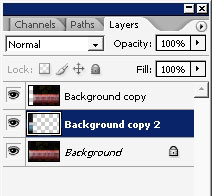
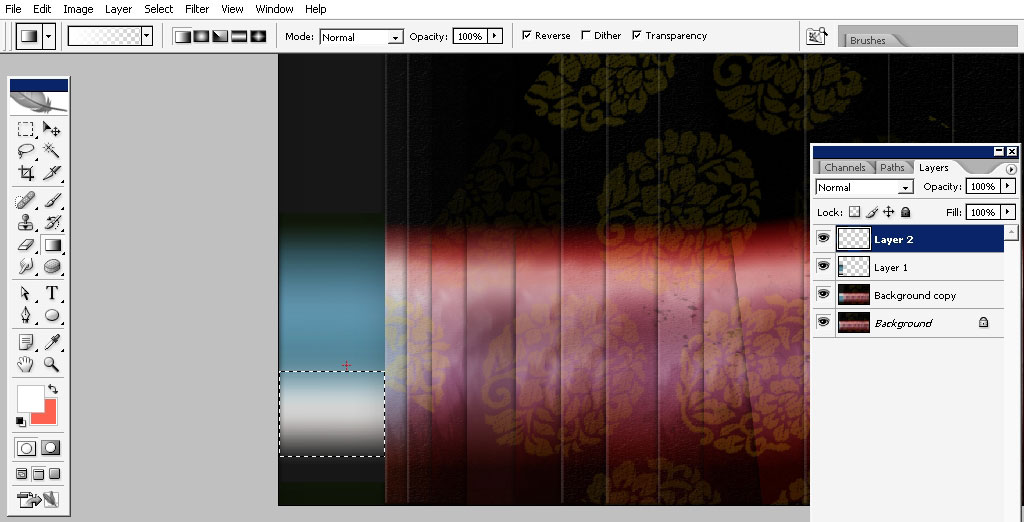
Make your canvas just a little bit wider on the left and just transform the blade” layer to the left too.
Make a selection. In this stage you should get a reference for the blade. You have to know how the lights go and the shading
itself.
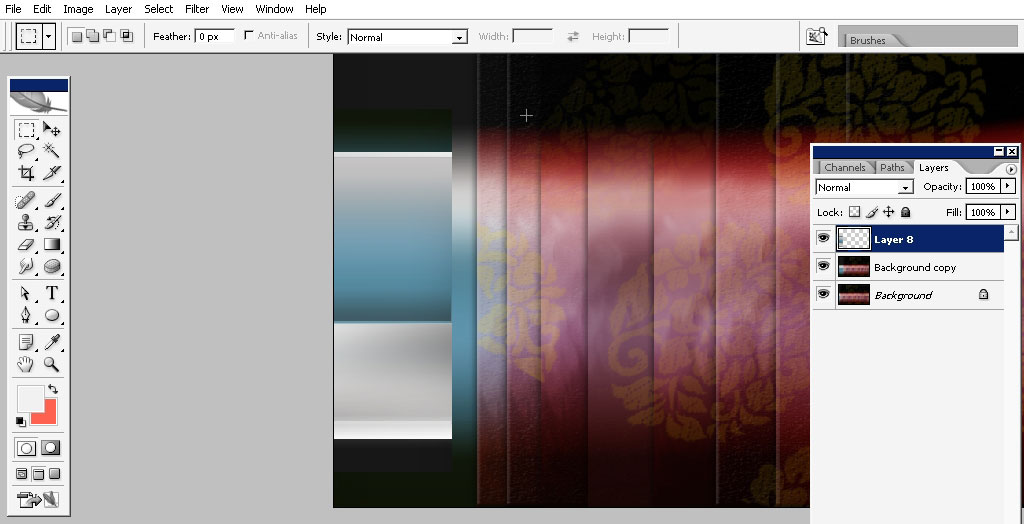
Make a new layer just now (the area must be selected). Overlay the area with white to transparency layer from up to down.
Add some plates to the edges of the sword. You can make it with a brush or just selecting and filling the selected areas with
some color.
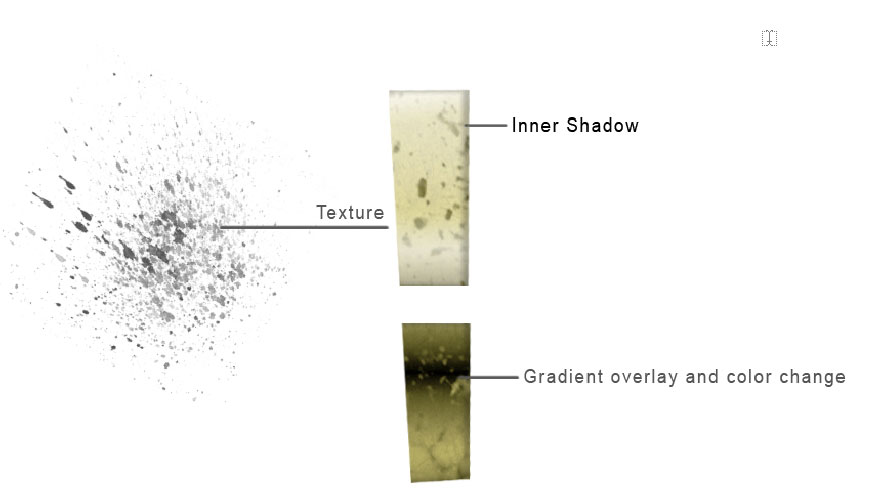
The next and the final step will be the creating of that metal thing that basically holds the blade in tanto swords.
Create a new document or just a new layer on your working document.
So here is the explanation of the stuff I used on this thing.
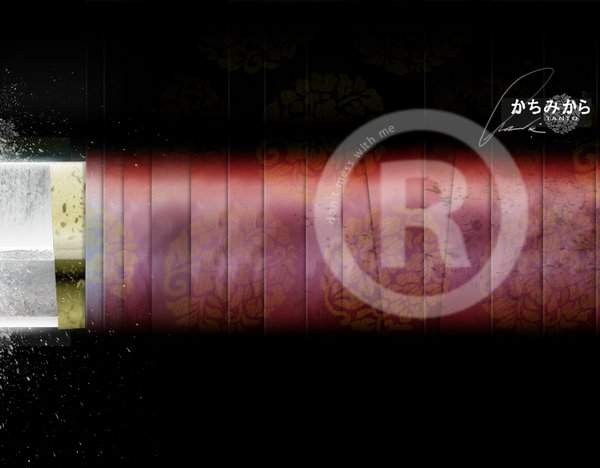
As you see – especially if you are working on the TFT display if the sword itself is nor separated from background for good.
So create a new layer choose black to transparency layer and just get rid of the background bugs just separating the sword
using blacks.
And this is it on making a tanto sword in Photoshop.
Comments