
Japan style wallpaper
This is another part of wallpaper mania. This time we will create some king of Japan style wallpaper. No tablet for this one; all will be done with a mere mouse, so let’s go.
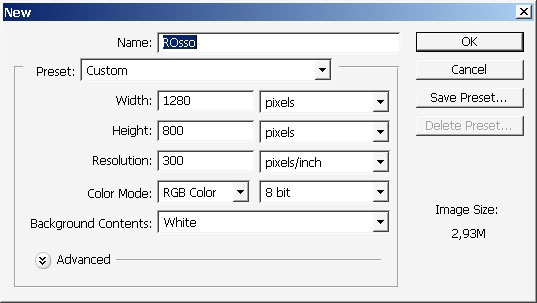
Create 16:9 (proportions) document.
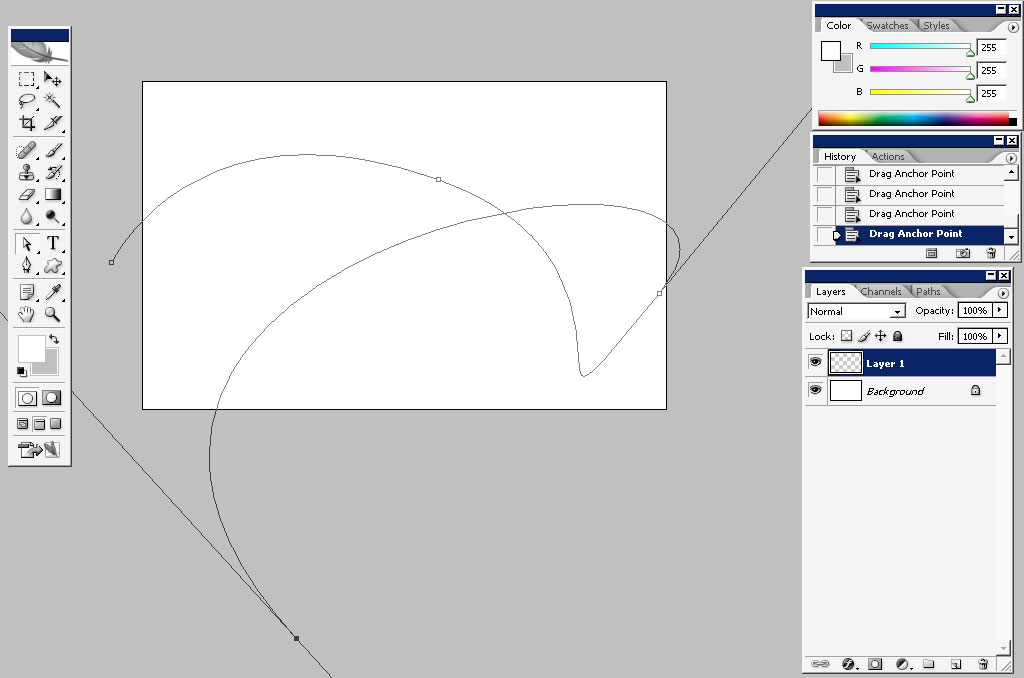
Select pen tool and make several curves.
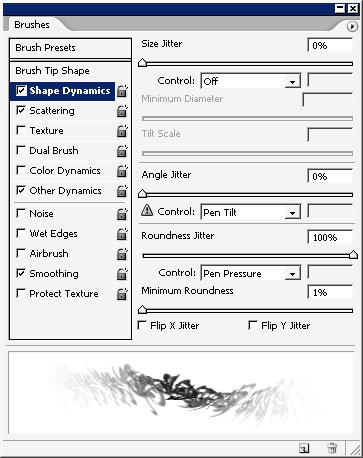
Here is the brush sample which I’m going to use.

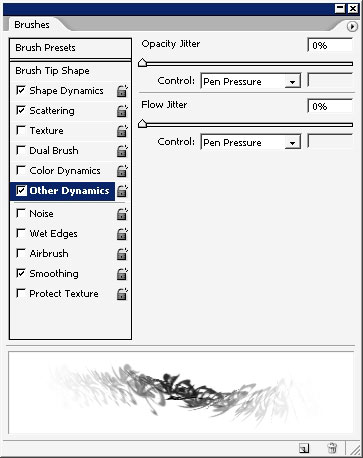
Here are the brush settings.
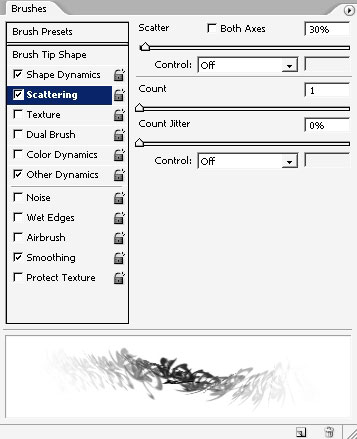
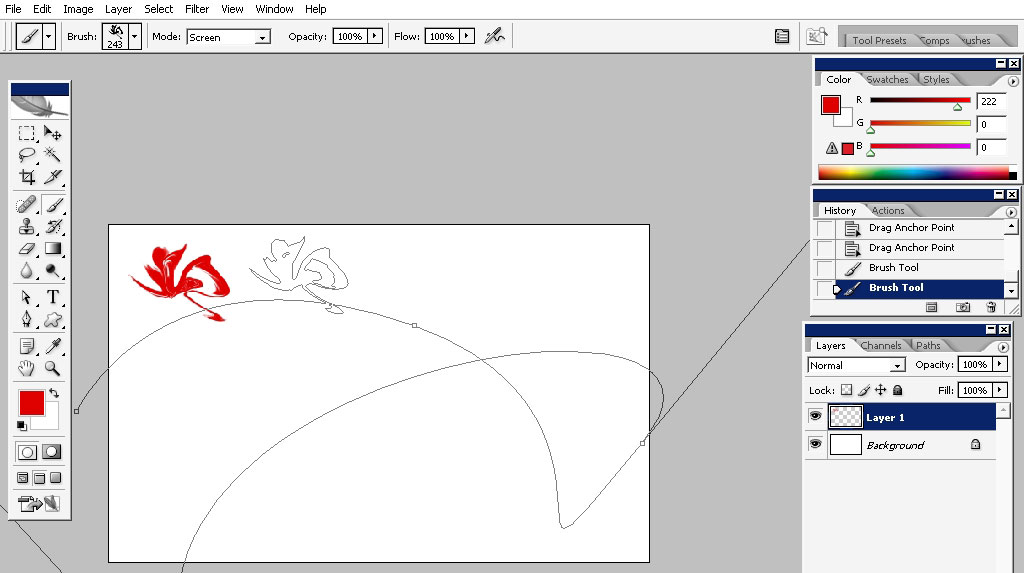
Stroke the path (note: the past must be selected).
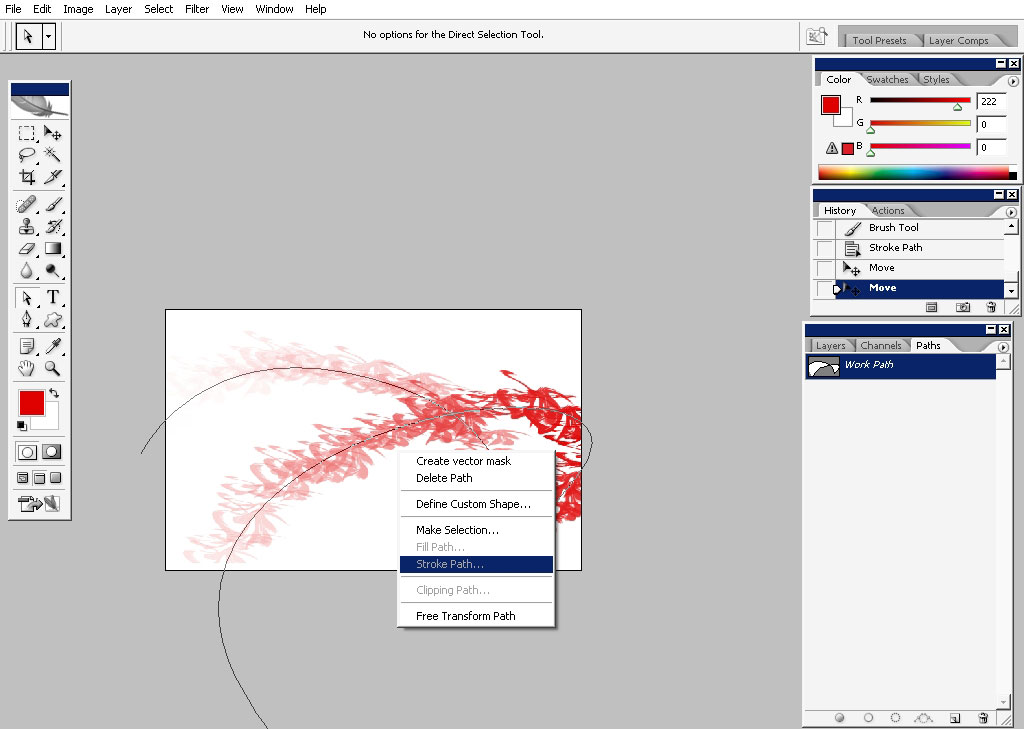
You can see that the re is reaction to the pressure.
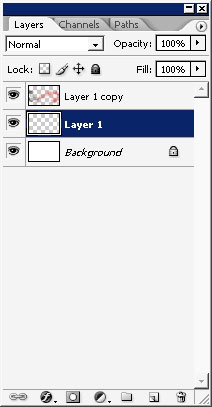
Make a copy of this wave.
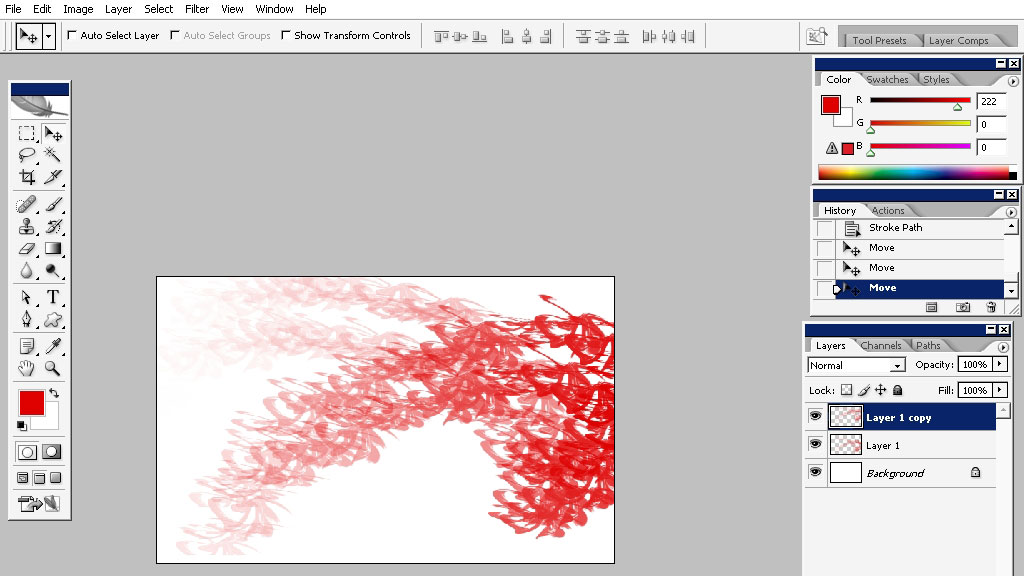
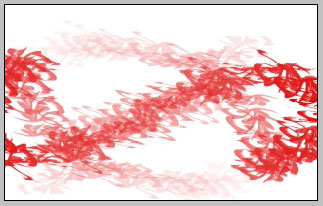
So we now have 2 layers. Rotate one of them.
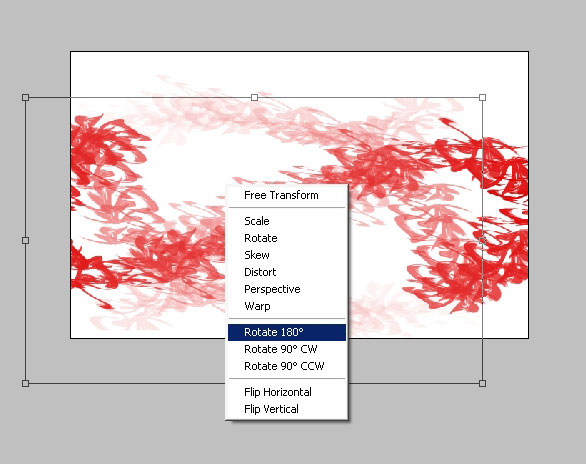
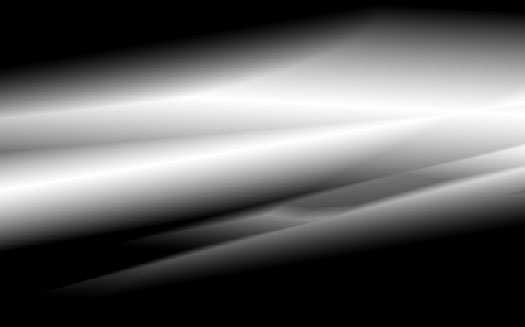
Something like this.
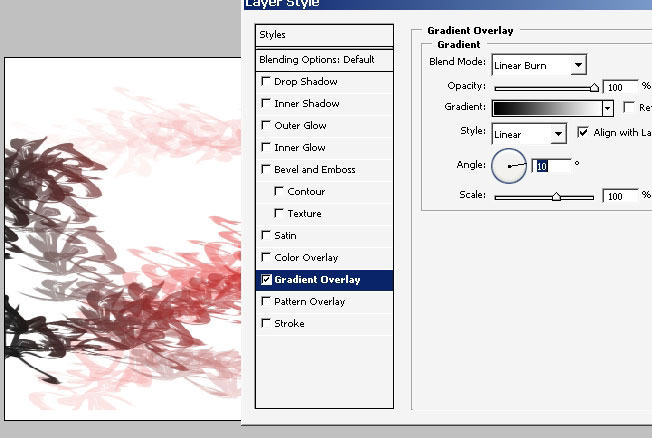
Now, use gradient overlay on the one that is on the left (layer styles). The gradient blending mode is: linear burn.
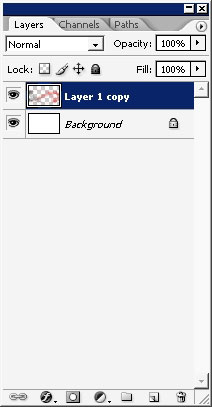
When you think you are done merge these 2 layers together.
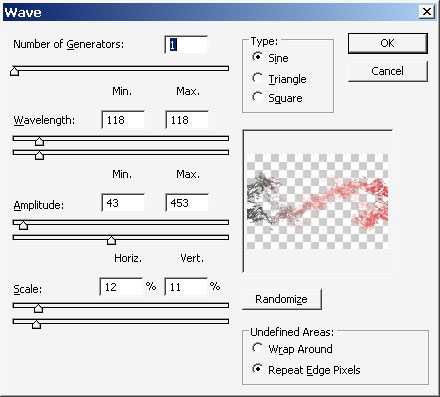
Use wave filter on the layer. Watch the settings carefully. Switch to the SIN wave type.
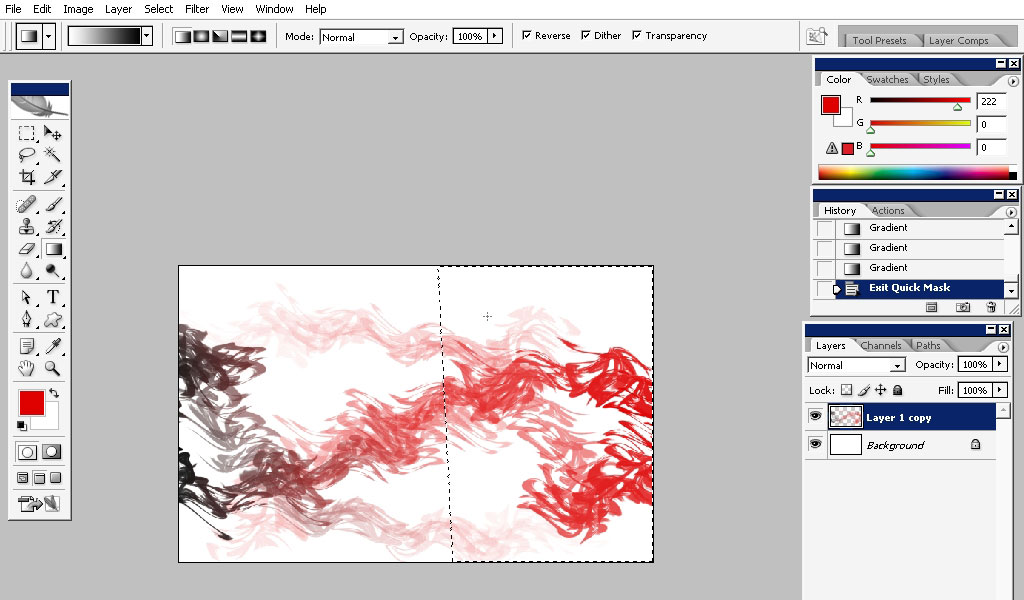
Now I would like to drop some effects on my pattern. But I really don’t
want to cover all this with effects, so this is why we will use quick
mask (Q) and black to white gradient to set the area the effects to be
on.
So as you see the effects will be only on the area that is white now.
Tap Q to ext quick mask and to see the selection you’ve made.
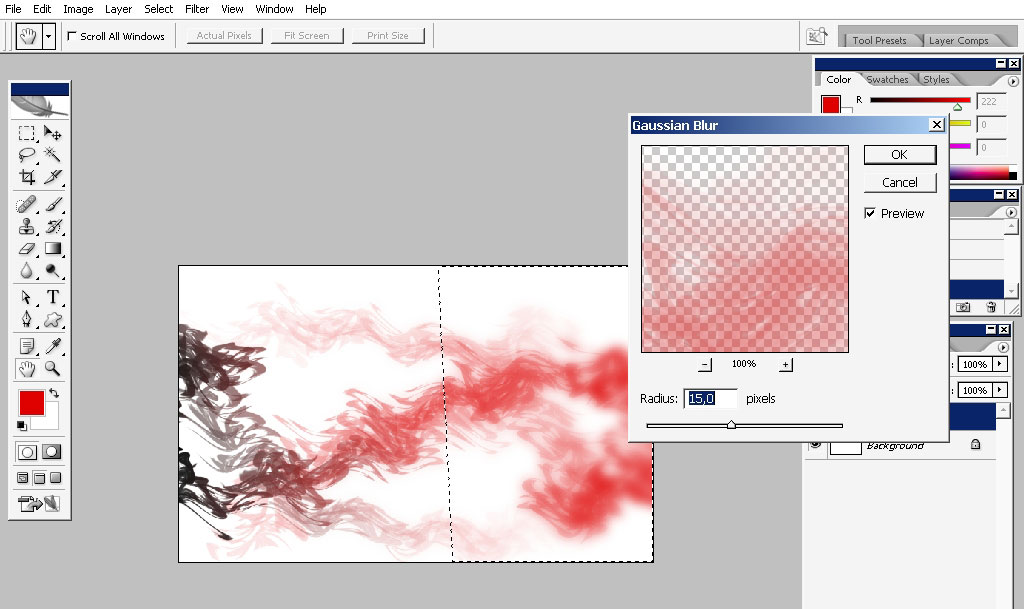
I will use blur on the area.
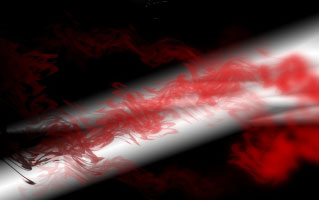
Now we are done with our foreground and now let’s make some interesting backgrounds.
Firs create a layer between the background and our foreground layer.
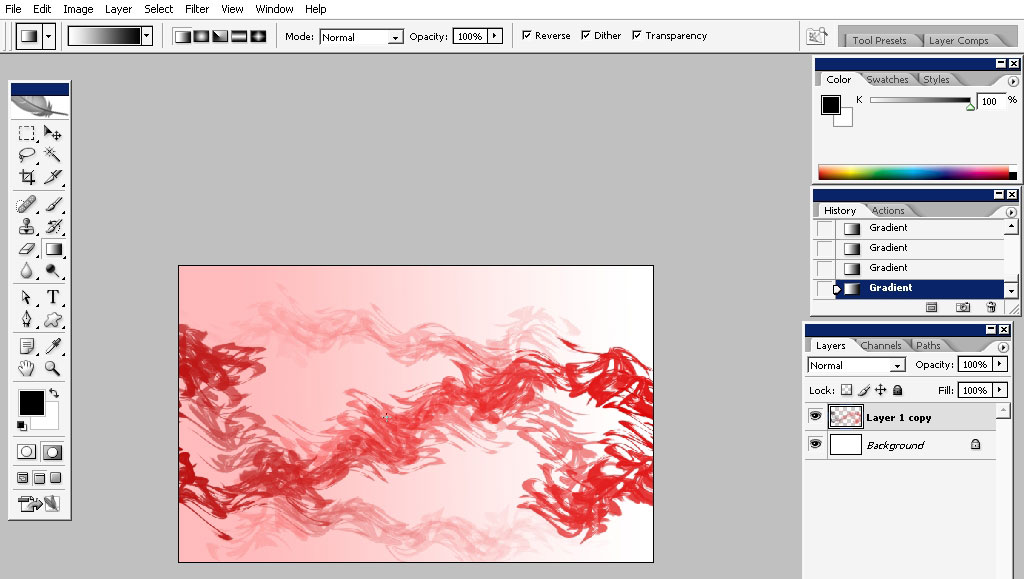
I will use gradients to create a background, and here are my gradient settings.

I’ve just player with the gradient and we get this beautiful effect TNX to the PIN LIGHT blending mode.
Just a little change there and switch on our foreground and there we have it – beautiful.
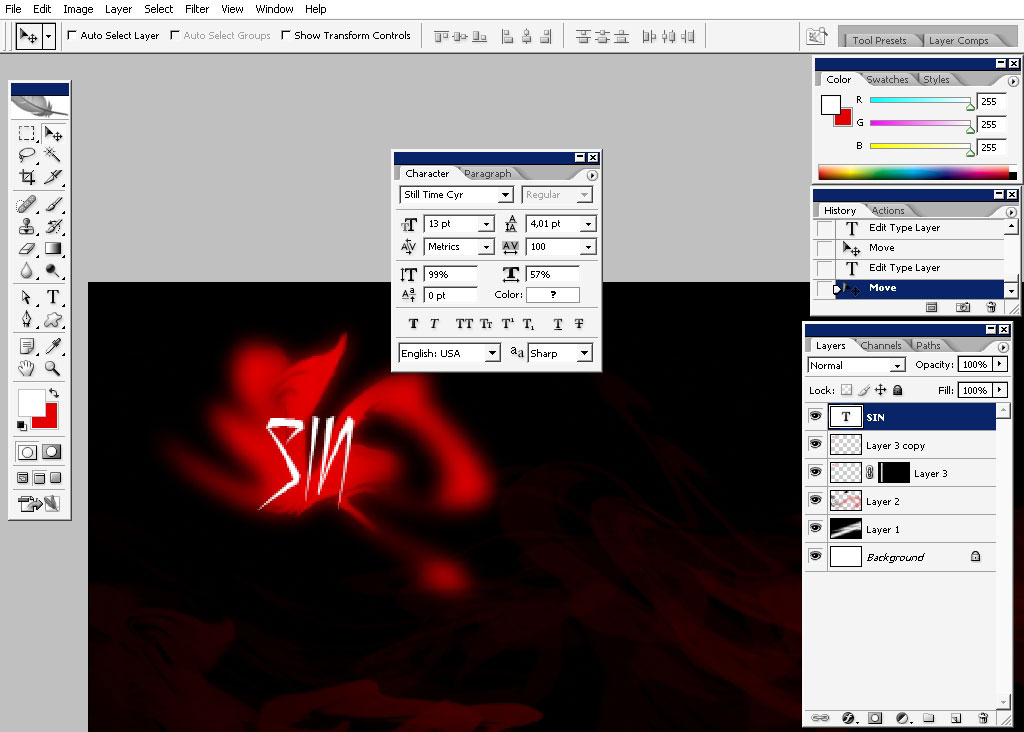
Now this picture needs some text I think.
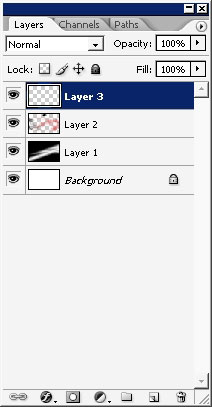
….And another copy with the mask.

As you can see here the small logo just blurs on the sides. You can
make it manually using the blur brush or just use Gaussian blur on he
bottom copy and hide the sides (using mask) of the sharp top copy.

White text for the contrast and we are basically done.
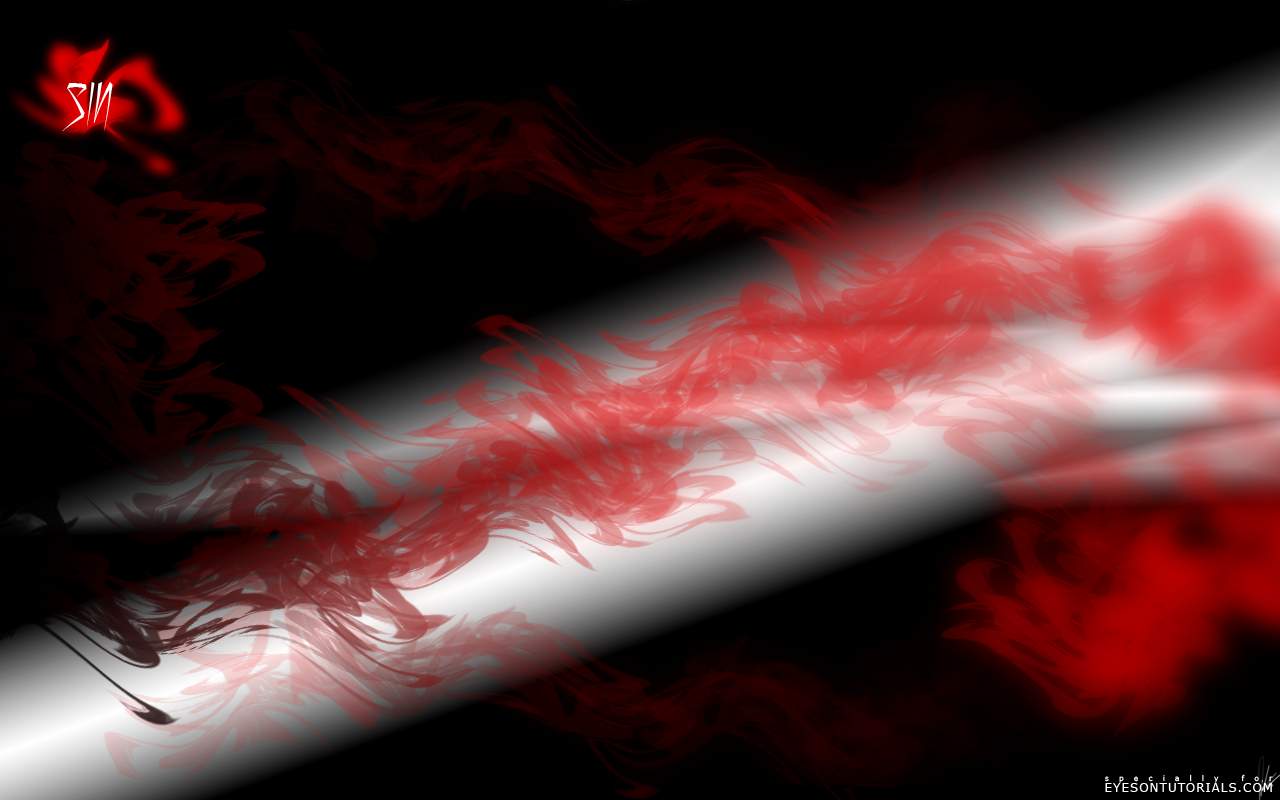
Hope you found something useful in making wallpapers.
Comments