
Water drops on a spider web
June 16, 2008 | 0 comments
Start with new document, fill background layer with solid
color of your liking.
color of your liking.
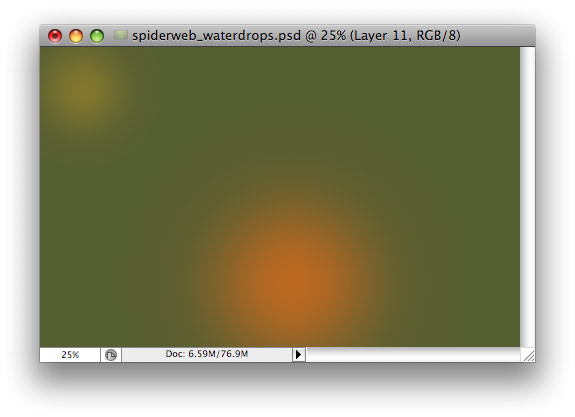
With very large soft brush (B), put some colored dots
here and there.
here and there.
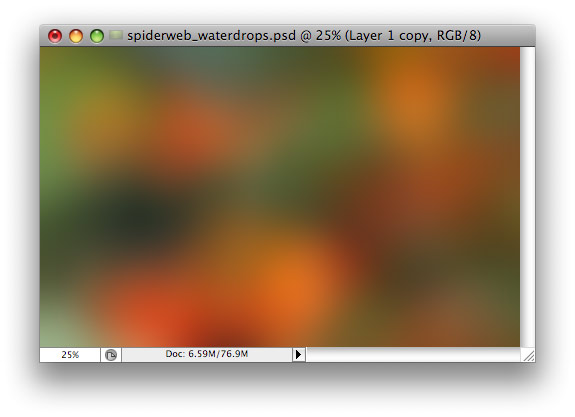
Repeat until you are satisfied with the background. Apply
some Gaussian Blur (in Filter menu – Blur) and add a little noise (Filter menu –
Noise – Add noise).
some Gaussian Blur (in Filter menu – Blur) and add a little noise (Filter menu –
Noise – Add noise).
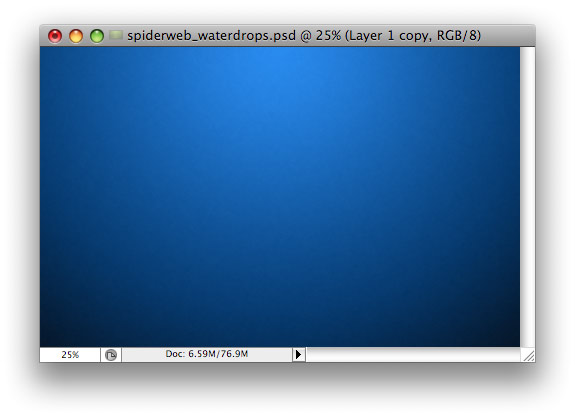
… Or, you can use blue-to-black radial gradient to fill
the background!
the background!
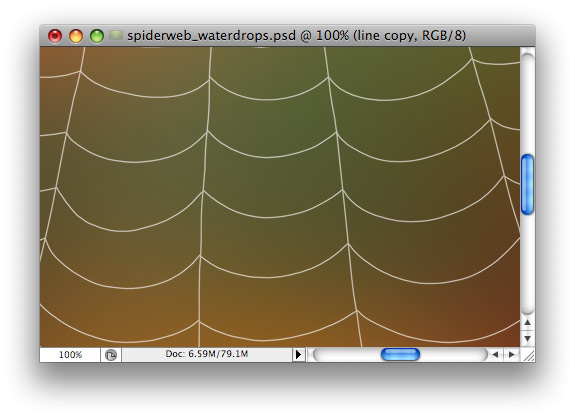
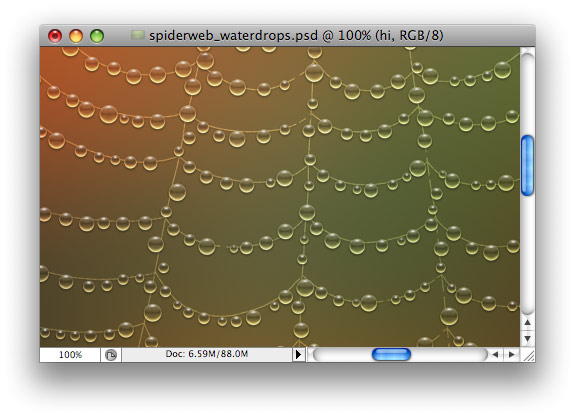
Set foreground color to white, set small (2px) hard
brush, and draw the web. This is how it looks at 100% zoom…
brush, and draw the web. This is how it looks at 100% zoom…
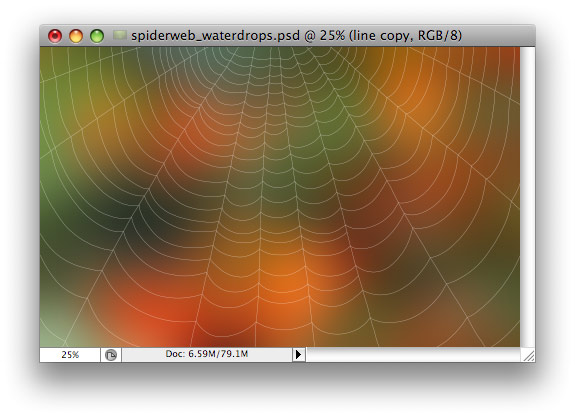
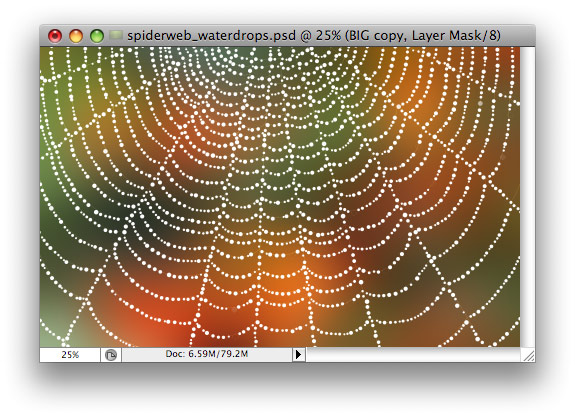
… and this is zoomed out view.
Set web layer blend mode = Overlay, add some Noise to
this layer, then go to Layer menu – layer style – blending options, and add some
shadow (size = 1px, mode = overlay, opacity = 40-50%)
this layer, then go to Layer menu – layer style – blending options, and add some
shadow (size = 1px, mode = overlay, opacity = 40-50%)

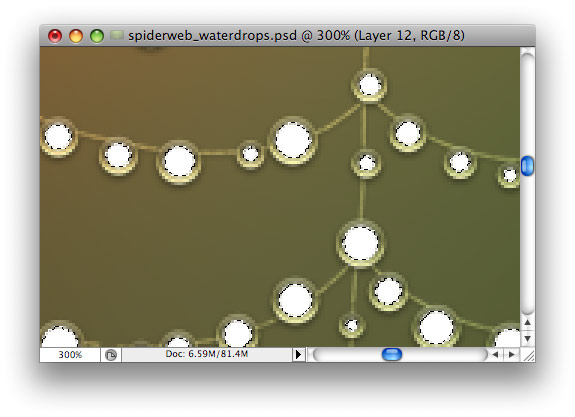
Now it is time to create water drops. Drawing drops one
by one is not very efficient. Instead, we will use the power of Photoshop brush
settings! Create new layer, then open Brushes palette window (from Window menu).
Click brush tip shape. set Diameter to 13px (or adjust it accroding to your
image size). Set spacing to about 200%.
by one is not very efficient. Instead, we will use the power of Photoshop brush
settings! Create new layer, then open Brushes palette window (from Window menu).
Click brush tip shape. set Diameter to 13px (or adjust it accroding to your
image size). Set spacing to about 200%.

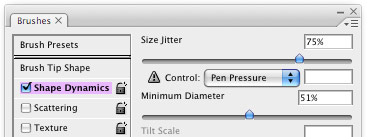
Then click Shape Dynamics = make sure the checkbox is
checked. Set Size Jitter to about 75%, and minimum diameter to about 50%.
checked. Set Size Jitter to about 75%, and minimum diameter to about 50%.
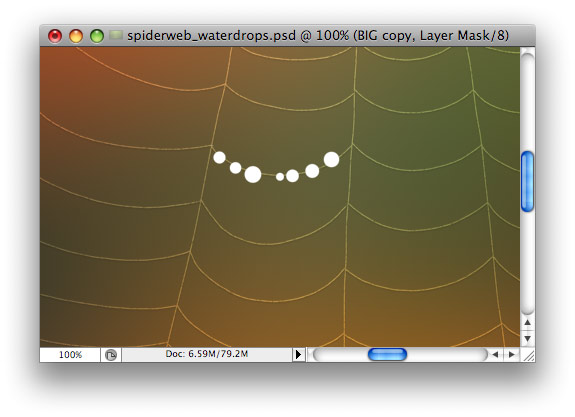
Now make a single brush stroke, and you should get many
nice “water drops” in a single stroke!
nice “water drops” in a single stroke!
Do not stop until entire web is filled with water
drops.
drops.

(this is zoomed out view)
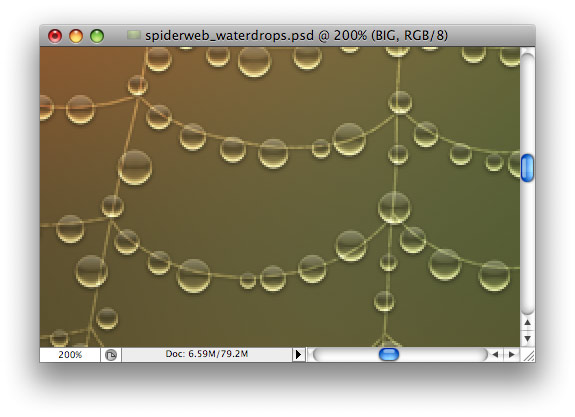
Our drops are now just white dots. To turn them into
water, use the power of Layer Style! Open Layer Style, set layer blend mode to
Multiply (dots are white, this will make them invisible) and add the following:
– Drop shadow (multiply, 50%, 1-2px) – Inner shadow (angle = -90!, white color,
Overlay, 2px) – Inner Glow (Overlay, 1px, 50%) – Bevel and Emboss (highlight
mode = screen 40%, shadow mode = white, overlay, 50%, size=3px, soften=6px) –
Satin (color = black, Overlay, opacity = 20%, distance = 8px, size = 2px). Much
better!
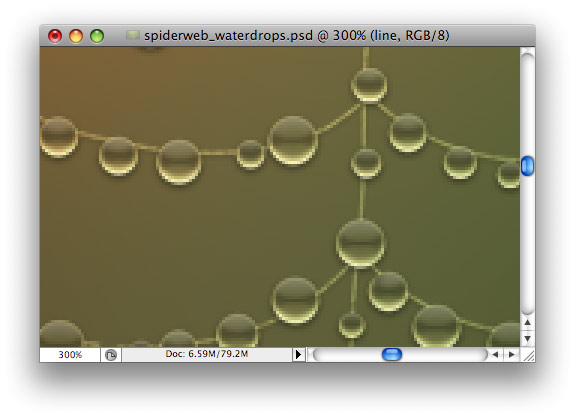
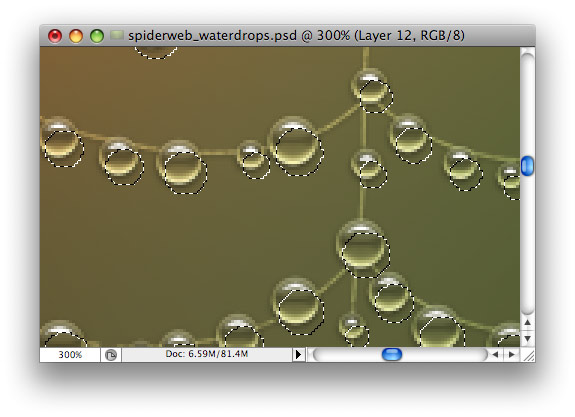
Now, the lines of spiderweb are visible through water
drops. This is not very beautiful. Right-click on “thumbnail” icon representing
drops layer in Layers palette, context menu will open, click “Select Pixels”.
drops. This is not very beautiful. Right-click on “thumbnail” icon representing
drops layer in Layers palette, context menu will open, click “Select Pixels”.

Select layer with spider web, and delete selection.
I want to add small white highlight (as if reflecting
light from above) to each waterdrop, but it cannot be done with layer effects. I
also do not want to use brush to put every dot manually. Instead, Select Pixels
of water drops layer again. Then go to Select menu – Modify – Contract
(2px).
light from above) to each waterdrop, but it cannot be done with layer effects. I
also do not want to use brush to put every dot manually. Instead, Select Pixels
of water drops layer again. Then go to Select menu – Modify – Contract
(2px).
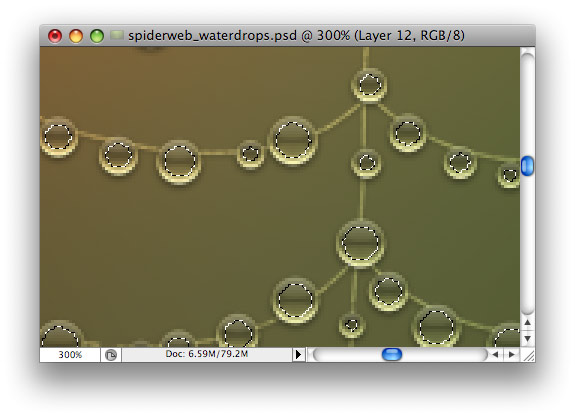
Create new layer, fill selection with white color.
Go to Select menu – Modify – Expand (2px). Then move
selection 4 px down.
selection 4 px down.

Delete selection. Then move selection 2px left, delete
again, then move to the right, delete again.
again, then move to the right, delete again.
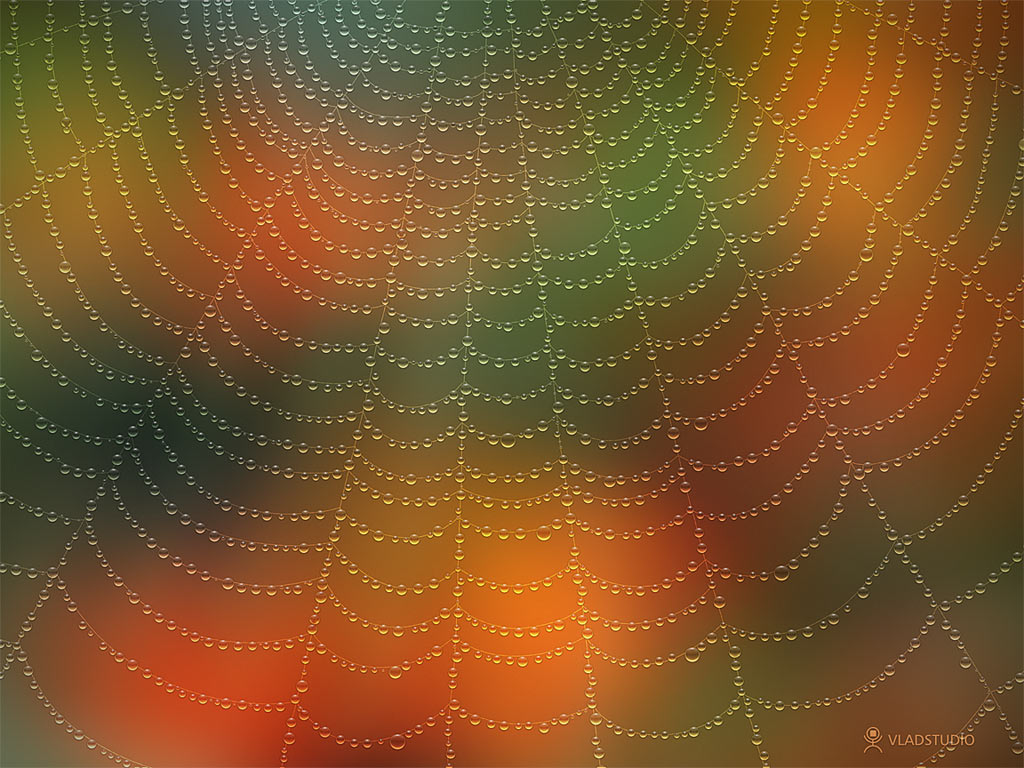
Author: Vlad Gerasimov
URL: http://www.vladstudio.com

Comments