
Sonic Wave
Hallo and welcome in making sonic wave lesson. This is a tutorial about making of such design elements that you can see in Ads or even games. I did saw something like this in one of the iPhone games, so that is why I’m making it right now. I did it in about an hour and the most long lasting part was to align all the elements together so if you will be able to do these elements you can be making the games for mobile phones or something like this.
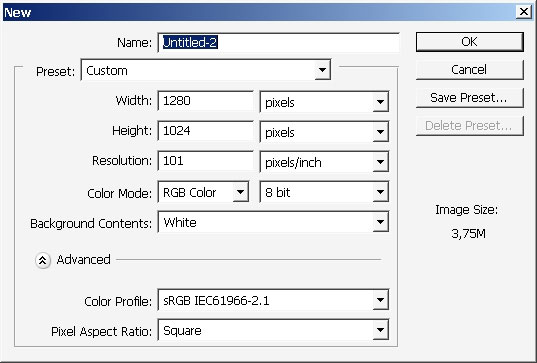
Here are my image dimensions. Quite a wallpaper size there:
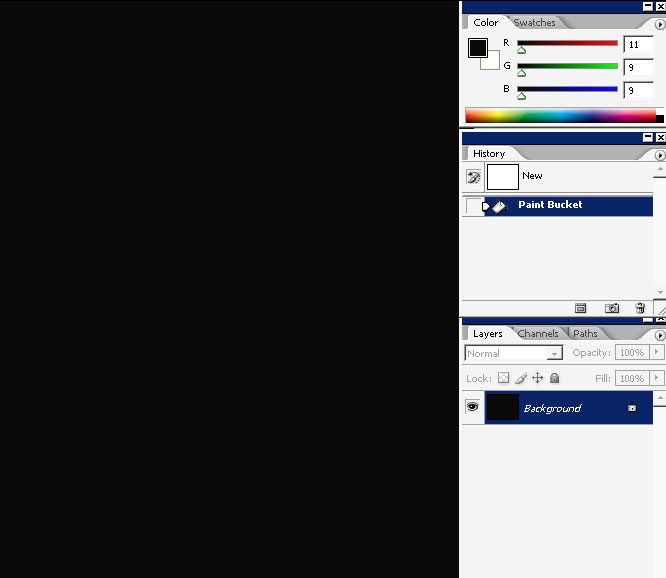
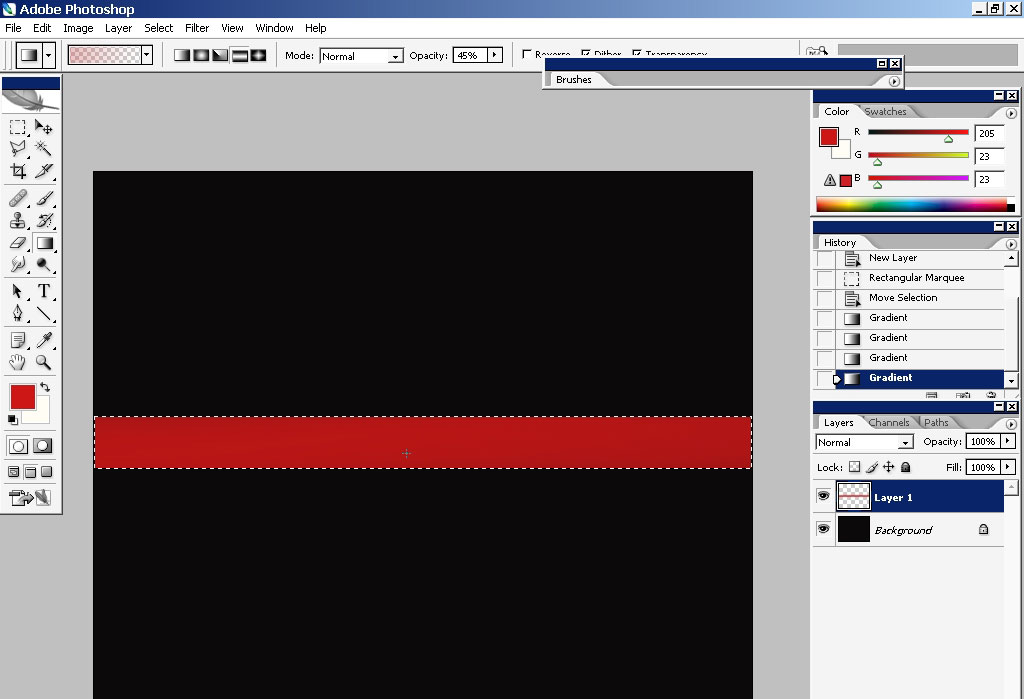
Fill the background with black color.

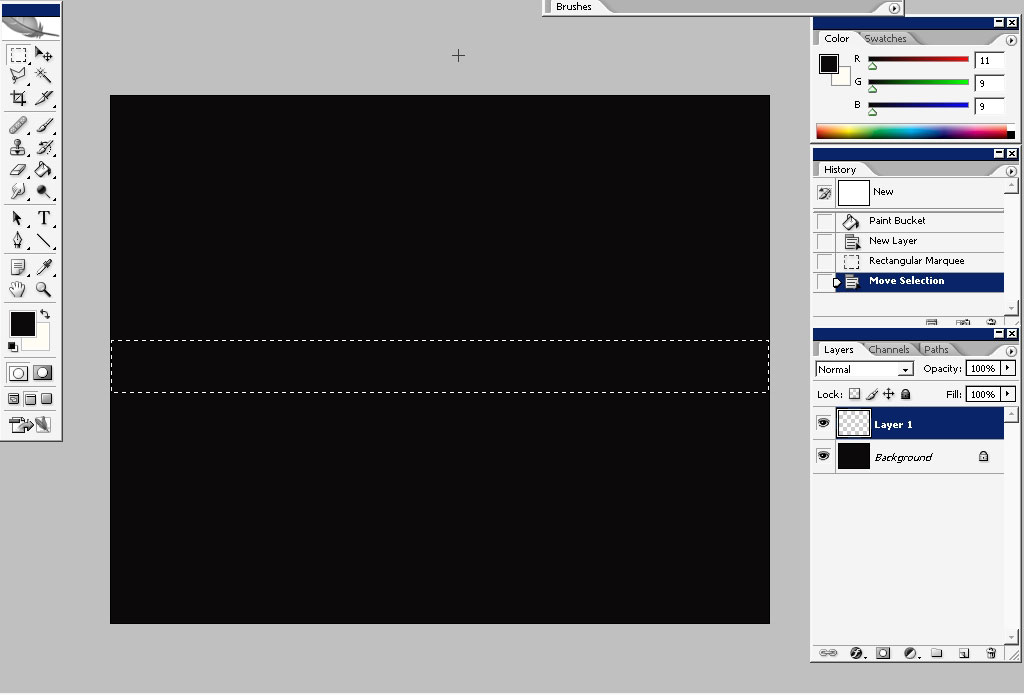
Select about this area.
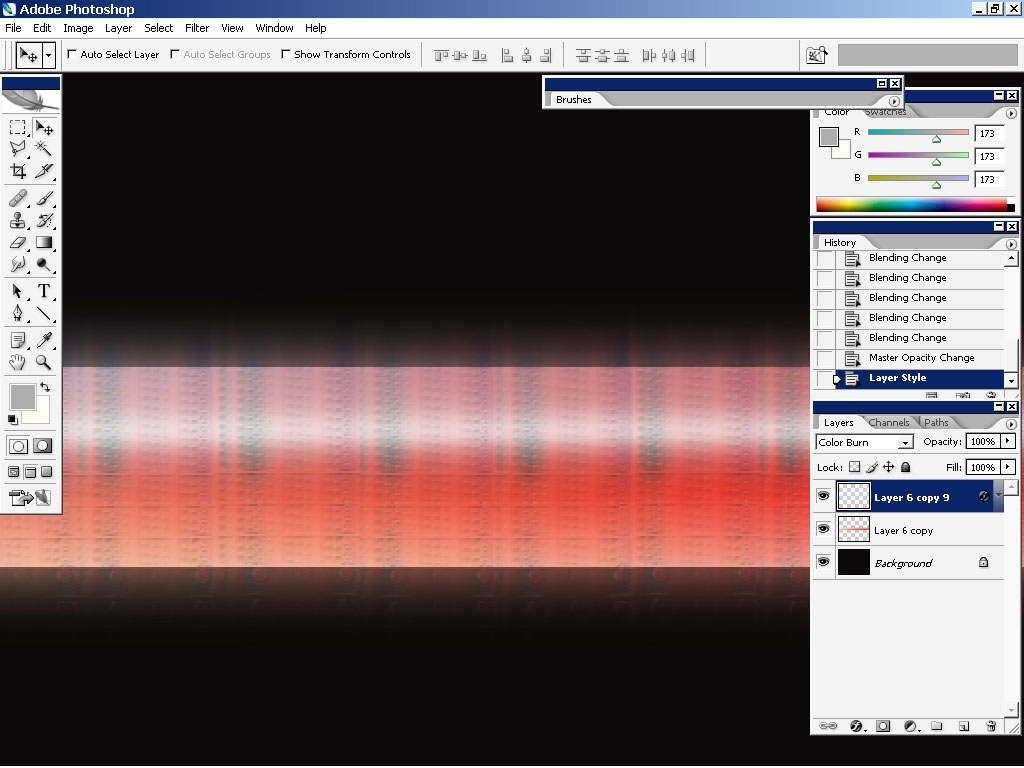
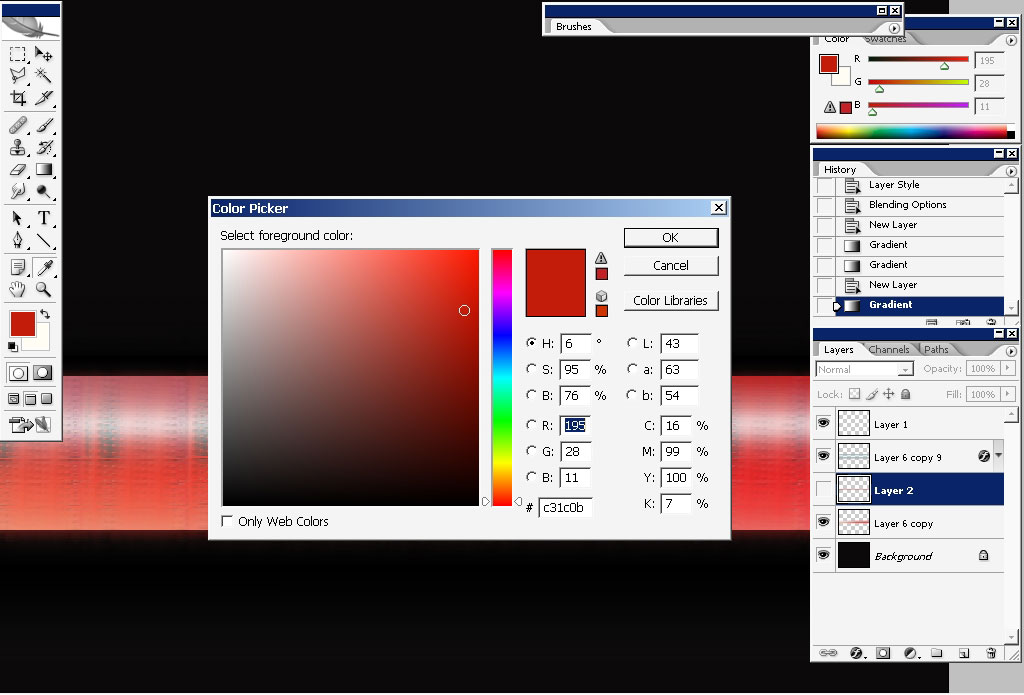
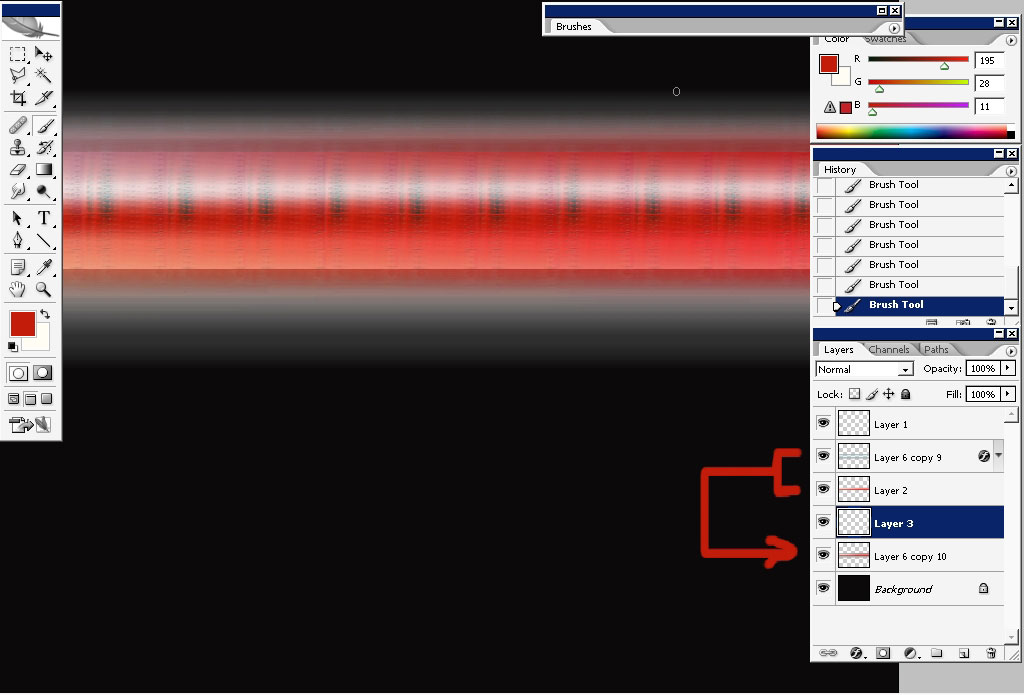
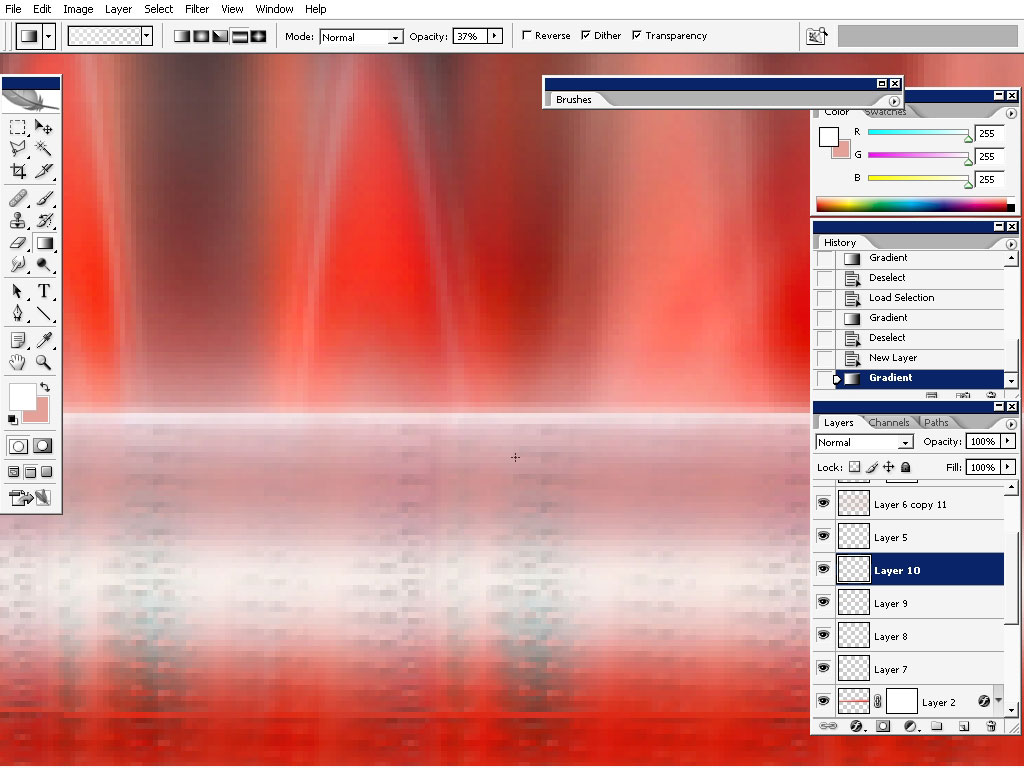
So I’m basically using Color to transparency gradients to control my color. So my primary color will be red.
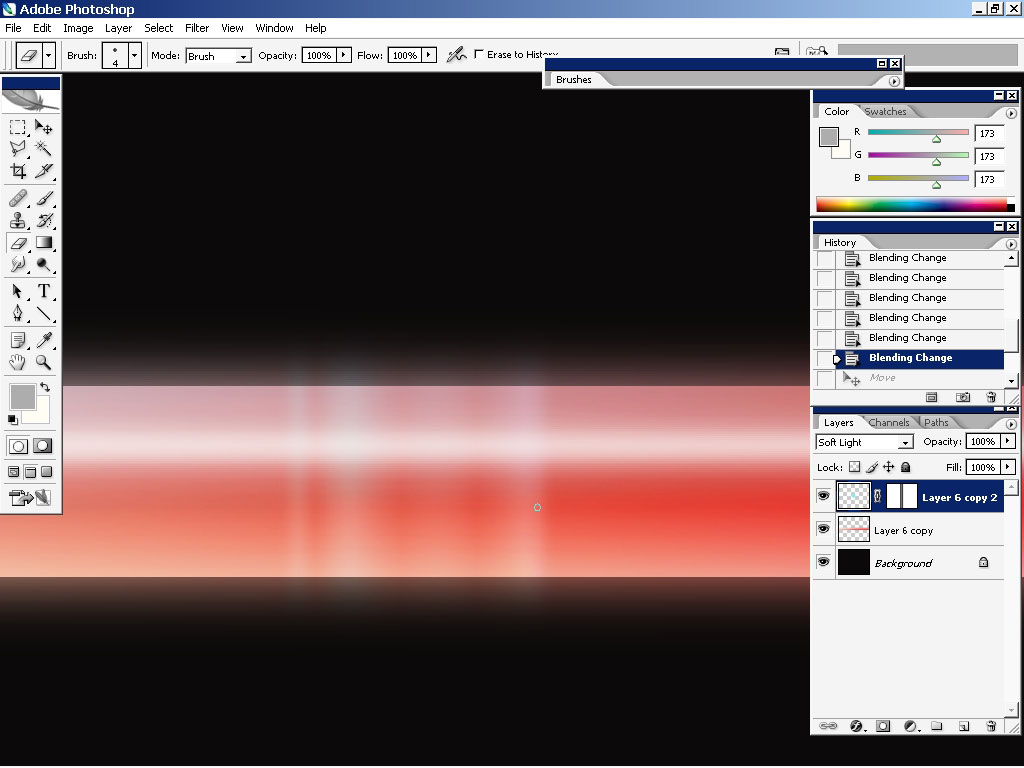
I’m switching the color and painting highlights and shadows.

Before setting up highlights chose white gradient – apply it and change the mode to hard light or maybe the other mode that you find more effective is changing the red to contrast (burned) red.
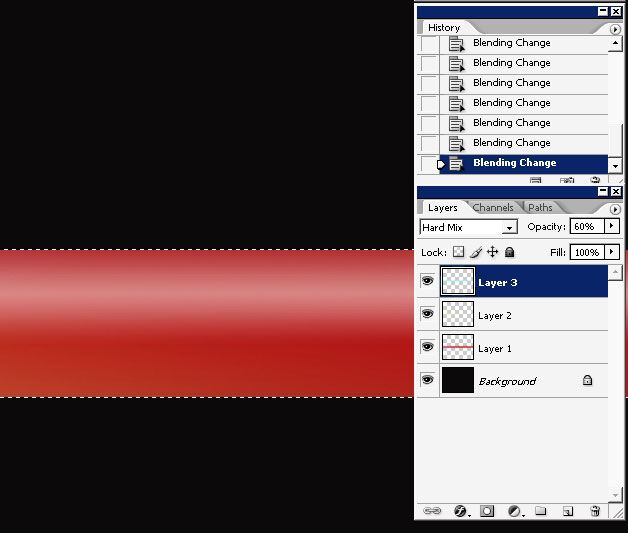
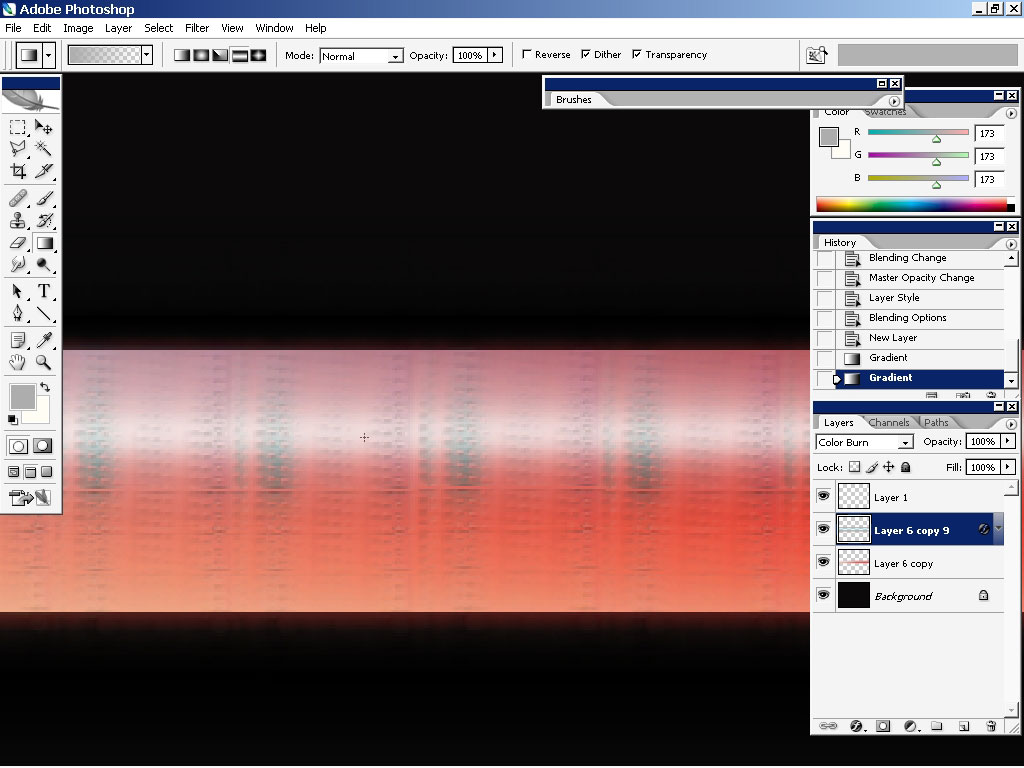
Then you can do the whites:
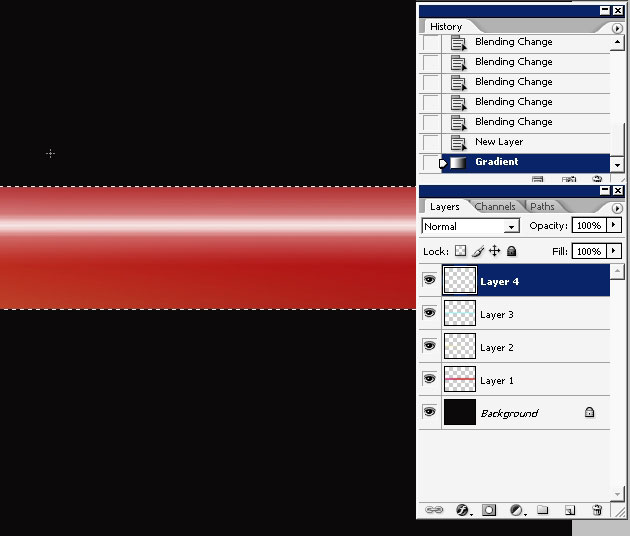
Lightened red comes from the bottom there. Hold the shift key to apply the gradient perfectly straight.
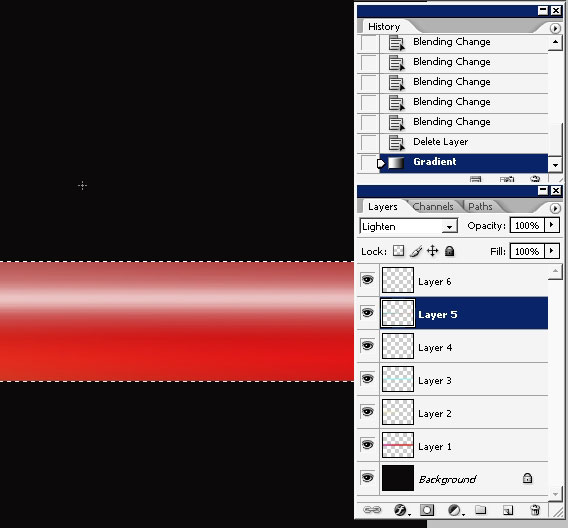
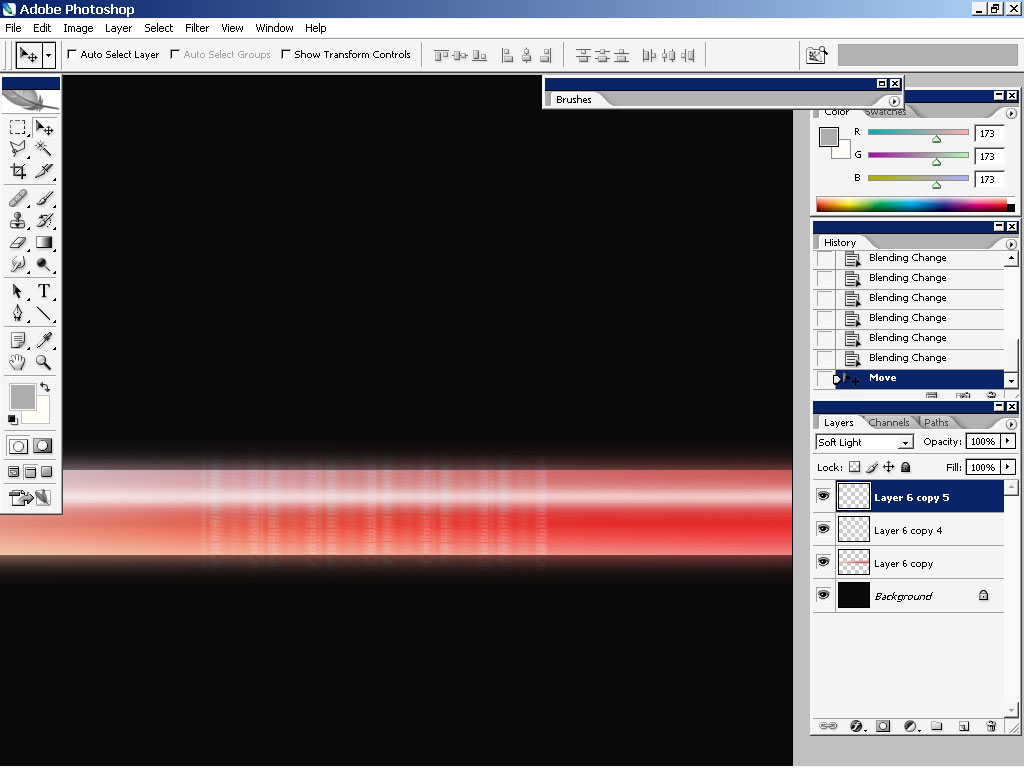
I’m using the same method with other colors – I’ve made my left part of the shape much lighter.
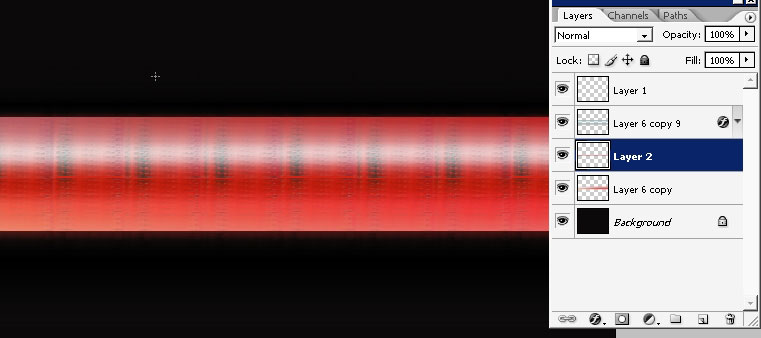
Now I really would like to paint some kind of texture back there. I’ve just painted something there.
Switch to Move tool and hold the shift during dragging to copy the layers.
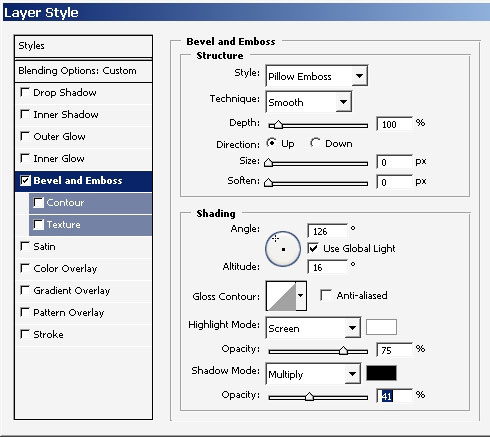
Apply even more texture using bevel and emboss.
Blend the texture with top layer and gradient on it: I’ve used red on the lower part.
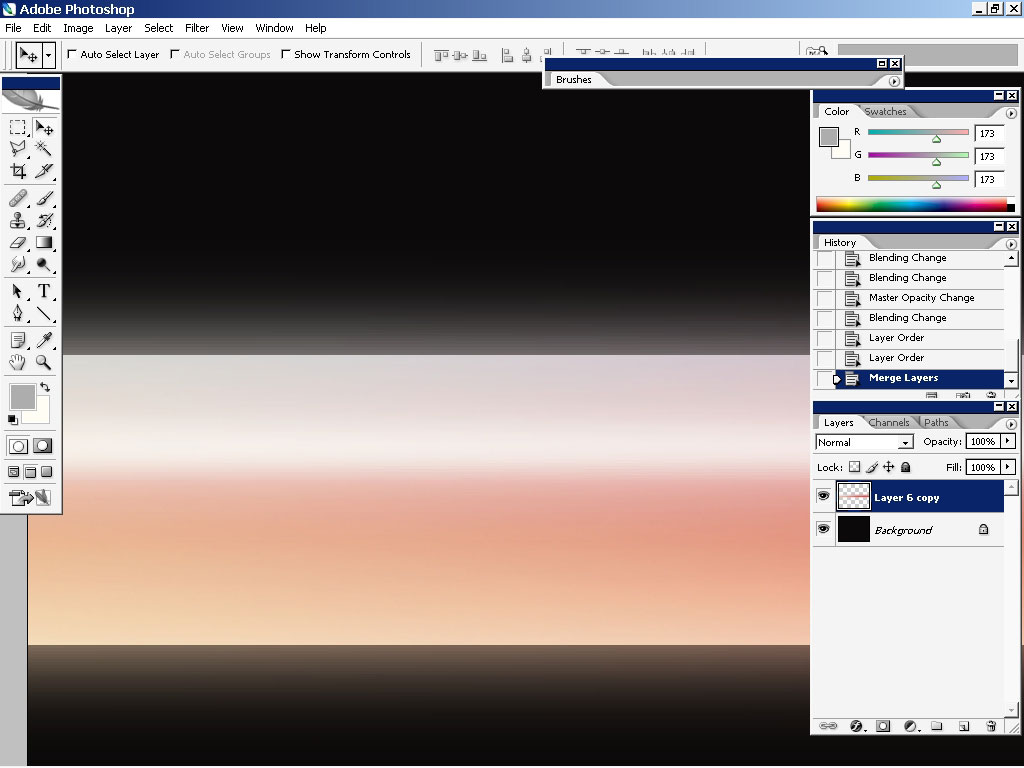
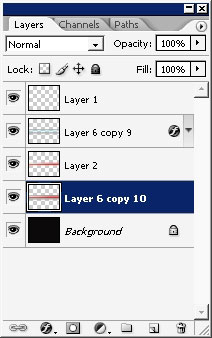
Now merge the layers – create the copy of each first. This you get what
you see on the background. The glow is visible now because when you
merged the layers you had different blending modes.
It’s ok.
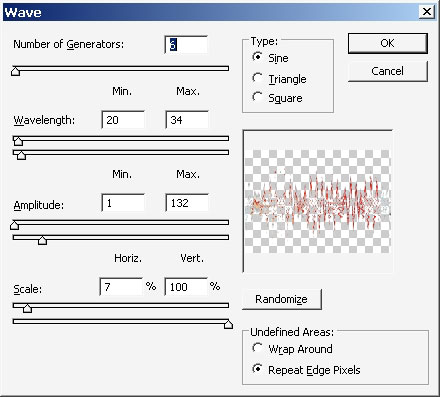
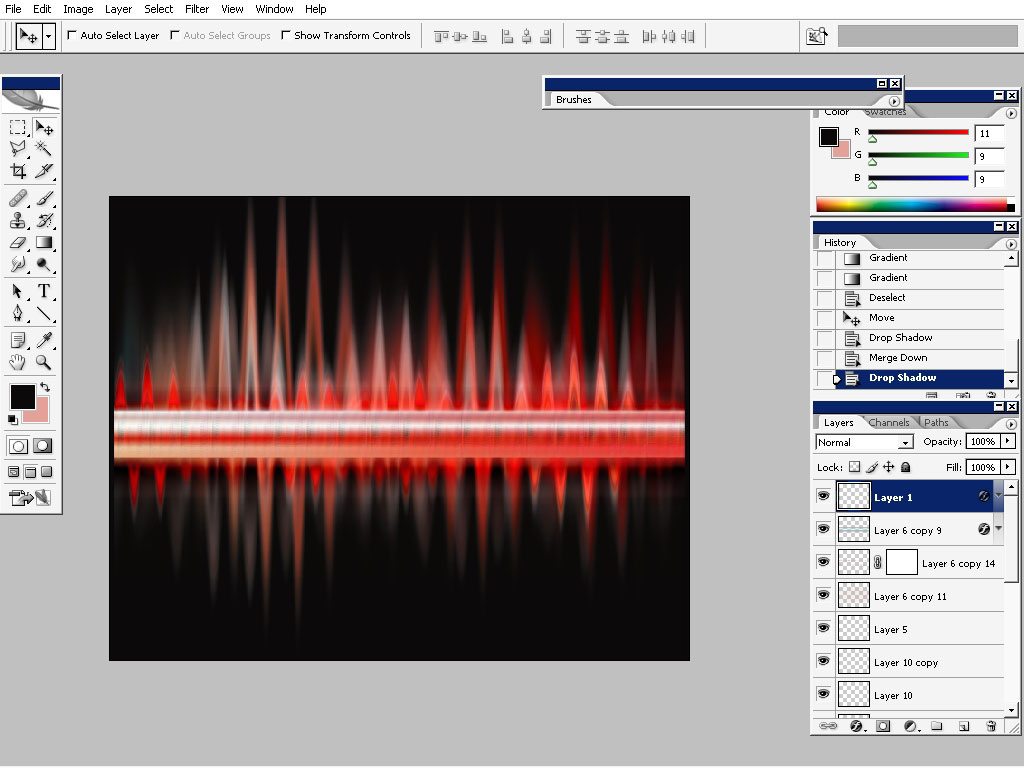
Now to create a wave just apply the wave ) filter in Filters>Distort>Wave.
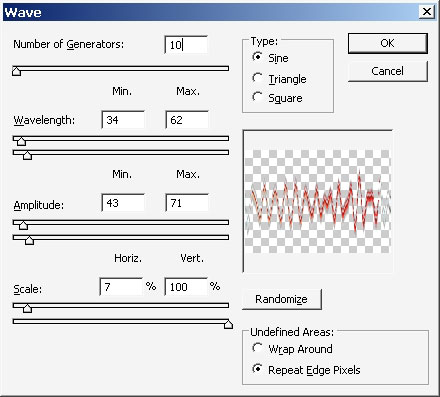
This is what we get.
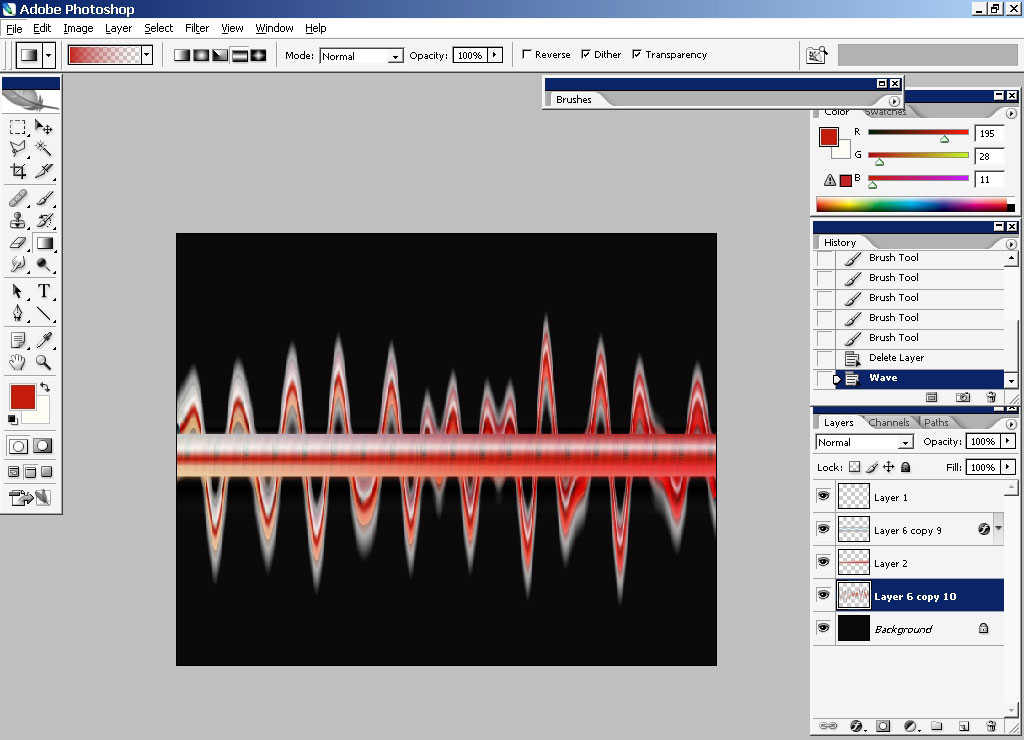
Make several copies of it because we will need it.
Apply motion blur to one of them and put it to the background.
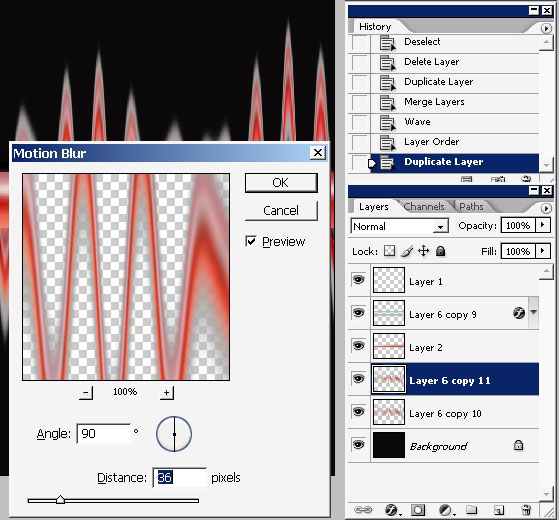
To others you can change the layer modes to reach contrasted color.
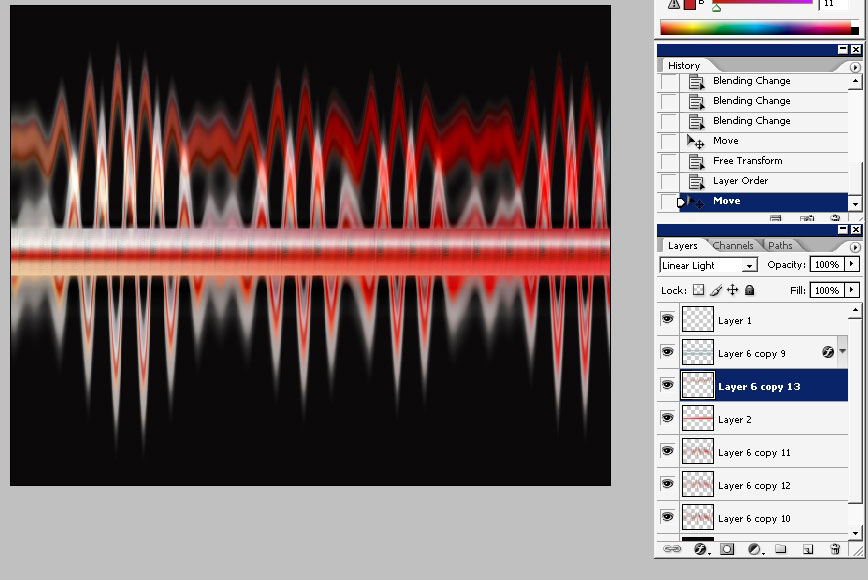
Making the copies of it and changing the opacity may give you the feeling of depth – because we have layers here).
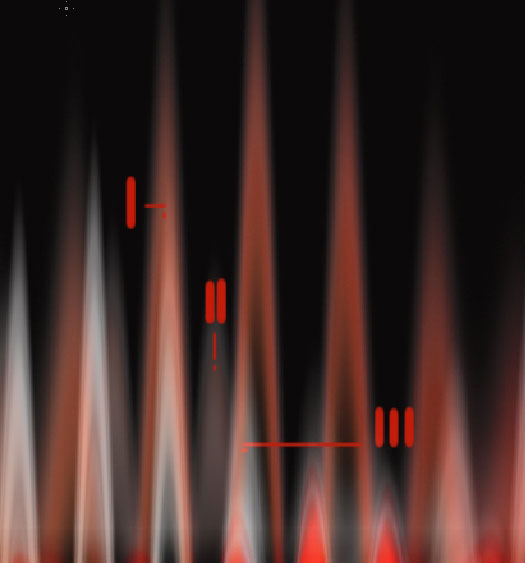
To pop out an object use the highlighted contour.
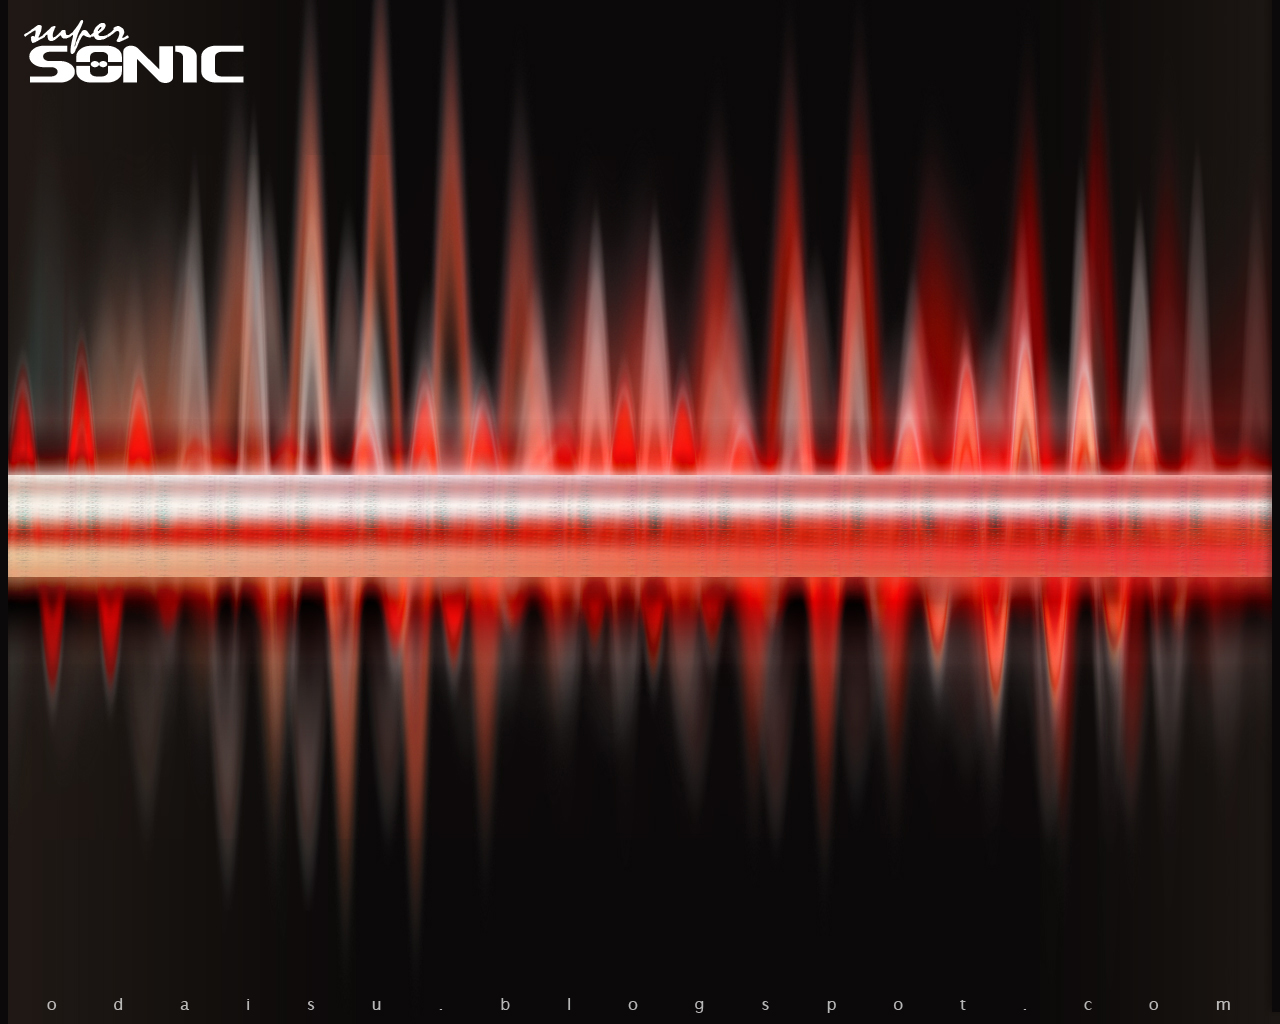
And
here is our final image – we have saturated red glowing object on the
foreground; multi-layer background wave, only a little bit of text to
complete the picture.
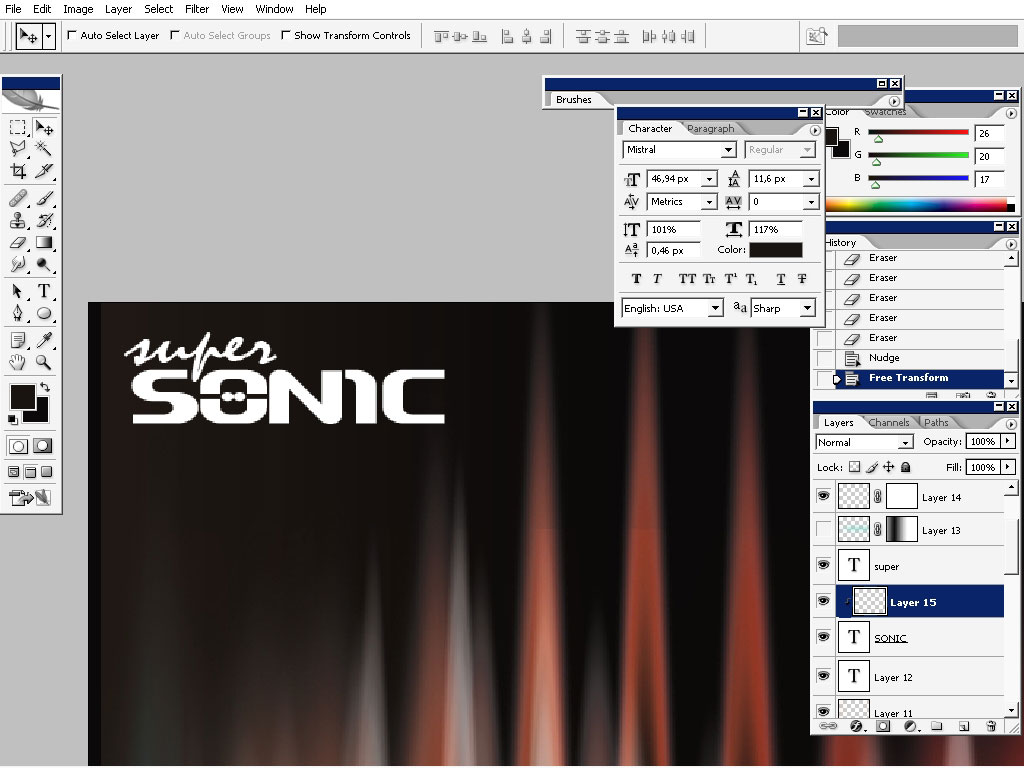
And our wallpaper or design, call it what you like, is finished now.
Comments