
The basics of environment sketching
Our tutorial for today will be about sketching environments, about the basics of environment sketching.
Thing’s you got to know.
1 – Always draw the Horizontal line and perspective lines (I didn’t do this here.)
2 – Always try to see the Tone Vale. The objects that are far from seeing point always gather the colors of the horizon. The further the object is the lighter (or less in contrast) it will be.
So let’s start. This is the first part of my complete tutorial.
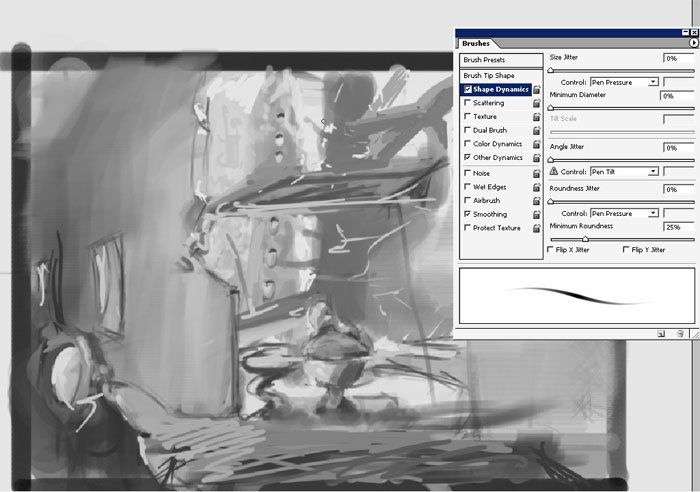
Note the pixel resolution – it is 300px. It the minimum pixel resolution if you are going to print your picture.
Create a new layer, as usual.


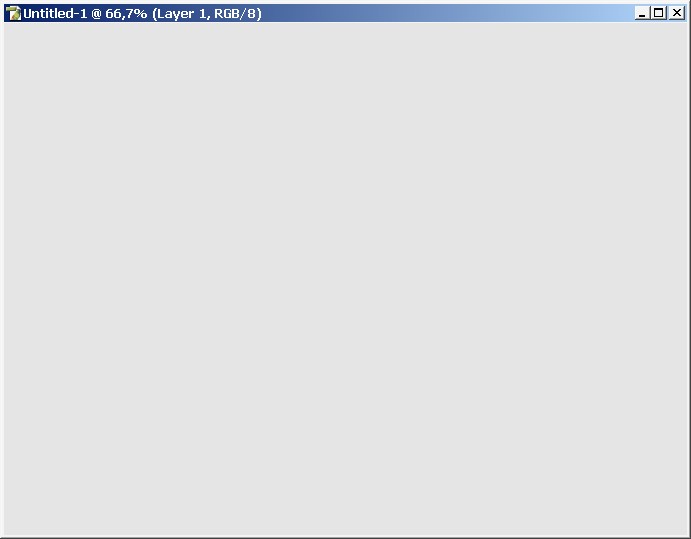
Now another hint: fill your working are with simple gray. For example the color that MS Windows 98 has in standard, something, like this color:
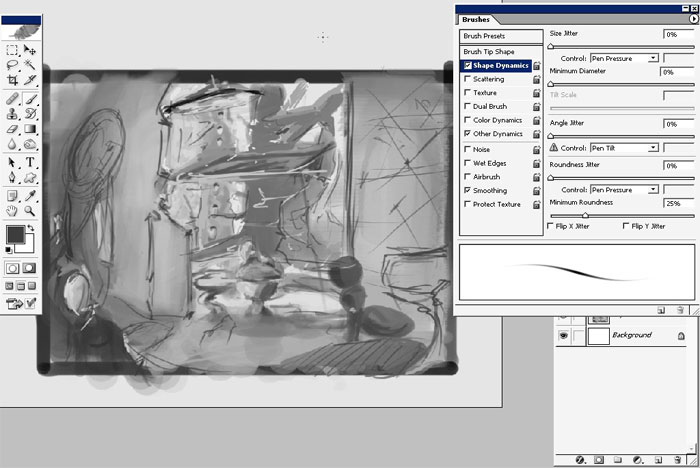
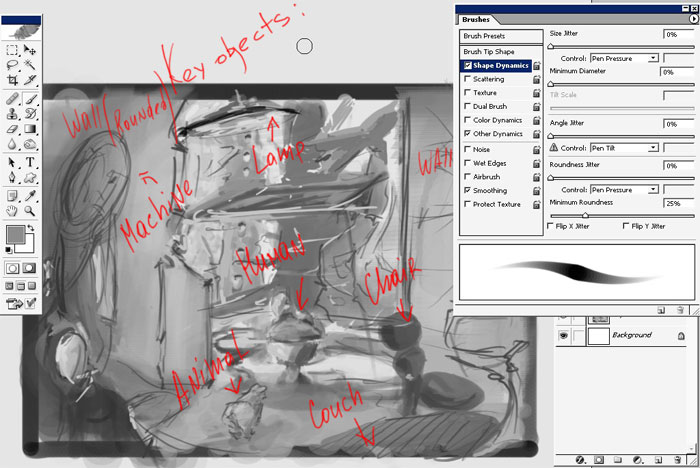
And begin to paint the basic shapes using mere PS brush.
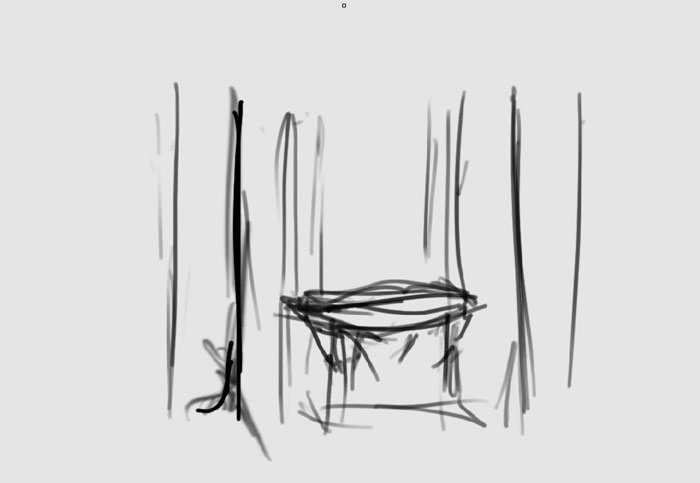
Basic tones:
Looking ahead – the concept will is. The seeing point is going to be somewhere in the room.
Objects: a man sitting in the chair at the balcony and a cat or some kind. The settings – Future, 20 – 30 years in the future.
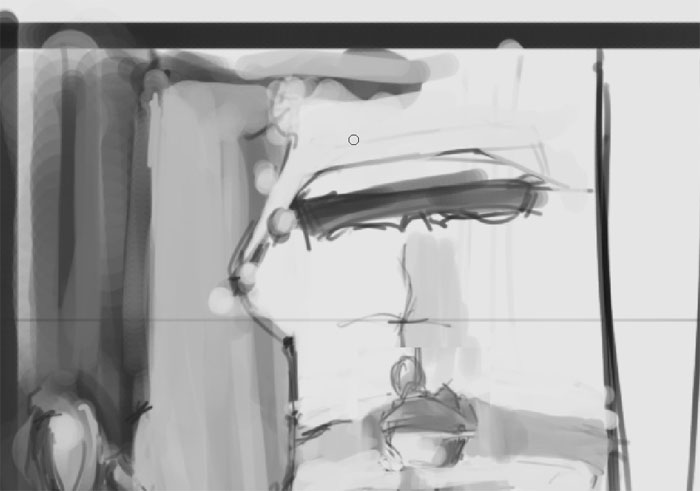
Remember about the tones.
Further and further the shapes attain their true forms.
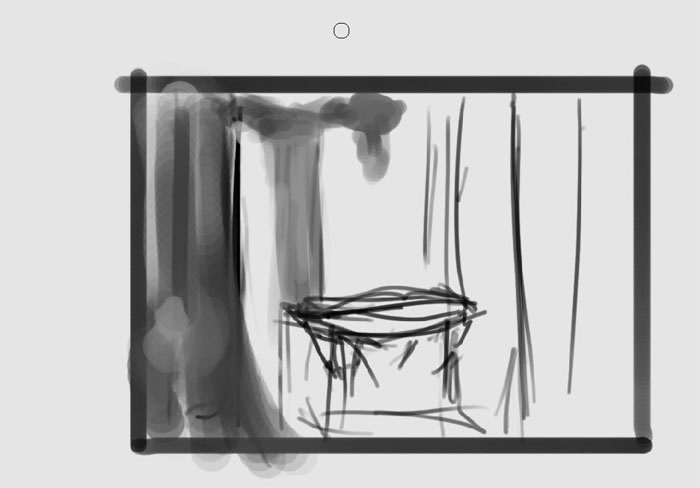
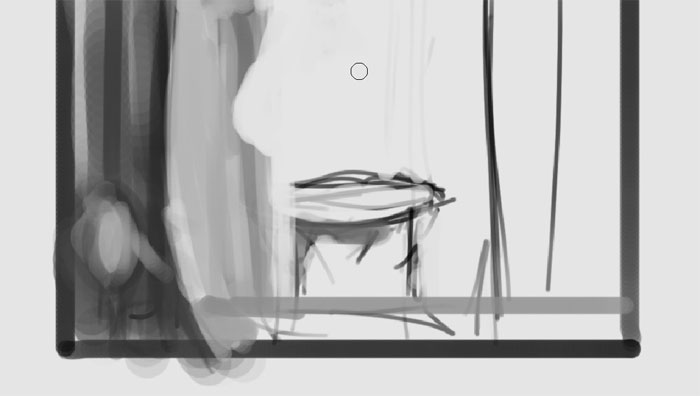
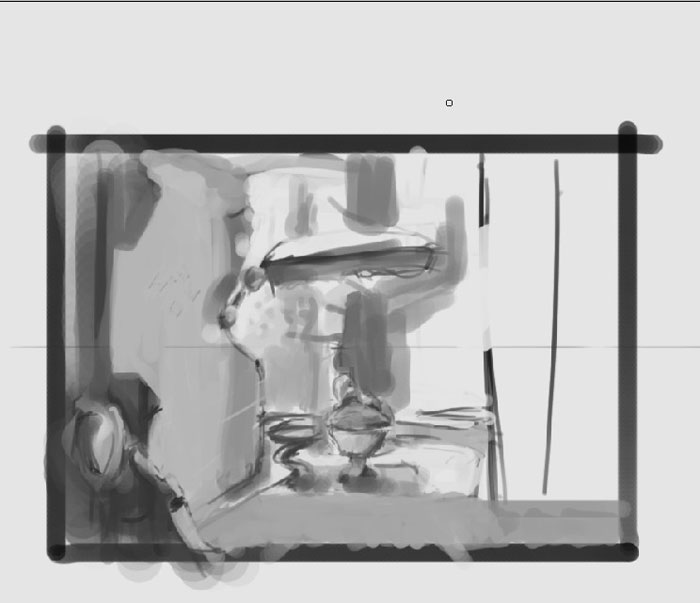
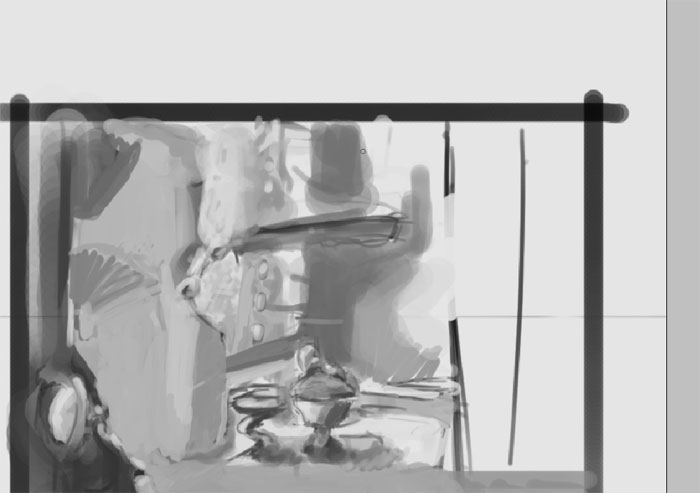
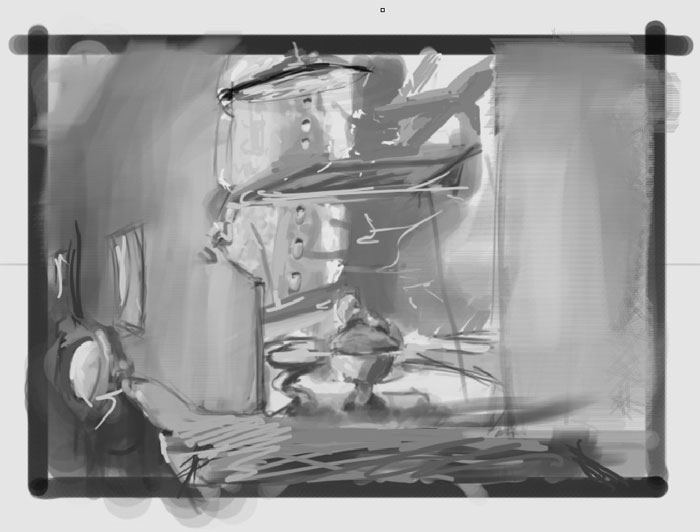
The other good thin is to draw a thick border around the image. It really helps when toy are doing the environments.
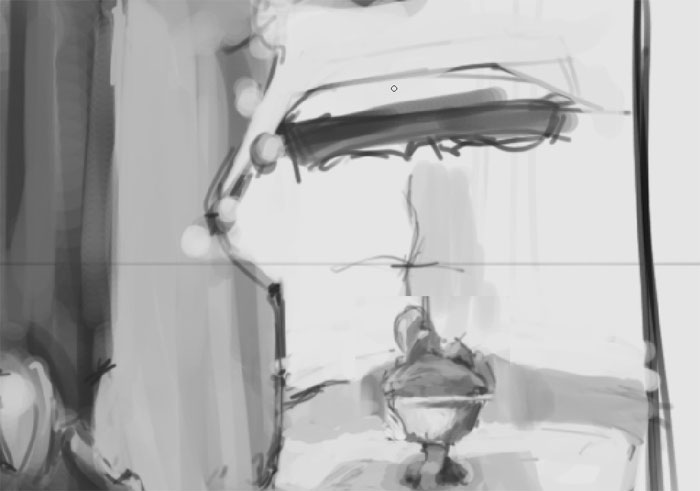
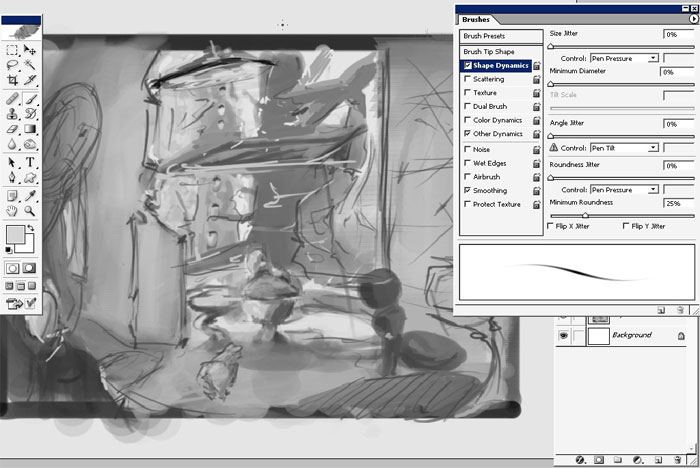
I have drawn the horizon line.
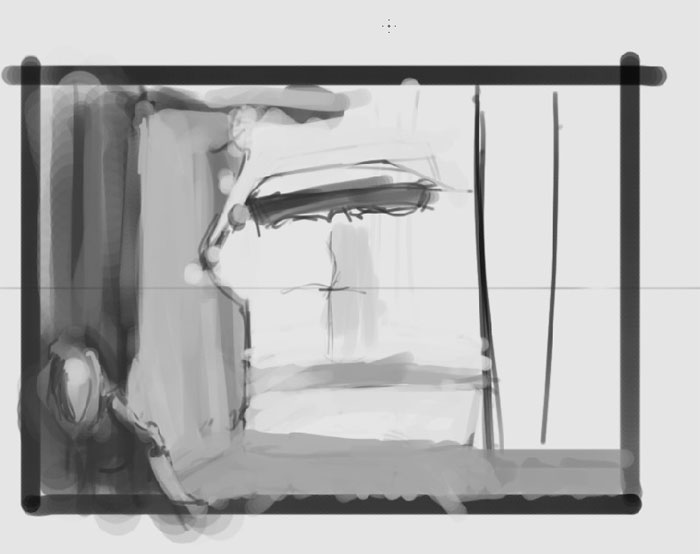

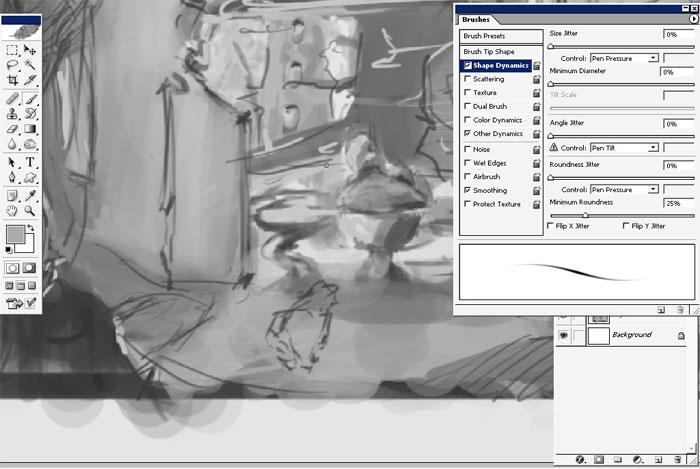
Our 1st character.

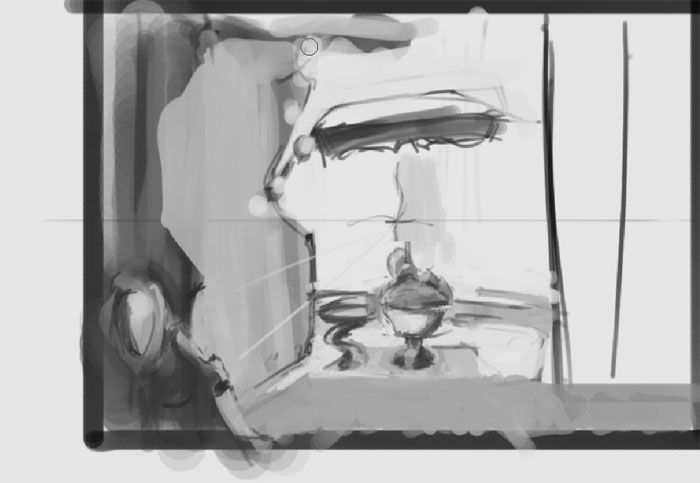
The position is not right. Fix it. Use any of marquee tools.
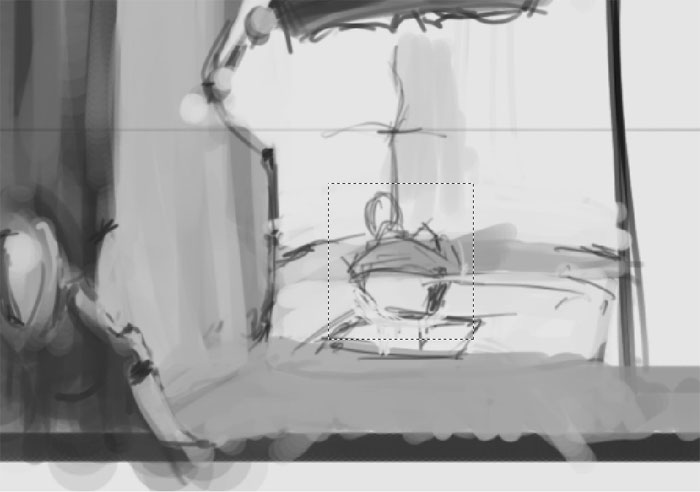
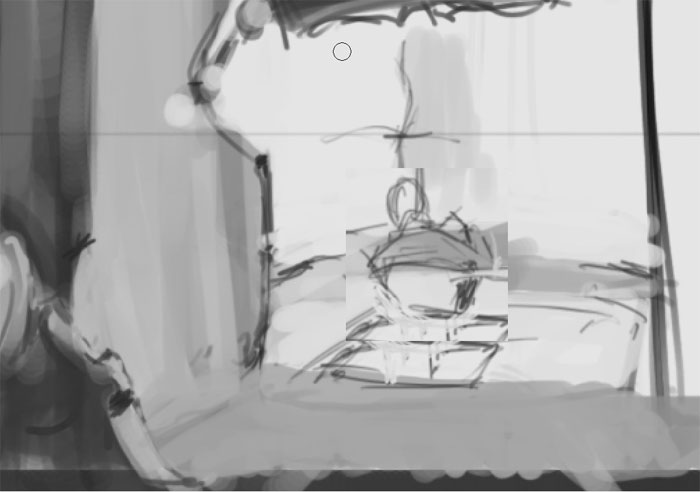
Better.
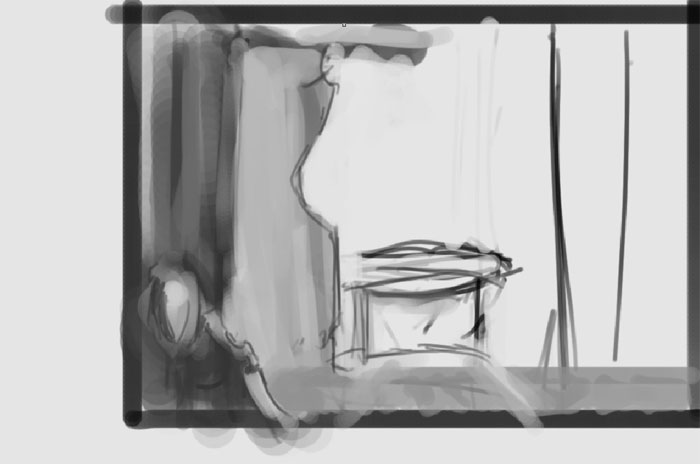
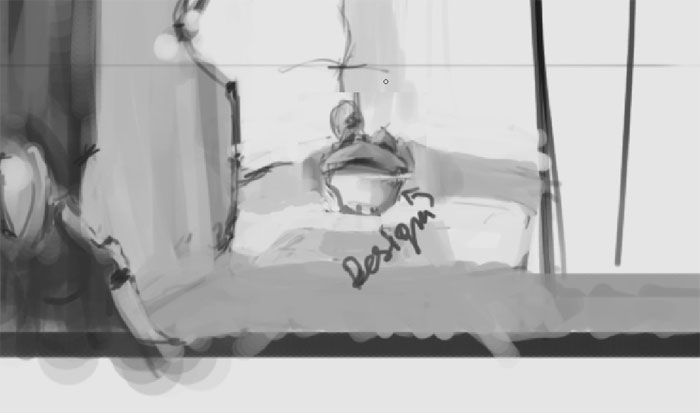
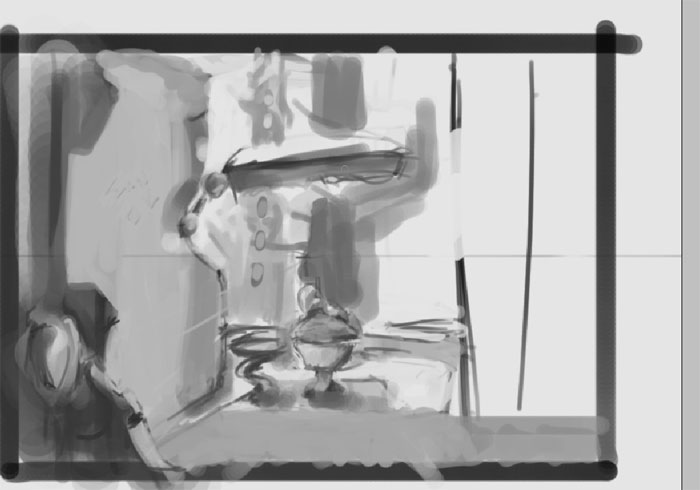
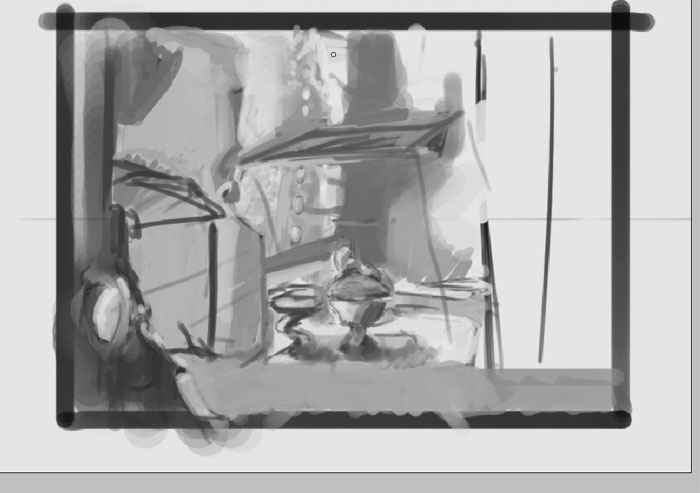
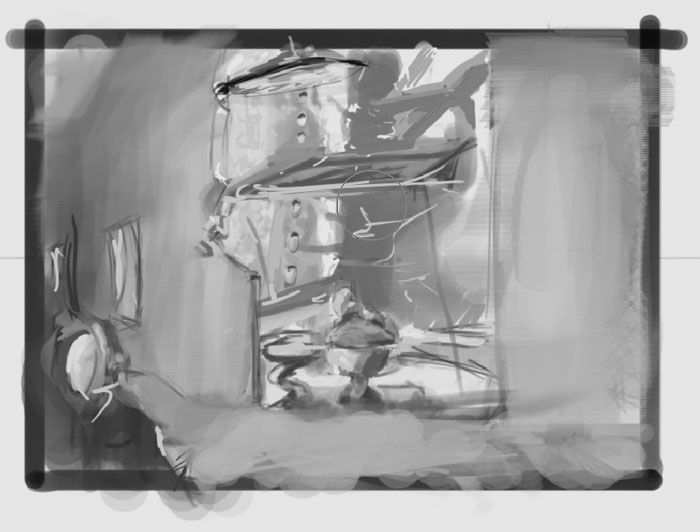
The
other things about the environments, especially the ones that are with
buildings or with the interiors, you have a lot of practice to Design
objects even if they don’t play the key role in the scene.
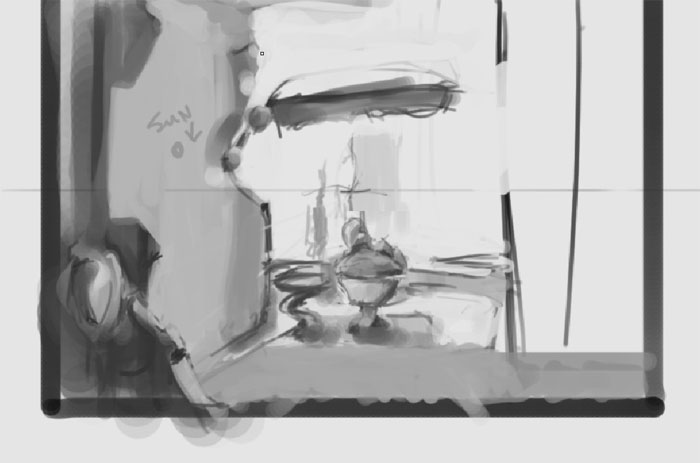
Set the light point. It is going to be somewhere on the left out side of our Futuristic home.
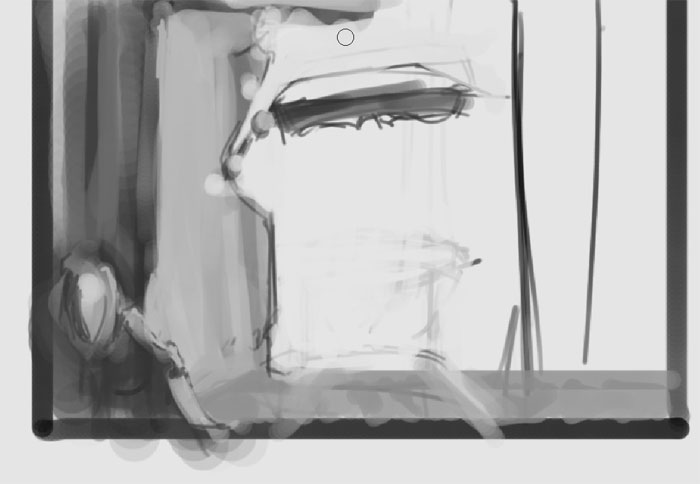
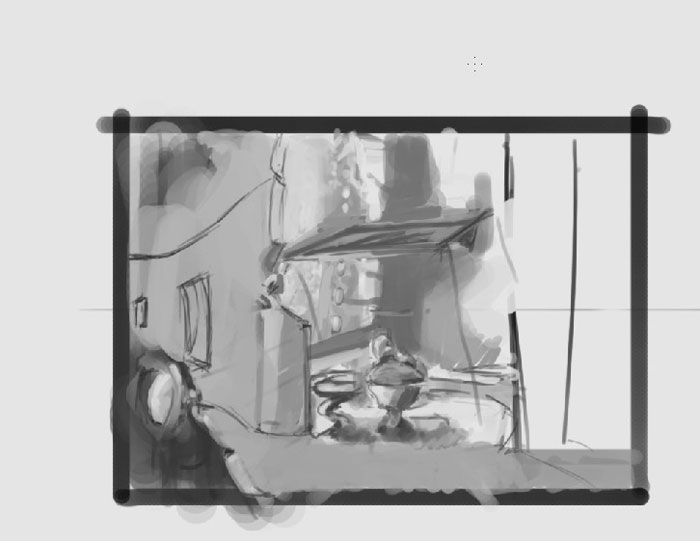
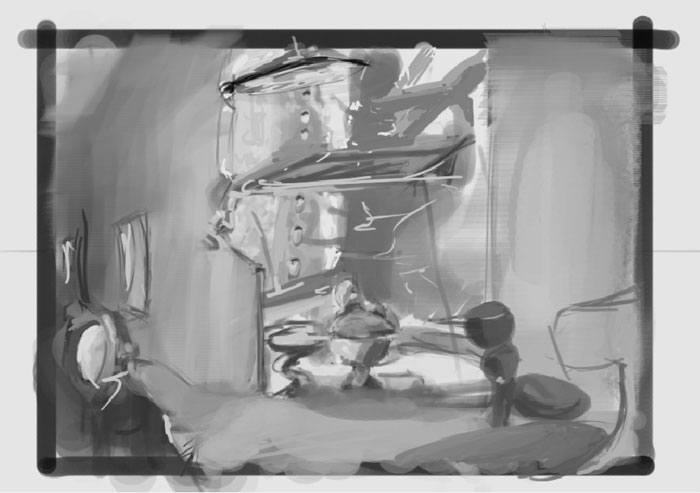
Begin to draw outside of the home. Maybe some buildings or something else:
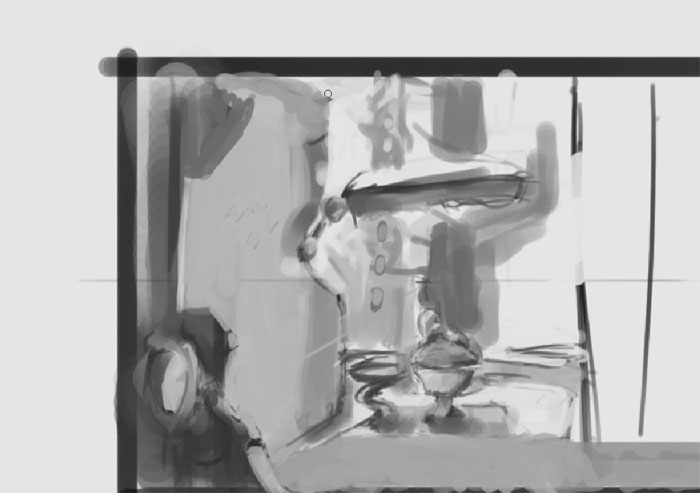
Finish the apartment.
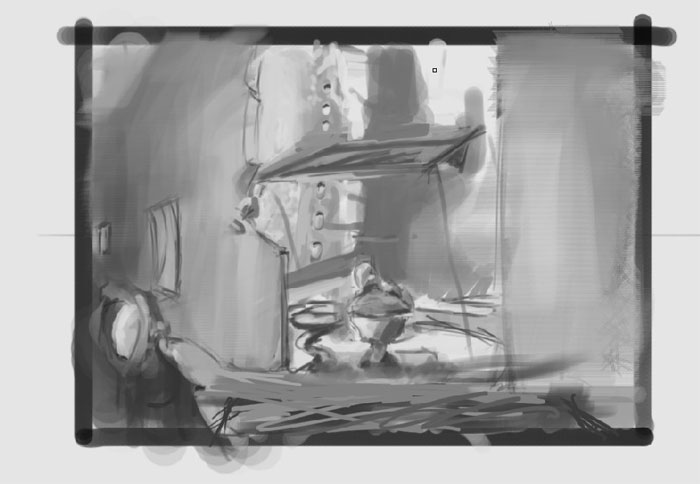
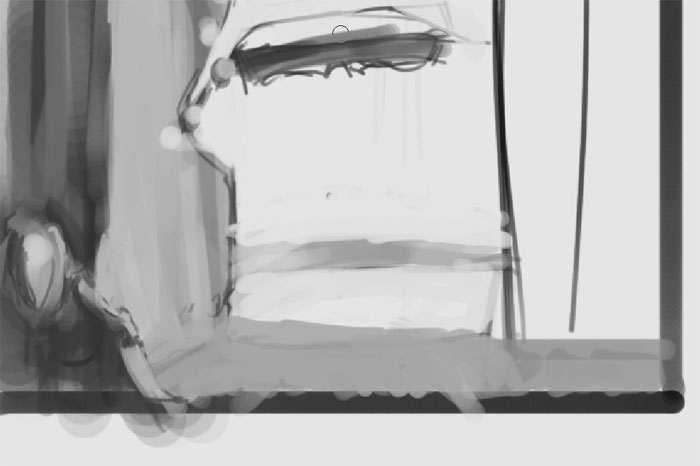
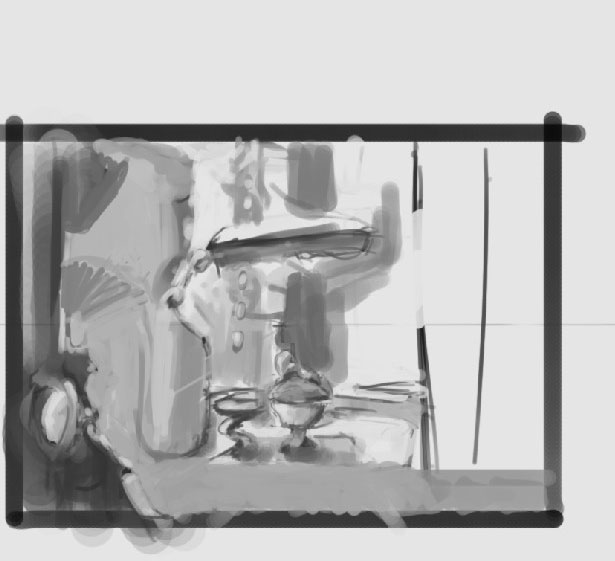
Just basic brushes:
Maybe
some shadows. The thing is that you are actually building the picture.
try to draw the things that will help you in the process. Shadow
directions, wall angle and so on:
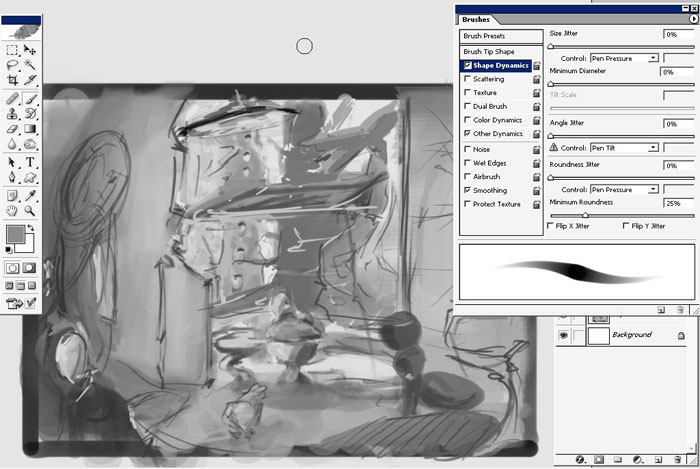
And we are basically done with rough sketch of the environment.
Follow me in Part 2 of my Tutorial.
Comments