
Professional Logo Design
In this lesson I’ m going to create a professional logo using Adobe Photoshop.
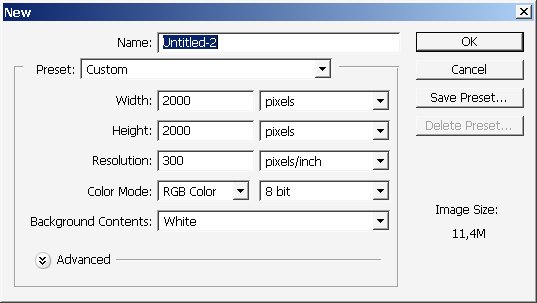
So start by creating a high resolution document.
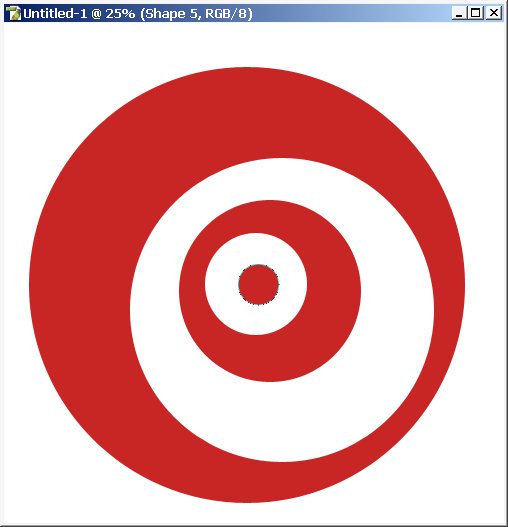
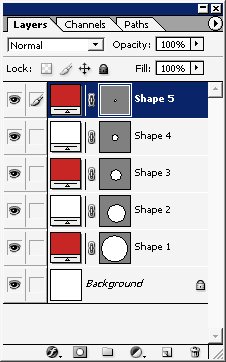
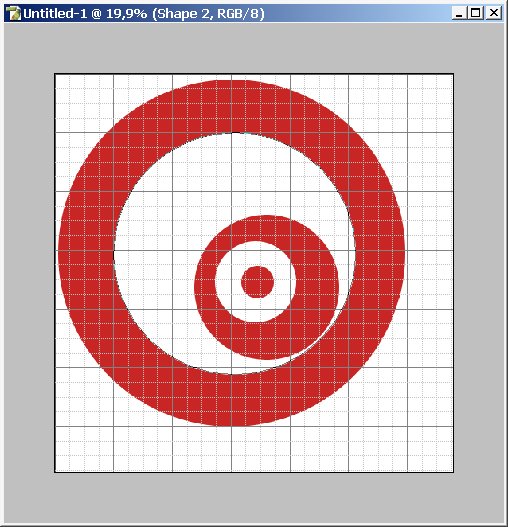
Then using the Ellipse Tool, create several circles ? flipping between white and red color. I’ve created 5.


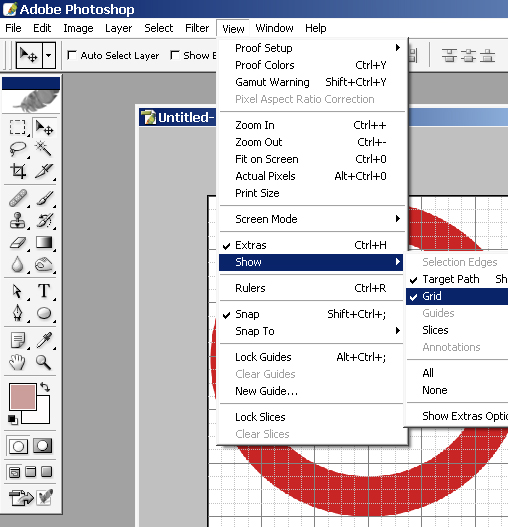
Align the layers using Grid:
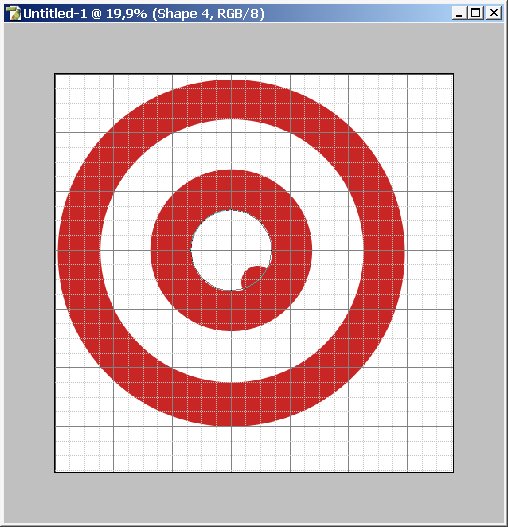
If you are satisfied with results just merge down the entire circles layer.
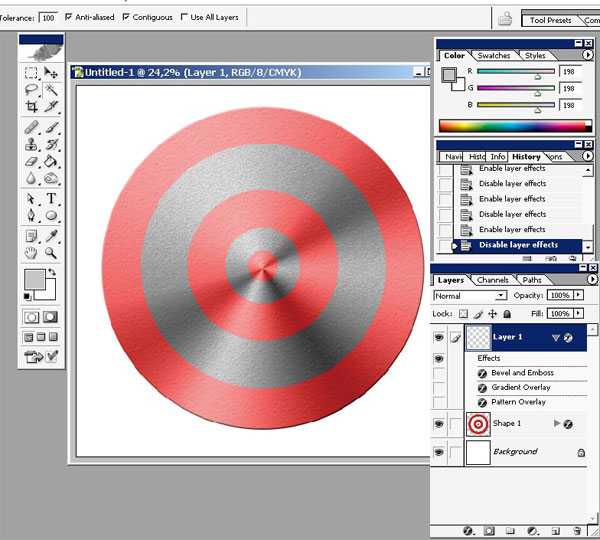
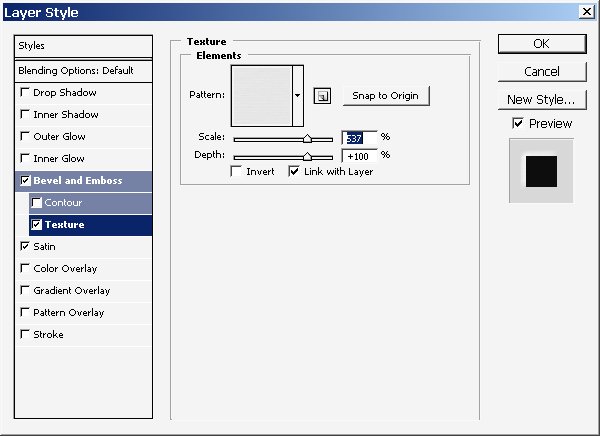
When you have one separate layer use layer stiles on it.
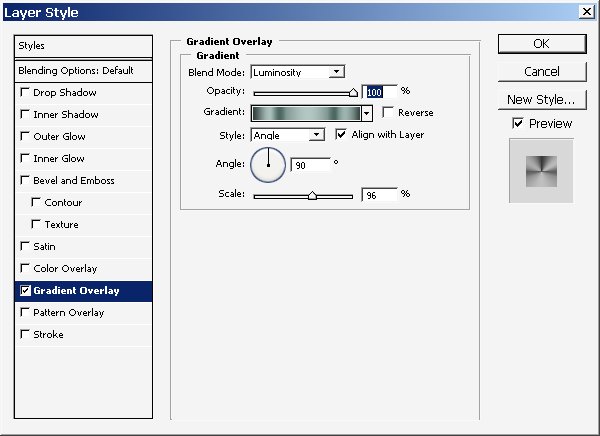
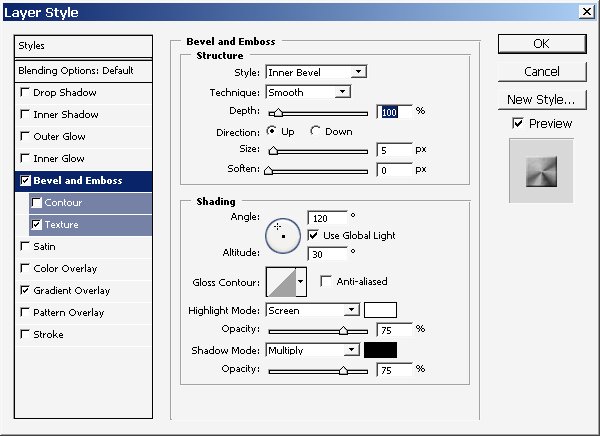
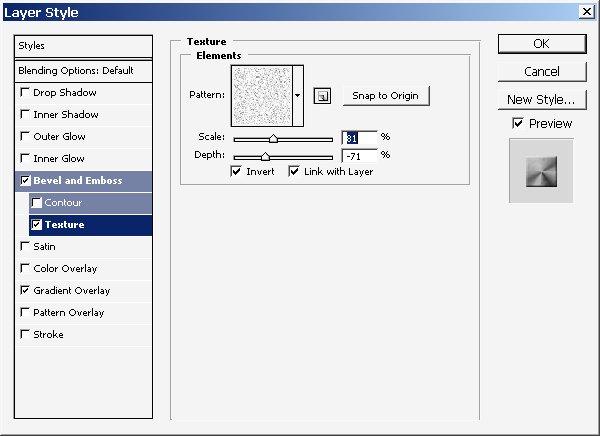
After that select a color range ? grays the are lighten.
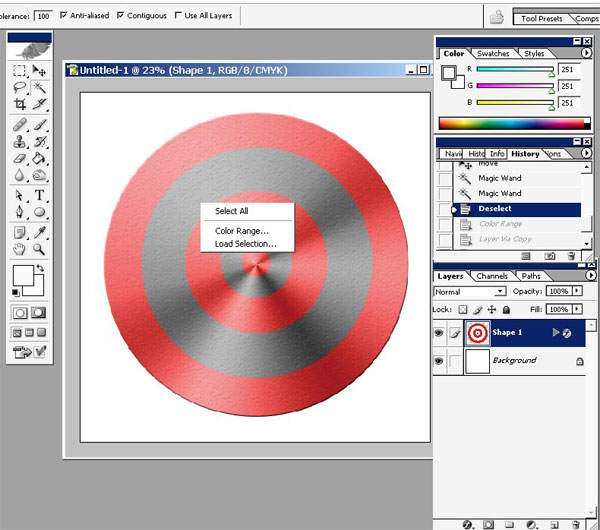
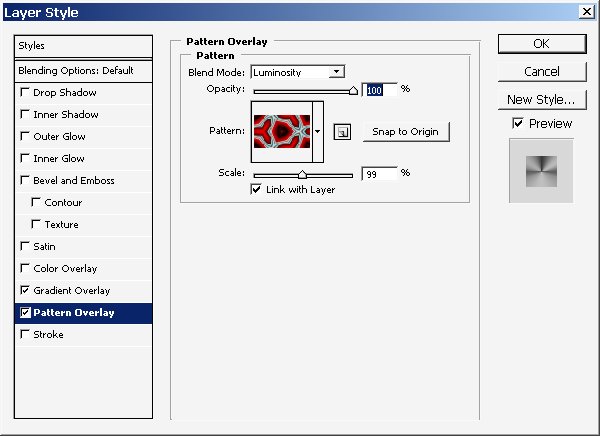
Something like this. Layer via copy and overlay the new layer with white color.
Layer positions:
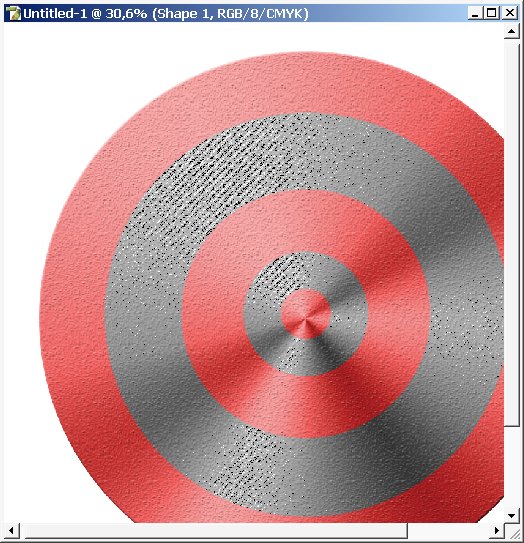
And result:
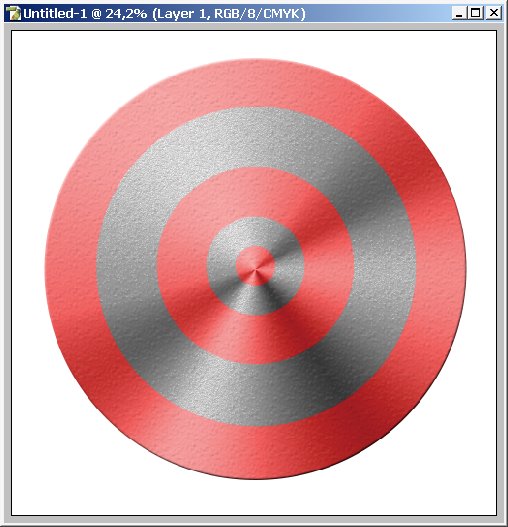
The areas have become more lighten.
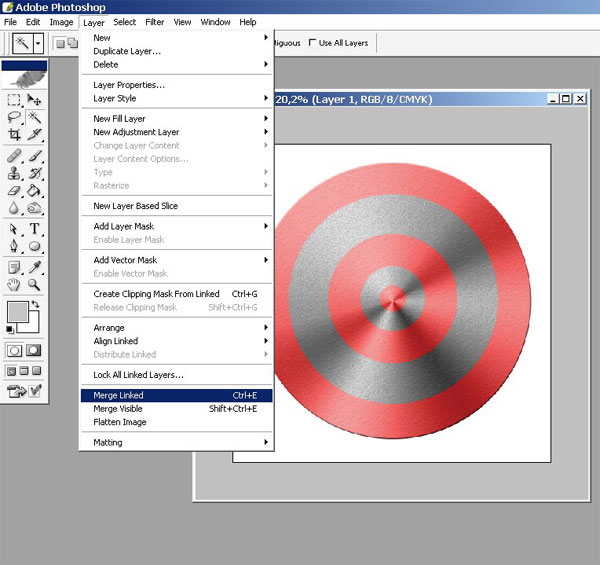
Link the layers and merge them down (using merge Linked command).
Now I want to write something down on the path. You can actually transform the text using path.
So create one ? using Line Tool.
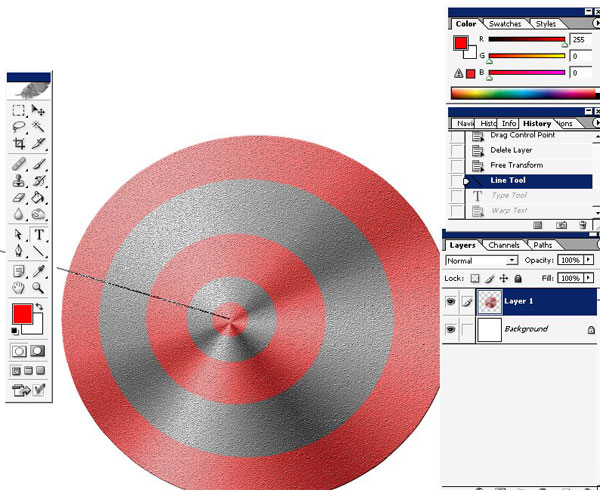
Then just transform it a little bit and write something on it ? I want to write ? TOP 1000– the name of the logo.
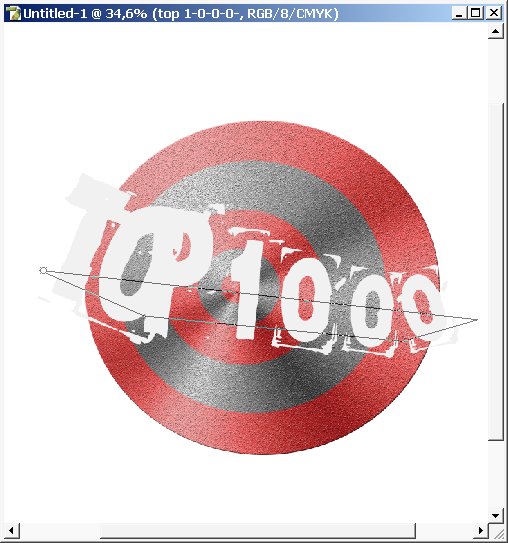
Copy the text layer, carefully watch the layer position (top).

Use the following layer blending setting, LAYER 1000:
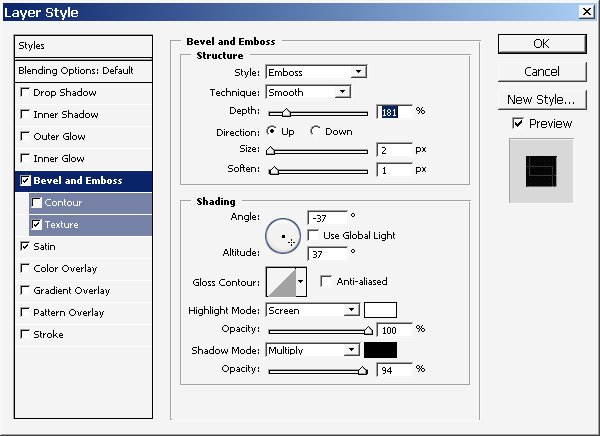
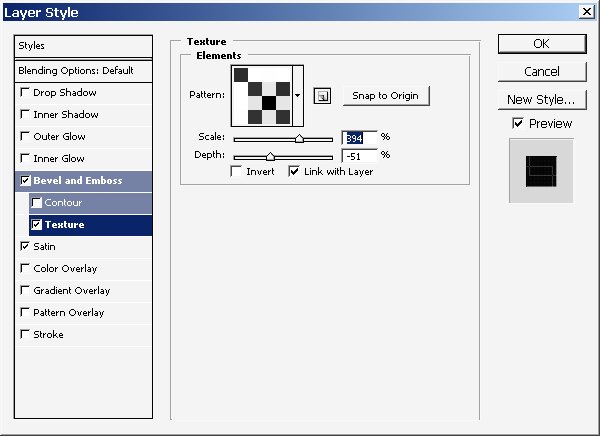
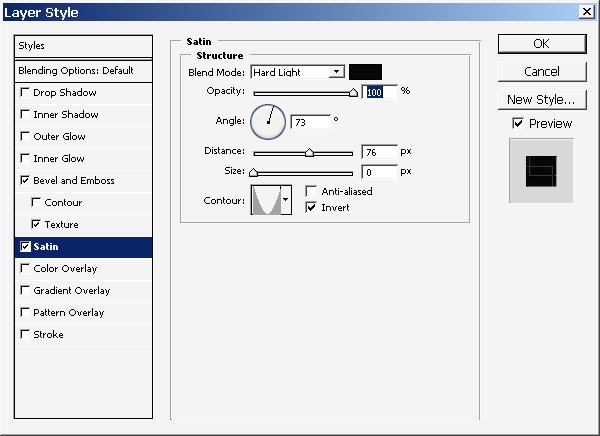
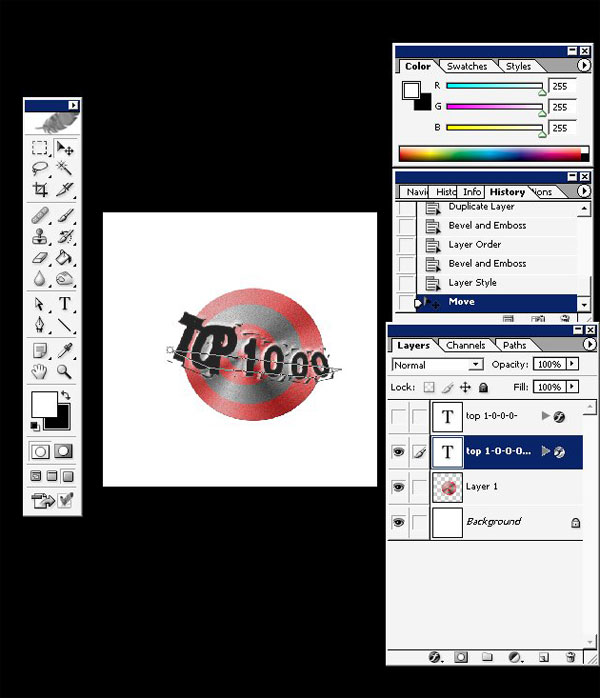
LAYER TOP 1.0.0.0 copy:


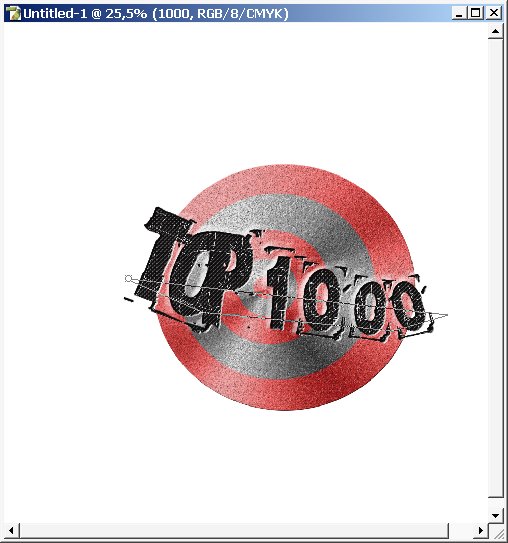
Select the area on the background and just fill it with black and maybe several gradients. And crop it.

A fresco filter can do wonders! Play with settings:
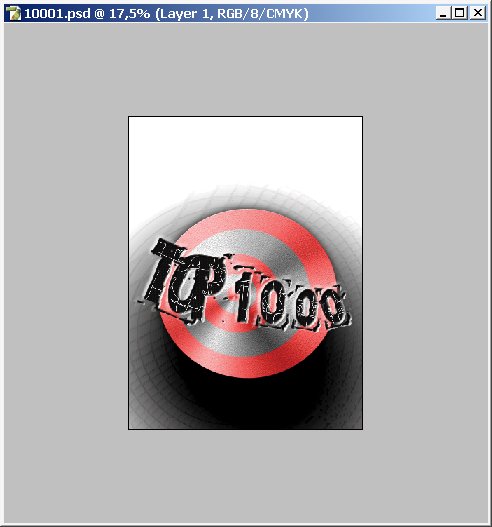
Do a little copy paste manipulation and we have an amazing background effect.
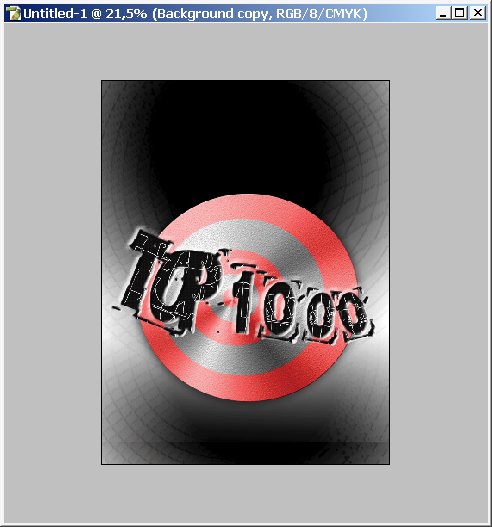
And we are done here:

+ View full size image
Enjoy it and Share it with your friends!!!
Comments