
Wallpaper with glass dragon
Next lesson we’ll learn
to create the wallpapers, having on them a figure of glass dragon and
we’ll learn one of the methods of creating the rays.
Open a new file, having a standard wallpapers size: File – New (ctrl+n).
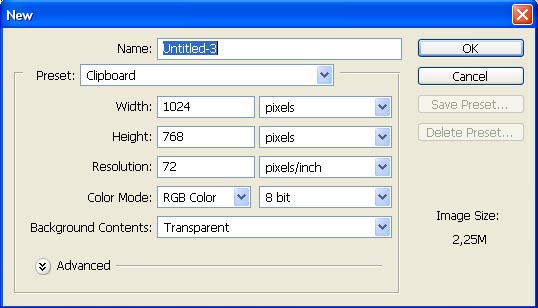
Paint this background layer with the appropriate color, using the Paint Bucket Tool.

Create a new layer: Layer – New – Layer and start drawing on it the figure of a dragon to be. Use for this operation the Brush Tool of a small size and the Eraser Tool
to erase the unnecessary lines later. It would be better if you use the
red color for outlining the figure and to represent correctly the
contours later:

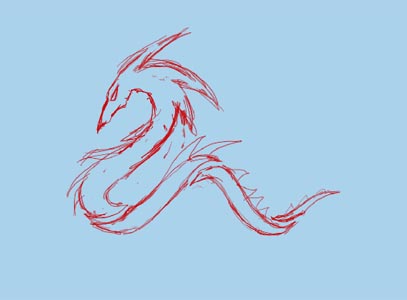
I’ve
drawn a dragon of bigger size as to represent later the contours very
correctly. Create now a new layer and place it above the contours’
layer. Take now the Pen Tool with Fill Path command and start painting the dragon.
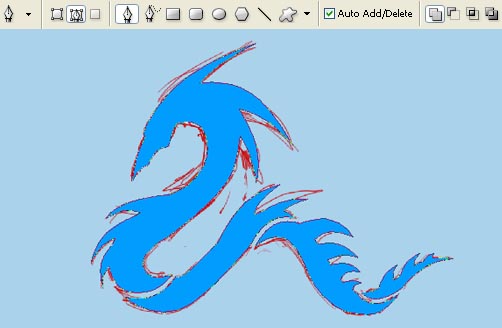
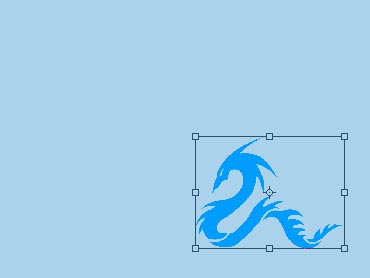
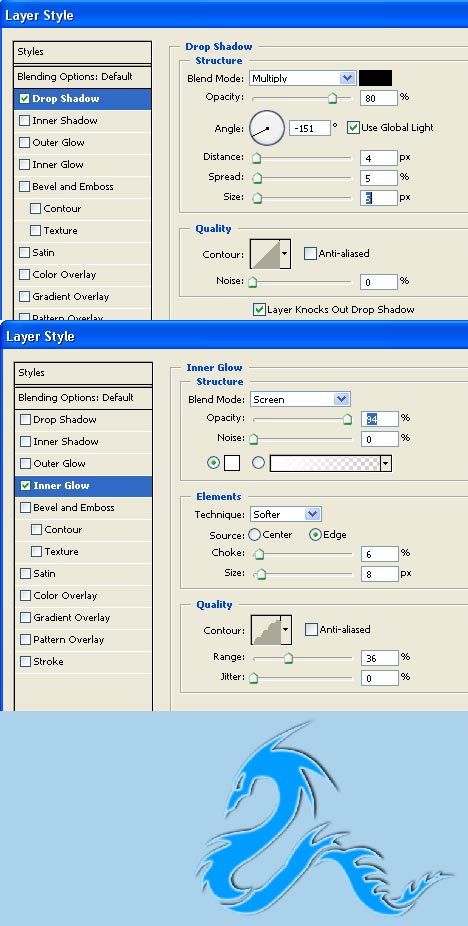
Erase the layer containing the outlining: Layer – Delete – Layer. Draw the dragon’s eyes now, selecting the same Pen Tool, but this time use the command Make Selection and minimize the dragon’s size, applying the combination Edit – Free Transform (ctrl+t).
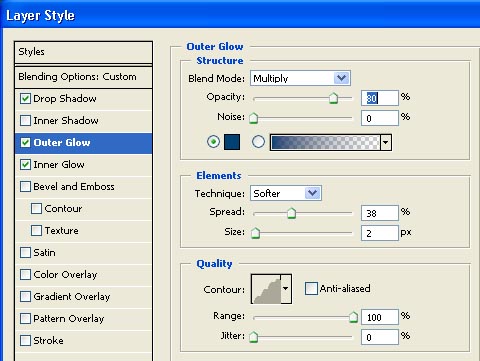
Pass to another window: Layer – Layer Style – Blending Options and set here the adjustments from below:
Start
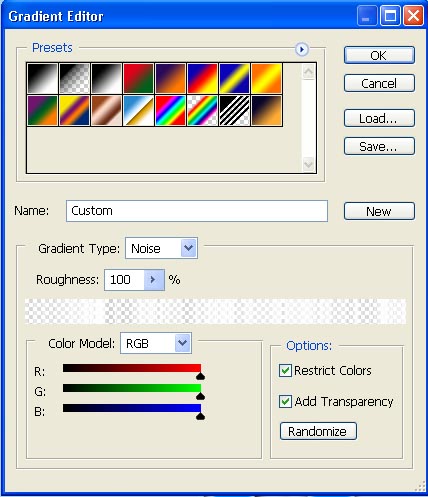
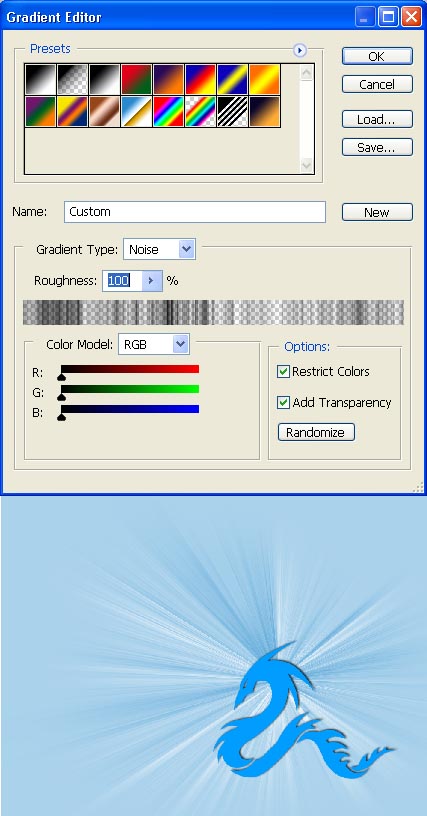
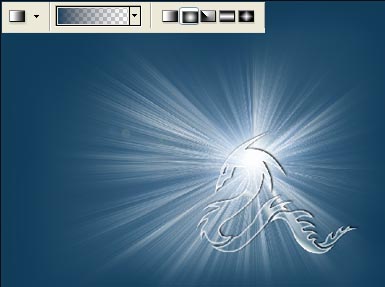
representing the rays now. It’s necessary firstly to create a new
layer, placed above the background’s layer and paint it with the Gradient Tool, containing the next adjustments, shown below:
Paint the layer by stretching out that place that will contain the center of the rays to be.
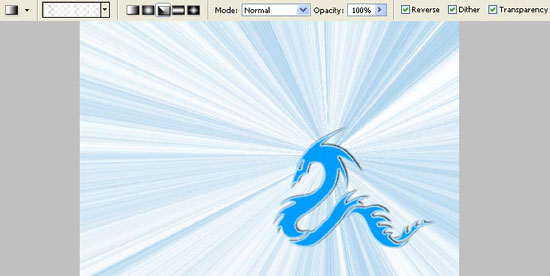
After that we should create a mask out of the layer: Layer – Add Layer Mask – Reveal All. Then apply the Gradient Tool again with different adjustments and black color to hide the visibility of the rays along the picture’s edges:
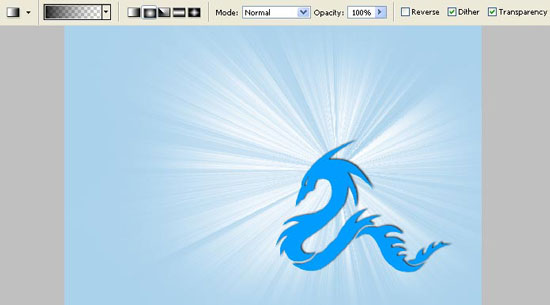
Apply now the next command: Layer – Remove Layer Mask – Apply and change the layer’s Blending Mode on Hard Light. Create now a new layer and group it out with the layer the rays are situated on, using the command: Layer – Create Clipping Mask (ctrl+g). Paint it also with the Gradient Tool the same way we did earlier, but this time change the gradient’s color:
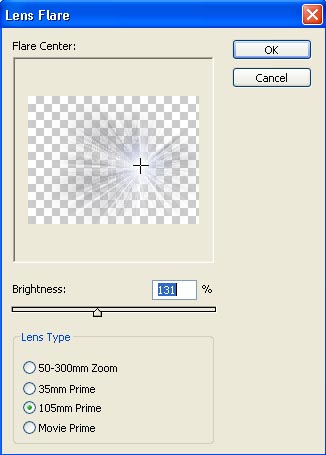
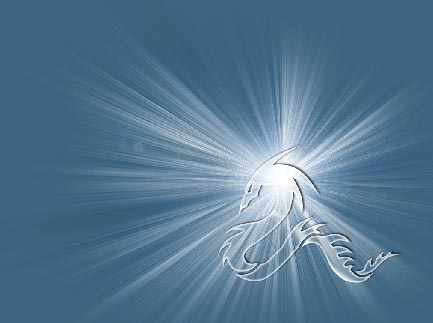
Combine now the grouped layers: Layer – Merge Down (ctrl+e) and apply the next filter shown here to the new layer: Filter – Render – Lens Flare, setting the flare on the rays’ central part.
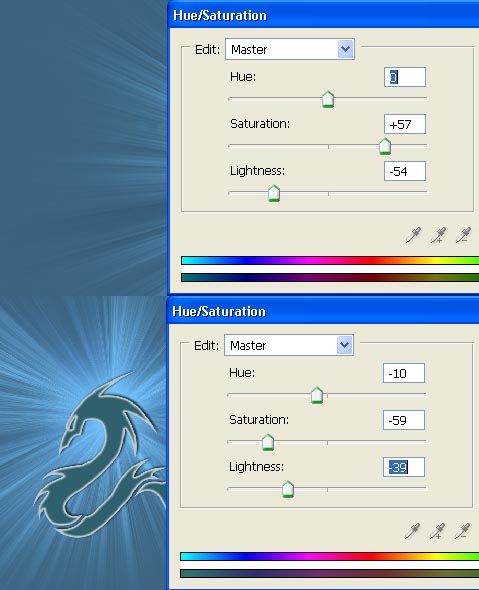
I’ve decided to change the background’s color and the color of the dragon itself. It’s possible to do that with the combination Image – Adjustments – Hue/Saturation (ctrl+u).
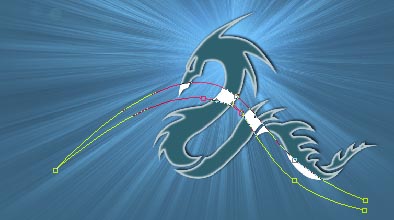
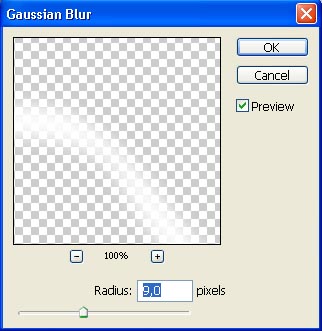
Take now the Pen Tool and insert on a new layer, above the dragon’s one a white flare (grouping them preliminary):
Blur it out a little, selecting the next combination: Filter – Blur – Gaussian Blur.
Change the dragon’s layer Blending Mode on Lighten:
Select now the Gradient Tool of a darker color than the background is and paint the picture’s edges on the layer, above the rays:
Change now the layer’s Blending Mode on Soft Light and minimize the rays’ layer Opacity till 90%. In the Blending Options on the dragon’s layer we’ll add the adjustments Outer Glow, just to place the dragon on the first plan:

The wallpapers are finished!
Made by Sigma
+ View full size image
Comments