
Drawing Wooden Plank
This task we’ll learn how to represent the wooden planks.
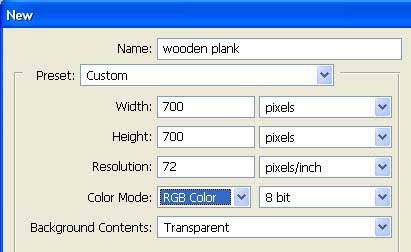
Open a new file for the beginning: File ? New (ctrl+n)
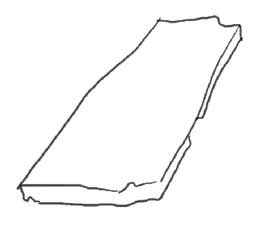
For your convenience now, paint the background in white, applying Paint Bucket Tool. Create then a new layer (Layer ? New Layer) and choose the Brush Tool to mark out the contour of our plank to be.
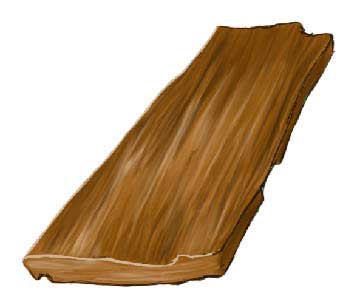
Choose now a bigger brush’s size and paint the plank’s surface with the basic color, leaving only some of the contour’s parts visible, just not to mix anything.


Add now lighter and darker colors, along the plank, trying to create an effect of irregular painting. But you must choose another brush’s type and minimize its Opacity.
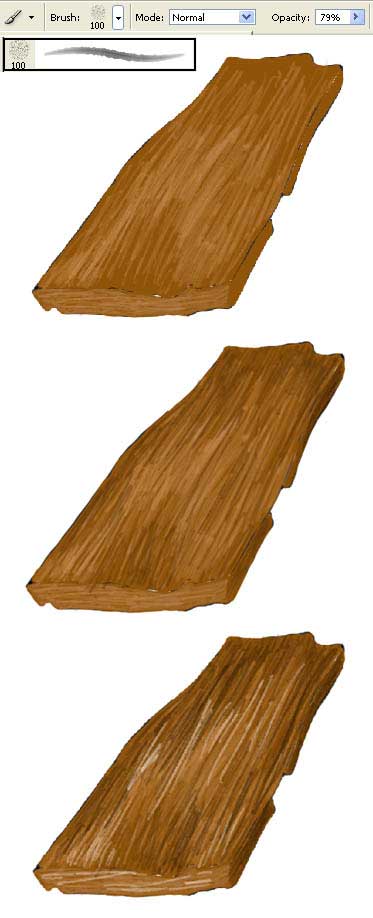
Using the Smudge Tool, make the woods’ structure look smoother.
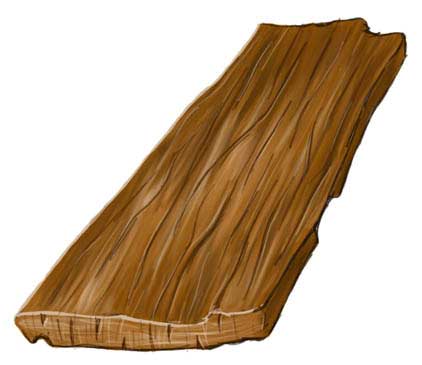
Get back to the Brush Tool and choose a brush of small size. Change the Opacity back to 100% and add several accurate light’s lines and shadow’s lines.
Start now to picture the wood’s structure.
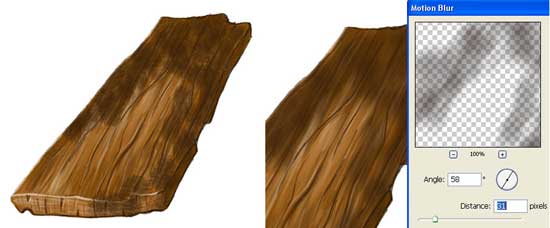
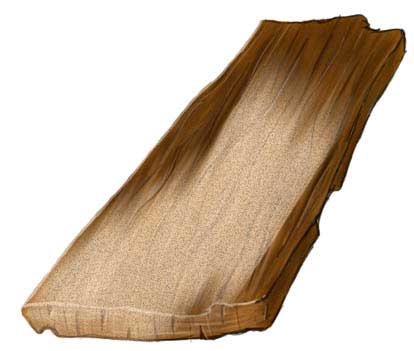
Make its texture more roughly. It’s necessary to insert on a new layer big irregular paintings on the wood’s surface. Apply also Filter ? Blur ? Motion Blur
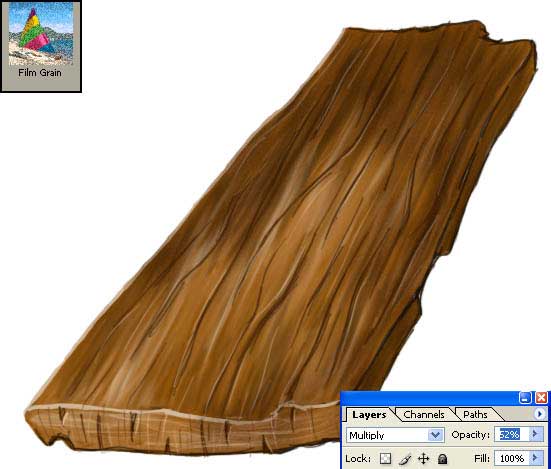
Apply one more filter to this layer Filter ? Filter Gallery ? Film Grain and change the layer’ s type on Multiply, minimizing the Opacity not over than 52%.
Apply the same methods and actions on the brighten plank’s portion.
Change the layer’s type on Multiply.
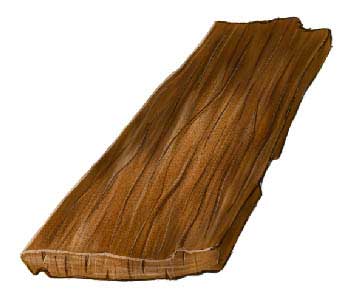
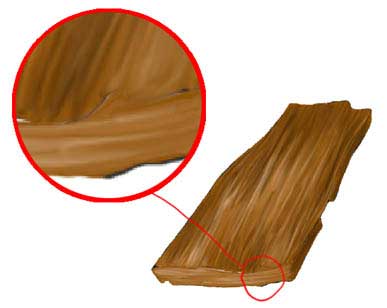
Using the Brush Tool and the Smudge Tool correct definitively the edges and picture up the wood’s structure more efficiently.
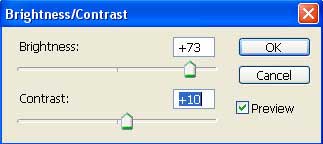
To make the wood’s color profounder, you have to copy the plank’s layer: Layer ? Duplicate Layer and increase its brightness.
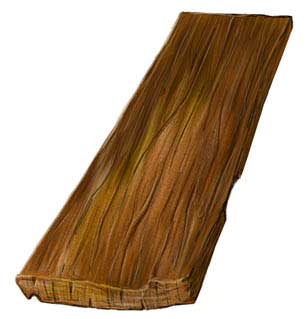
Change the layer’s type on Multiply. Merge down all the layers and add some perspectives to the illustration, using next combination: Edit ? Transform ? Perspective.
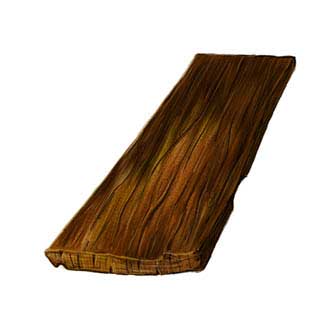
The plank is ready.
(Copying now this layer and placing the planks in junction, it’s possible to represent a wooden floor).
Made by Sigma
Comments