
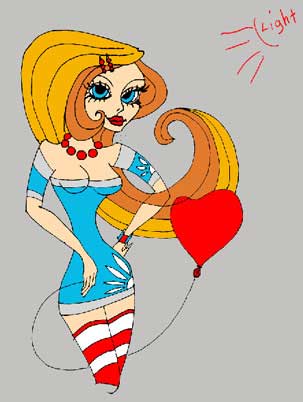
Drawing Shiny Girl
In this tutorial we’ll see how to picture an illustration, which contours are introduced in a computer by scanner or digital photo camera or how to give it a luminescent effect.
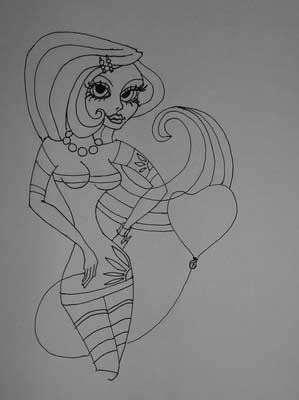
For the beginning, draw the contours by hand and introduce them in the computer. Open it then as a new file: File ? Open (ctrl+o).
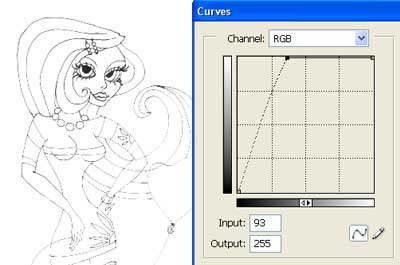
Clean out the lines, using next combination: Image ? Adjustments ? Curves (ctrl+m)
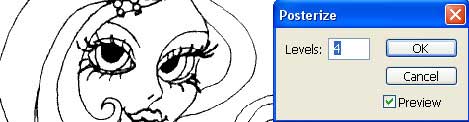
Make them after that darker and sharper: Image ? Adjustments ? Posterize

Change the layer’s type with the contours on Darken.
Choose the Brush Tool now and paint the girl with the basic colors on the layer situated lower than the contours’ layer, create a new layer, using the rapid button on Layers’ window.
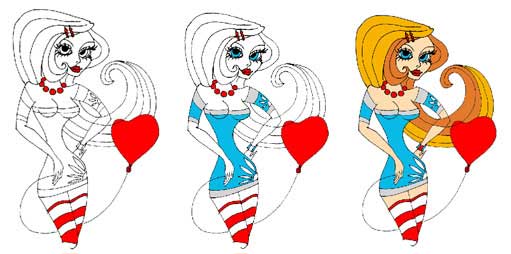
To make the painting easier, place one more layer under the girl’s one and colorize it in grey, applying Paint Bucket Tool. Then determine out the light’s direction.
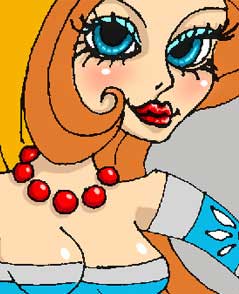
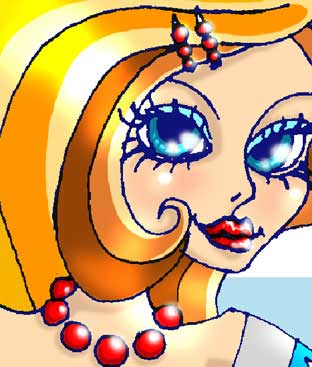
Get back to the Brush Tool and paint the eyes with two colors: lighter and darker than the basic one.

Paint the same way the girl’s lips?

? and beads.

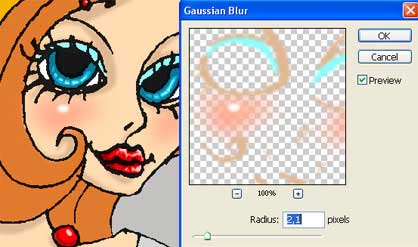
Blush out the girl’s cheeks and blur them out, applying Filter ? Blur ? Gaussian Blur. Pass to the eyes’ make up and paint them with blue eye shadow. Dark out the skin’s portions, covered by the shadow.

Take the Ellipse Tool and draw four small ovals on the cheeks and breast.
Blur out a little this layer.
 Draw then accurately several shadows and the light on the small ball.

?on the hair too.

Get back to the background’s layer and paint it in white. Picture a circle with the Ellipse Tool on a higher layer than the background’s one.

Create one more layer now. Group it with the circle’s layer, applying Layer ? Create Clipping Mask (ctrl+g) and picture several stripes on it, with Rectangular Tool. Finally paint the circle in white.

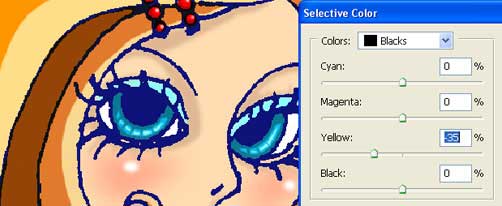
Picture the contours in blue color, using next selection: Image ? Adjustments ? Selective Color.
Take the next instrument (Dodge Tool) and mark out the illuminated places on the girl and on her ball.

Merge down now all the layers, applying Layer ? Merge Down (ctrl+e). The Brush Tool will help us to represent the highlights on the girl’s eyes, on her lips and on her beads.
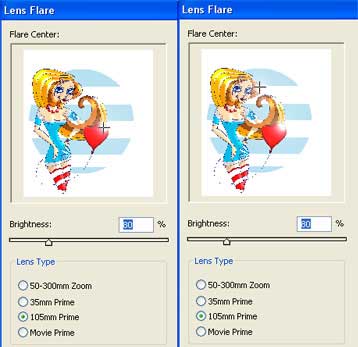
Use Filter ? Render – Lens Flare to represent two more large highlights on the airy ball and on the front girl’s hair.
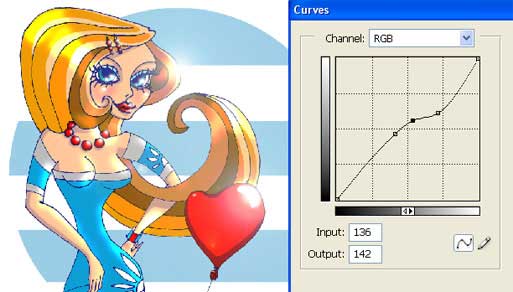
Give to the picture a luminescent effect, using Image ? Adjustments ? Curves (ctrl+m).
Finally insert the picture in a frame, taking the Crop Tool and Rectangular Tool.
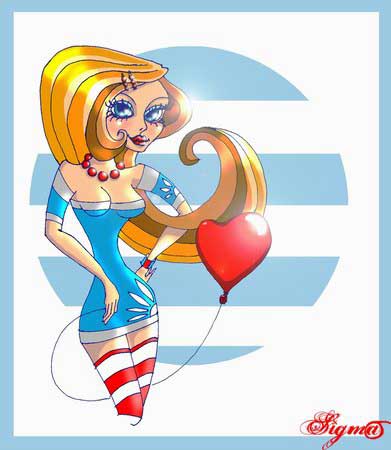
The illustration is finished!
Made by Sigma
Comments