
Skateboarding Club Wallpaper
In this tutorial I will show you easy techniques to make an artistic wallpaper in Adobe Photoshop CS4.
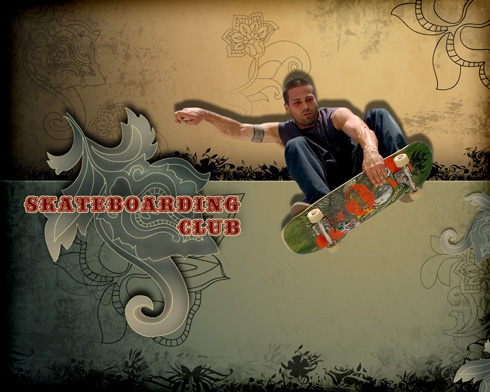
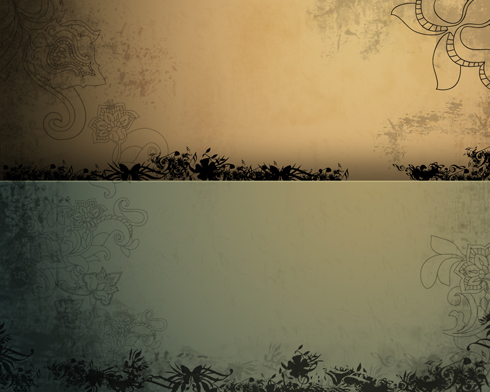
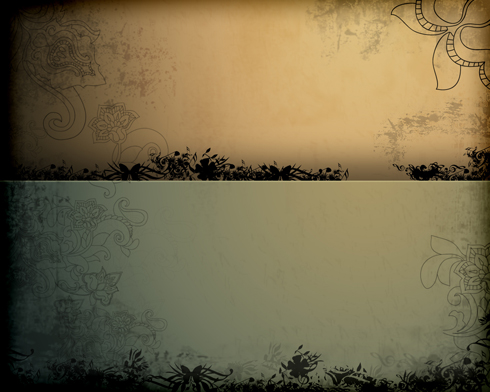
Final Image Preview
Let’s create a new file (File>New) of 1280×1024 px and 72 dpi. Select the Rectangle Tool (U) to represent the background of the picture we want to have in the end.

Set the next indicated parameters by making a mouse click on the layer we work with on the layers’ palette. Blending Options>Gradient Overlay
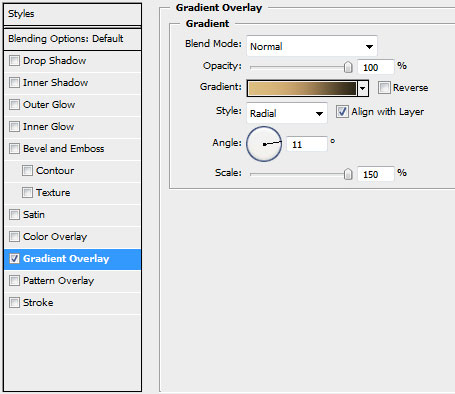

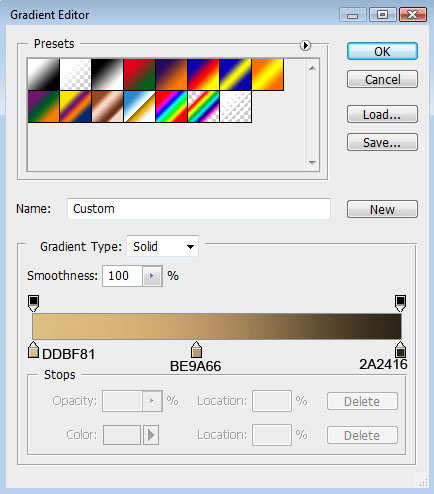
Gradient’s parameters:

Next we’ll divide the picture by its horizontal part in two sections, applying the same tool.

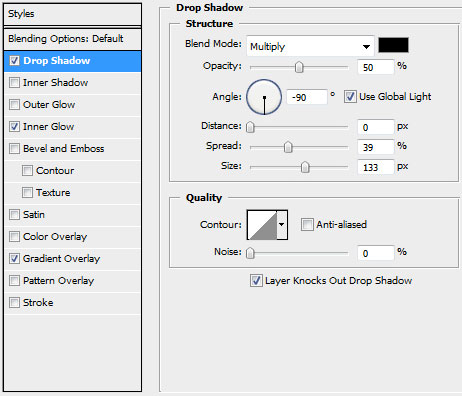
The layer’s parameters: Blending Options>Drop Shadow
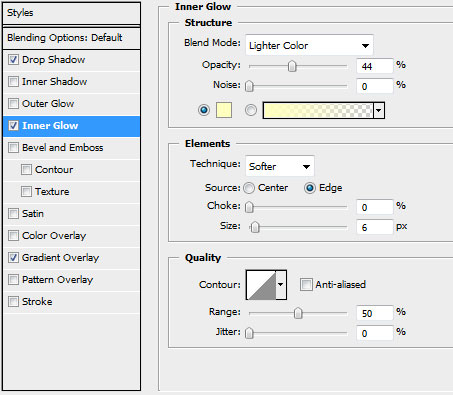
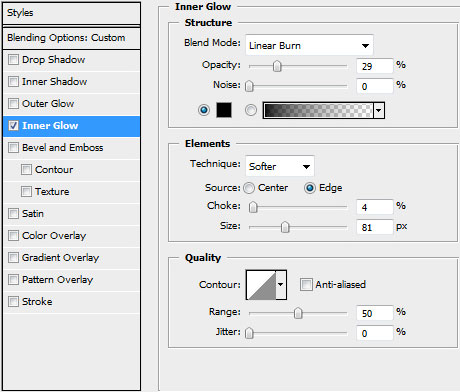
Blending Options>Inner Glow
Blending Options>Gradient Overlay
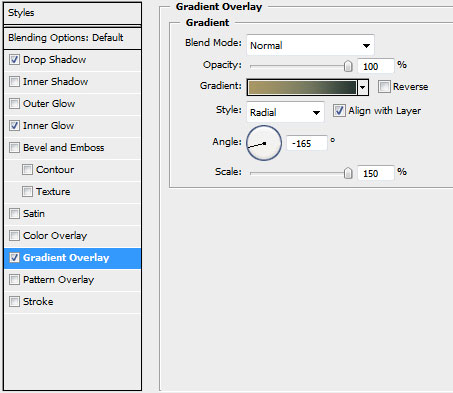
Gradient’s parameters:


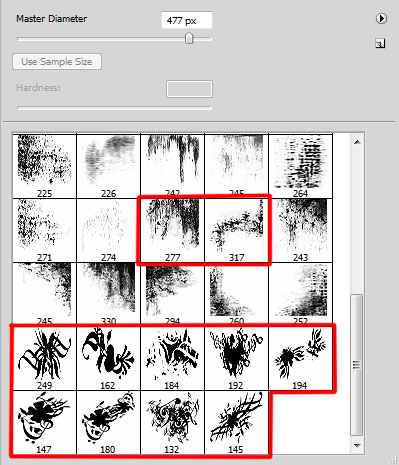
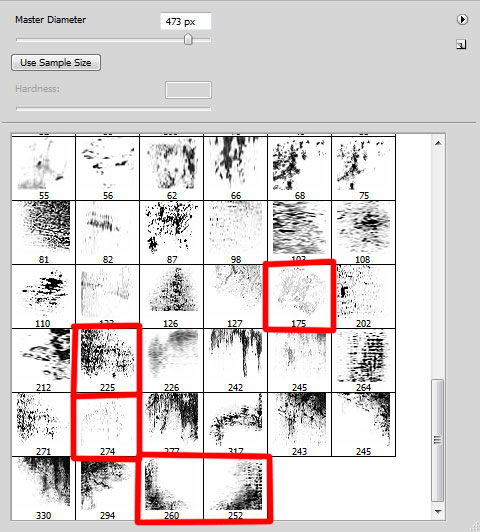
Next we’ll download a set of ready to use brushes for Adobe Photoshop, named 149-grunge_brushes_by_szuia, 198-shape and flowefusionphotoshopbrushes.
Create then a new layer where we shall use these brushes. They have black color and this one – #AE905F. This layer containing the brushes should be situated lower than the previous one on the layers’ palette.

On the next new layer (Create new layer) we’ll use the brushes out of the set 198 – shape. The brushes have black color and #60624D
Set the next parameters for the last made layer with the brushes applied: Fill 70%

Create a new layer and choose the brushes out of the set 149-grunge_brushes_by_szuia. The brushes have the next shown colors – #725D3D, #1A2320, #696950 and #A68759.
 Set the next indicated parameters for the last processed layer: Blending mode-Overlay

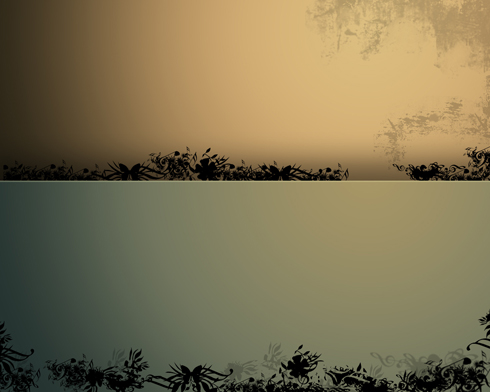
In the next step we’ll use the brushes out of the set named flowefusionphotoshopbrushes. Create then a new layer and give our picture the next demonstrated ornament made out of brushes. The brushes have the black color and #403422, #2D332C.

Next we’ll build a kind of frame around our basic picture, choosing for this operation the Rectangle Tool (U).
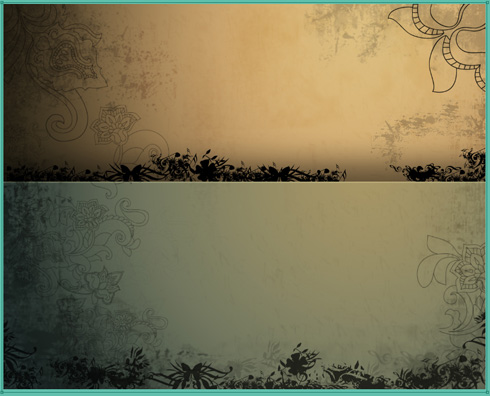
The layer’s parameters: Fill 0%, Blending Options>Inner Glow
Page: 1 2
Comments