
3D text effect – 2009
Place them above the layers:

Using the Rectangle Tool (U), insert a kind of element, demonstrated next picture:

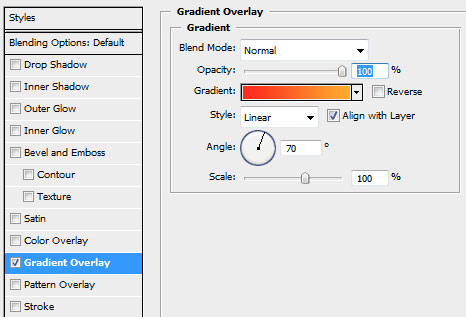
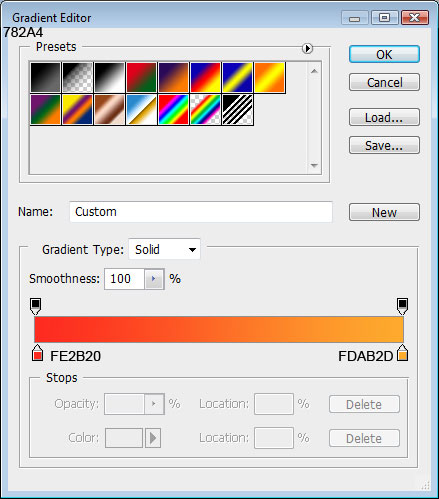
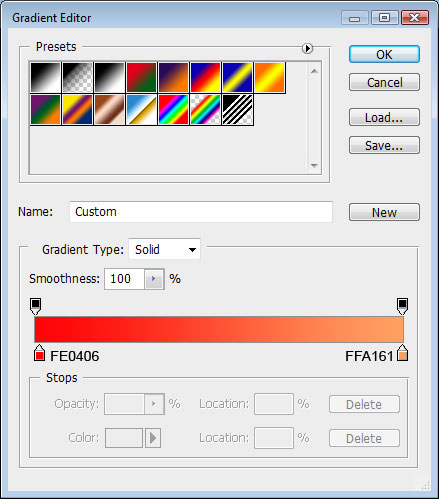
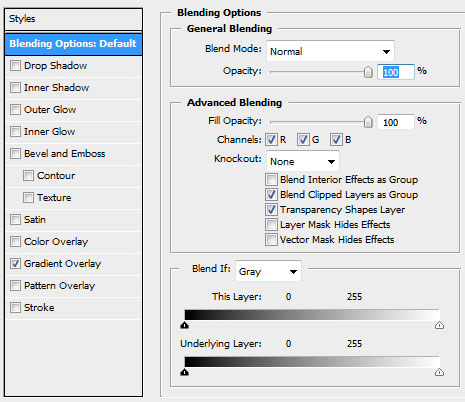
Set the next demonstrated parameters:

Make a right click on this layer on the layers’ panel and choose the option Rasterize Layer. Applying the Eraser Tool (E), try to erase the unnecessary elements, getting the picture from below:

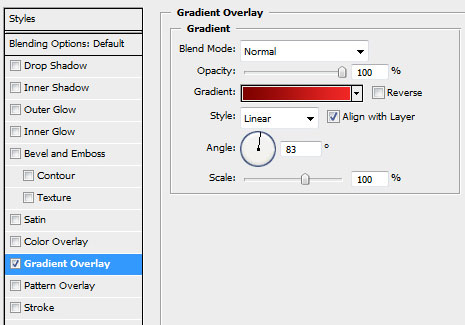
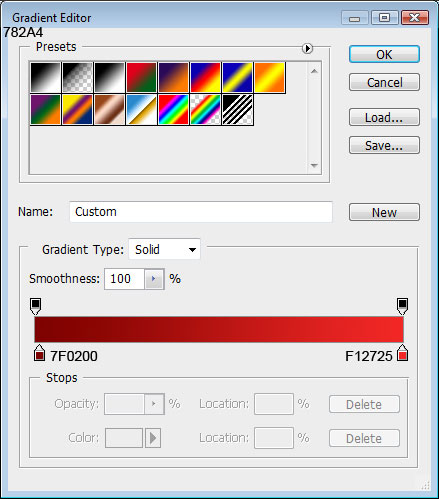
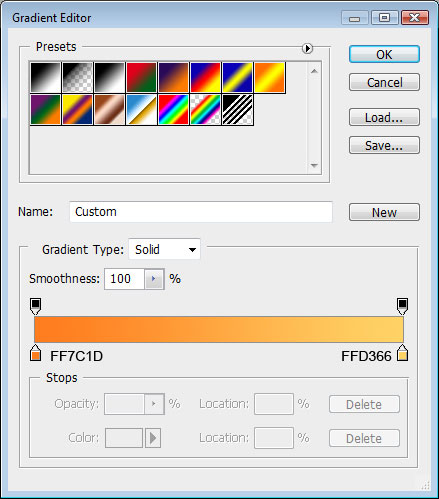
Do the same operations, following the next demands:

You’ll get the next picture:


We got some stylish ciphers:

Create a new layer and use on it the Rectangular Marquee Tool (M) for the necessary markings and then apply the Paint Bucket Tool (G) to give the markings the appropriate color. Insert several lines on the picture, having the color #FFCF8A

The unnecessary things will be erased with the Eraser Tool (E).

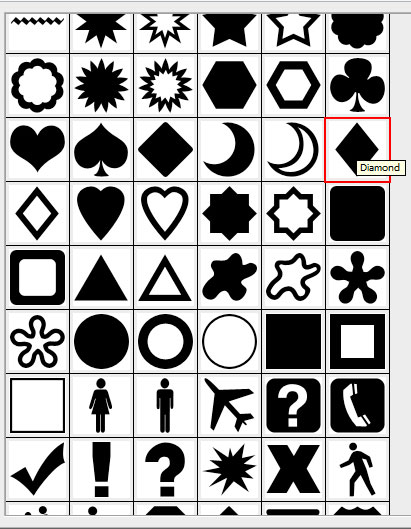
For the next cipher we’ll use the next demonstrated element. In this case we’ll represent an arbitrary pattern replacing with white figures as on the next image it is shown. Then put together the layers and rasterize the new layer we’ve got. Fill 30% for the last made layer and erase those things we don’t need on the picture:
Next we’ll insert several circles and lines on the rest of the ciphers:

The wallpapers are done!
View full size here.
Page: 1 2
Comments